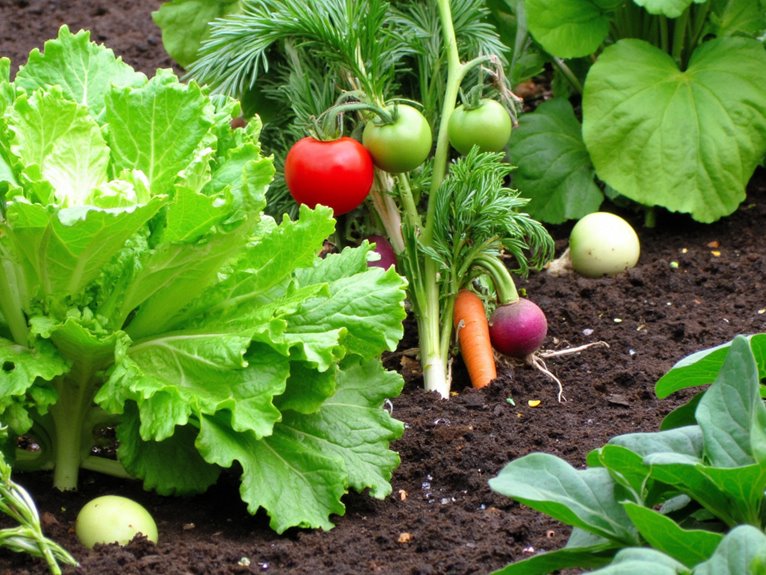
Growing Microgreens: Quick Results for New Gardeners
You can achieve impressive results with microgreens in just 5-10 days, making them perfect for beginner gardeners seeking quick satisfaction. These compact crops require minimal space, fitting easily in 10-by-20 inch trays, and need basic equipment like growing medium, seeds, and proper lighting. Simply plant fast-growing varieties like broccoli or radish, maintain temperatures between 65-70°F, and provide 12-16 hours of daily light. This extensive guide reveals everything you’ll need for consistent harvests.
Notable Insights
- Microgreens show visible results in just 5-10 days, making them perfect for beginners wanting quick gardening success.
- Use shallow trays with drainage and untreated seeds like broccoli, radish, or mustard for fastest, easiest growth.
- Maintain 65-70°F temperature, 12-16 hours daily light, and 40-60% humidity for optimal growing conditions.
- Harvest within two weeks using clean scissors, cutting just above soil level at cotyledon stage.
- Microgreens contain 4-40 times more nutrients than mature vegetables and stay fresh refrigerated for 5-7 days.
Why Microgreens Are Perfect for Beginner Gardeners
If you’re new to gardening and feeling overwhelmed by the complexity of traditional growing methods, microgreens offer an ideal starting point that eliminates most common barriers to success.
You’ll see results within 5 to 10 days, providing nearly immediate gratification that sustains beginner motivation throughout your indoor gardening journey. Unlike traditional vegetables that require months to mature, microgreens germinate quickly and grow in small 10-by-20-inch trays that fit perfectly on kitchen counters or compact shelves.
Fast results in just 5-10 days keep new gardeners motivated while compact trays fit any kitchen space perfectly.
You won’t need extensive experience or complex equipment, as these crops thrive in simple conditions around 70-75°F with basic humidity. These nutrient-dense plants deliver exceptional juvenile vigor that provides an energy boost and higher nutrient content compared to mature vegetables.
The short growth cycle reduces exposure to pests and diseases, minimizing the risk of crop failure that often discourages new gardeners from continuing their efforts. Many growing systems feature transparent lids that allow easy monitoring of your microgreens’ progress throughout their development. Regular plant monitoring helps identify any issues early, though microgreens typically require minimal intervention compared to traditional garden crops.
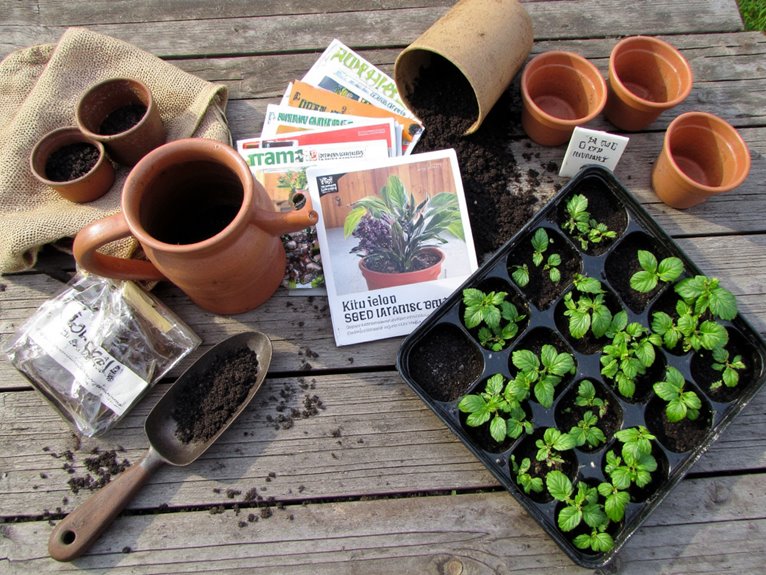
Choosing the Right Growing Medium and Container
Success with microgreens depends heavily on selecting the appropriate growing medium and containers, two fundamental decisions that’ll directly impact your germination rates, growth speed, and final harvest quality.
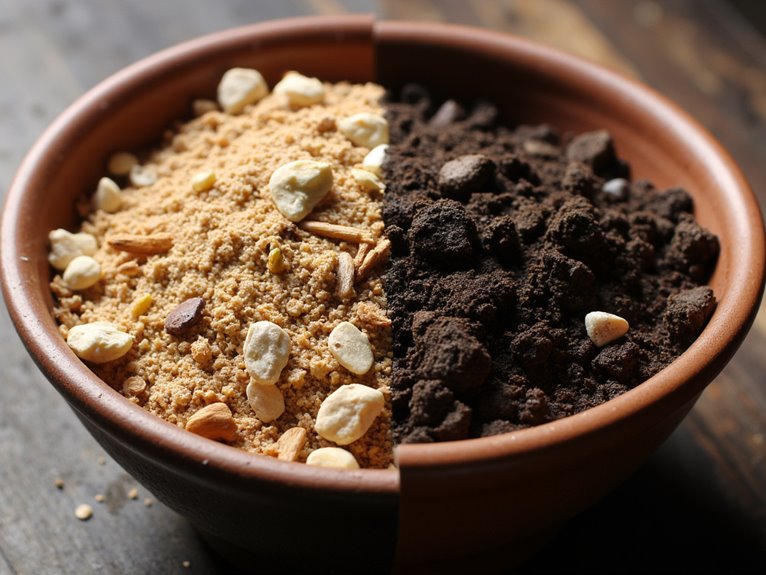
Growing medium types range from traditional potting mixes to specialized fiber mats made from hemp, bamboo, or coco coir, each offering distinct advantages for water retention and root development.
Potting mixes typically require multiple watering passes but support faster growth, while fiber mats wet quickly and provide excellent germination conditions. Among these options, Home Microgreens potting mix delivers the most impressive results due to its composition of coconut coir, peat moss, and natural amendments.
Container materials should focus on shallow trays with proper drainage, approximately 38 square inches, that prevent waterlogging while maintaining consistent moisture levels. Maintain pH levels between 6.0-7.0 in your growing medium to ensure optimal nutrient availability for healthy microgreen development.
Consider reusable stainless-steel options for sustainability, or biodegradable single-use mats for convenience, depending on your production scale and environmental preferences. Organic soils enriched with earthworm castings provide superior nutrition that supports vigorous microgreen development and enhanced flavor profiles.
Selecting Seeds for Optimal Growth and Flavor
Once you’ve established your growing medium and containers, choosing the right seeds becomes your next foundational decision that’ll determine both your harvest success and the flavors you’ll enjoy.
Smart seed sourcing requires purchasing from reputable suppliers who provide untreated, food-safe microgreen seeds with detailed germination data and proper storage history. Fast-growing varieties like broccoli, radish, and mustard offer excellent starting points for beginners, while specialty options such as Thai basil and mizuma mustard expand your culinary possibilities.
Consider variety blending to create balanced flavor profiles, combining spicy arugula with mild sunflower for appealing contrasts. Larger seeds like peas and sunflower benefit from 8-12 hour soaking periods, while smaller seeds can be sown directly for best germination rates. Quality seed selection forms the foundation for producing microgreens that are both nutritious and visually appealing to enhance any dish.
Step-by-Step Planting Process
Three essential stages define the microgreen planting process, and mastering each one guarantees your seeds transform into vibrant, flavorful greens within just days.
First, prepare your growing foundation by filling trays with 1-2 inches of well-draining soil, mixing in dry fertilizer before moistening evenly.
Next, focus on proper seed spacing by distributing seeds uniformly across the moist surface, avoiding dense clusters that compete for nutrients and light.
Your planting sequence follows these critical steps:
- Soak larger seeds like peas and sunflowers for 6-12 hours to accelerate germination.
- Press seeds gently into soil without crushing to establish solid seed-to-soil contact.
- Mist thoroughly immediately after sowing to initiate the sprouting process.
Maintain consistent moisture levels through daily misting, keeping soil damp but never waterlogged to prevent fungal issues. After misting, create a blackout period by covering your trays for several days to encourage strong initial sprouting.
Creating the Ideal Growing Environment
While proper planting techniques lay the foundation for microgreen success, your growing environment ultimately determines whether those seeds develop into the crisp, nutrient-dense greens you’re aiming for.
Temperature control remains essential, with your ideal range sitting between 65-70°F for optimal growth and development.
Humidity control becomes equally important, as maintaining 40-60% relative humidity prevents disease while promoting vigorous plant development. You’ll want to invest in humidifiers or dehumidifiers to stabilize these conditions as needed.
Air circulation plays a critical role in preventing fungal issues, so guarantee proper ventilation balances moisture levels without creating drafts. Good air circulation is also crucial to prevent mold growth that can quickly destroy your microgreen crops.
Monitor your setup daily, adjusting environmental factors to maintain consistent growing conditions that support healthy microgreen production.
Lighting and Temperature Requirements
You’ll find that getting your lighting and temperature just right creates the foundation for thriving, nutrient-dense microgreens that grow consistently throughout their short lifecycle.
Your microgreens need specific light duration periods, typically 14 to 16 hours daily, combined with steady temperatures between 65°F and 75°F to maximize photosynthesis and healthy development.
Understanding these requirements helps you create controlled growing conditions that produce robust harvests, whether you’re using natural sunlight or artificial lighting systems.
Optimal Light Duration
When establishing your microgreen lighting schedule, understanding that these fast-growing plants require consistent, well-timed light exposure becomes vital for achieving healthy, vibrant crops. Your microgreen light duration should range between 12 to 16 hours daily, paired with 8 to 12 hours of darkness for proper plant respiration and energy storage.
Consider these key lighting practices:
- Set automated timers to maintain consistent daily cycles, preventing stress from irregular exposure.
- Monitor plant response during different growth stages, adjusting within the 10-16 hour range as needed.
- Combine ideal duration with proper light spectrum featuring blue and red wavelengths for balanced development.
Excessive lighting beyond recommended timeframes risks creating leggy, weak plants, while insufficient exposure results in poor yields and diminished nutritional content. This makes consistent timing essential for success.
Many modern grow lights feature preset durations of 3, 9, or 12 hours with memory functions, making it easier to maintain consistent lighting schedules for your microgreens.
Temperature Range Guidelines
Proper lighting schedules work hand-in-hand with maintaining ideal temperature ranges, as both environmental factors directly influence your microgreens’ germination success and overall development.
You’ll achieve prime germination rates by keeping soil temperatures between 60°F and 75°F, with air temperatures staying consistently between 60°F and 70°F during sprouting. The temperature impact becomes especially important during early growth phases, where maintaining 70°F to 75°F greatly boosts both speed and uniformity of emergence.
Once your seedlings establish, you can maintain steady growth at 68°F indoors, which aligns perfectly with comfortable home temperatures.
Remember that temperatures below 60°F will slow germination considerably, while exceeding 80°F causes stress and quality decline, making consistent temperature control essential for predictable harvest timing.
Timeline From Germination to Harvest
Most microgreens follow a predictable timeline from seed to harvest, though timing varies considerably between different varieties and growing conditions.
Understanding the germination timeline and growth stages helps you plan harvests and manage expectations throughout your growing cycle.
Proper timing knowledge allows growers to schedule successive plantings and anticipate when fresh microgreens will be ready for consumption.
The microgreen development process follows these key phases:
- Germination phase – Seeds sprout under blackout conditions for 1-13 days, developing initial roots and shoots.
- Growth stage – Seedlings emerge around day 5-12, requiring 12-16 hours of daily light exposure.
- Harvest readiness – Plants reach 1-3 inches tall with fully developed cotyledons after 7-21 days.
Fast-growing varieties like radish and arugula mature in 7-12 days, while slower crops like basil require 2-3 weeks for ideal development.
Proper Harvesting Techniques and Storage
Three key factors determine the success of your microgreen harvest: timing, technique, and handling practices that preserve freshness and nutritional value.
You’ll want to harvest within the first two weeks, cutting at the cotyledon or early true leaf stage using sharp, clean scissors just above soil level.
Two primary harvesting methods work best: “pick and choose” for selective harvesting that extends growth, or “clear cut” for complete tray harvests when plants reach maturity.
Proper storage solutions include airtight containers placed immediately in refrigeration, which maintains quality for five to seven days.
Don’t wash microgreens before storage unless you’re using them immediately, as excess moisture accelerates decay.
Handle your harvest gently to prevent bruising, and check stored greens regularly for signs of wilting or spoilage.
Nutritional Benefits and Culinary Uses
When you harvest those tender microgreens from your growing trays, you’re collecting some of nature’s most nutrient-dense foods available for your kitchen.
These tiny greens pack 4 to 40 times higher nutrient levels than their mature counterparts, delivering exceptional antioxidant profile benefits through vitamins C and E, polyphenols, and carotenoids that support your immune system and reduce inflammation.
These nutrient powerhouses deliver up to 40 times more vitamins and antioxidants than full-grown vegetables in every tiny bite.
Your microgreens offer remarkable culinary versatility with flavor enhancement ranging from mild to intensely spicy.
Consider these creative applications:
- Colorful salad toppers that add vibrant purples, greens, and reds while delivering concentrated nutrition
- Sandwich layers providing crisp texture and peppery notes that elevate ordinary meals
- Soup garnishes offering fresh contrast to warm, cooked dishes
Consume them fresh and raw to maximize their potent nutritional benefits.
For optimal growth and nutrient development, maintain soil pH between 5.5-7.0 to ensure your microgreens achieve maximum nutritional density and flavor intensity.
Frequently Asked Questions
Can I Reuse the Soil After Harvesting My Microgreens?
You shouldn’t reuse soil immediately after harvesting microgreens. Reused soil has depleted soil nutrients and increased soil contamination risks from pests and diseases, reducing your next crop’s quality and yield considerably.
How Do I Prevent Mold From Growing on My Microgreens?
You’ll prevent mold by maintaining 50-60% humidity control and temperatures below 76°F. Water from bottom only when soil’s dry, guarantee proper air circulation, and use shallow trays for better airflow around your microgreens.
What Should I Do if My Seeds Aren’t Germinating?
Check your seed viability first-old seeds won’t sprout. Ascertain temperature control stays between 65-70°F using heating mats if needed. You’re probably over-watering or planting too deep, so adjust those factors immediately.
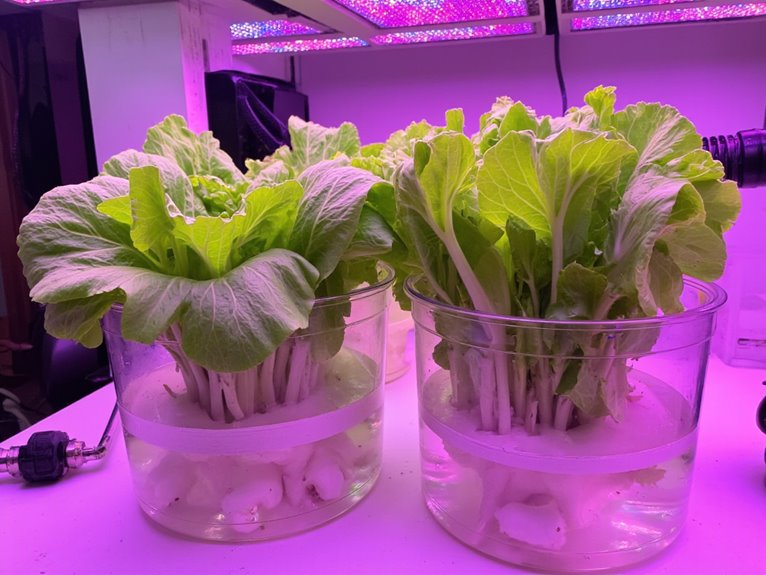
Can I Grow Microgreens Without Any Soil or Growing Medium?
Yes, you can grow microgreens without any growing medium using hydroponic systems with just water and nutrients, or aeroponic techniques that mist roots with nutrient solutions, eliminating soil completely.
How Much Do Microgreens Typically Cost to Grow at Home?
You’ll spend $25-30 initially for setup, then about $5-10 per harvest for seeds and medium. For budget planning, this cost comparison shows significant savings versus $5-10 store-bought containers after just a few harvests.
On a final note
You’ve now got everything you need to start your microgreen journey, from selecting seeds to harvesting your fresh greens. These nutrient-packed plants will reward your efforts with quick results, typically ready within seven to fourteen days. Don’t worry if your first attempts aren’t perfect-microgreens are forgiving, and you’ll improve with each growing cycle. Start with easy varieties like radishes or peas, then expand to more adventurous options as your confidence grows.