Spring Planting Guide: What to Plant When for First-Time Gardeners
You’ll want to start your spring garden with cool-season crops like lettuce, spinach, and peas in March, as they can handle light frost while soil temperatures are still cool. Begin warm-season vegetables like tomatoes and peppers indoors during this time, then transplant them outdoors after the last frost when soil reaches 60°F. Focus on proper spacing, quality soil preparation with compost, and succession planting every 2-3 weeks for continuous harvests throughout the growing season ahead.
Notable Insights
- Start cool-season crops like lettuce, spinach, radishes, and peas outdoors in March for zones 5-10.
- Begin warm-season vegetable seeds indoors with heat mats while planting hardy crops outside in early spring.
- Test soil pH and add 1-4 inches of compost before planting for optimal nutrient levels.
- Space plants properly with tomatoes 24-36 inches apart, carrots 1-2 inches, and onions 4-6 inches apart.
- Use succession planting every 2-3 weeks with fast-growing crops for continuous harvests throughout the season.
Understanding Your Garden Space and Plant Selection
Success in your first garden begins with understanding the unique characteristics of your outdoor space, which will guide every planting decision you make throughout the growing season.
Start by measuring your garden area accurately, then conduct a thorough site inventory that includes sun exposure patterns, shade zones, and soil conditions throughout different times of day.
Consider your garden orientation carefully, as beds oriented east-west allow for better crop height management and ideal light distribution for shorter plants.
Select beginner-friendly, low-maintenance plants like Black-Eyed Susan, Catmint, or Hydrangea that match your local USDA Hardiness Zone requirements. Create a detailed budget for your plant purchases and garden materials to manage expenses effectively throughout the growing season.
Plan companion planting strategies by pairing crops that benefit each other, such as grouping plants that naturally deter pests or share nutrients effectively. Consider establishing a fertilization schedule that includes applying balanced NPK fertilizers every three months to support optimal plant growth throughout the season. For indoor plants that you may want to grow alongside your outdoor garden, consider supplementing natural light with full spectrum grow lights to ensure healthy development year-round.
Essential Supplies and Soil Preparation for Spring Planting
Before you plant your first seeds, you’ll need to gather the right tools and prepare your soil properly for healthy plant growth.
Essential supplies like sharp pruners, garden gloves, and hand trowels will make your gardening tasks easier, safer, and more efficient throughout the season. Choose tools with ergonomic designs to reduce hand fatigue and strain during extended gardening sessions.
Testing your soil’s pH levels, adding compost for nutrients, and organizing your gardening materials will set the foundation for a successful spring planting experience. Work compost into the top 6 inches of soil to ensure your plants have better access to essential nutrients.
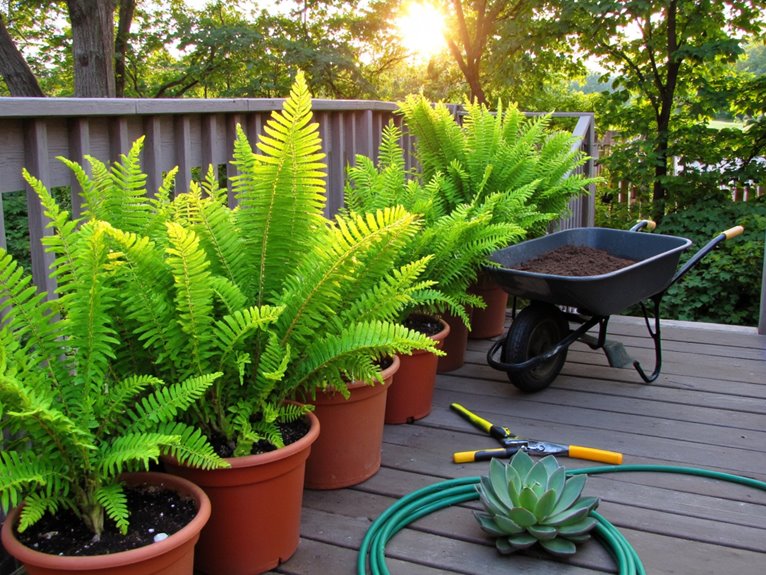
For container gardening, choose quality potting mixes with perlite or coconut coir to balance moisture retention and drainage for optimal plant health.
Gathering Necessary Garden Supplies
Preparation forms the foundation of every successful spring garden, and having the right supplies on hand will transform your planting experience from frustrating to fulfilling. Understanding garden supply basics guarantees you’ll tackle each task efficiently, while essential garden tools provide the precision needed for proper plant establishment.
Your toolkit should include fundamental items for digging, cutting, and soil preparation. A hand trowel handles transplanting and small holes, while pruning shears maintain plant health through proper trimming. Garden forks and spades manage soil preparation, and protective gear keeps you comfortable during extended work sessions. Consider investing in ergonomic hand tools with comfortable grips and lightweight designs to reduce fatigue during extended gardening sessions.
Before beginning any planting activities, assess your soil conditions with a soil test kit to determine pH levels and nutrient content for optimal plant health. For precision pruning tasks, select bypass pruners with sharp, high-quality steel blades that create clean cuts to promote healthy plant growth.
| Essential Tools | Primary Function |
|---|---|
| Hand Trowel | Small holes, transplanting |
| Pruning Shears | Trimming, plant shaping |
| Garden Fork | Soil loosening, composting |
| Watering Can | Controlled moisture delivery |
| Gardening Gloves | Hand protection, comfort |
Soil Preparation Steps
Three fundamental steps will transform your garden plot into a thriving foundation for spring planting, starting with thorough soil analysis that reveals your garden’s hidden potential.
Test your soil’s pH and nutrient levels using home kits or local extension services, which guides essential amendment decisions for ideal soil health. If you’re gardening in unknown areas, test for toxic elements like lead through specialized labs to guarantee safety.
Next, improve soil structure by loosening compacted earth with garden forks, working backward to avoid re-compacting freshly turned areas. This digging process enhances soil aeration and facilitates better oxygen penetration for improved root growth.
Incorporate one to four inches of quality compost or dehydrated manure into the top six to eight inches, enhancing nutrient management and water retention.
Finally, rake the surface smooth, creating an even seedbed that promotes consistent germination and healthy root development.
Tool and Equipment Essentials
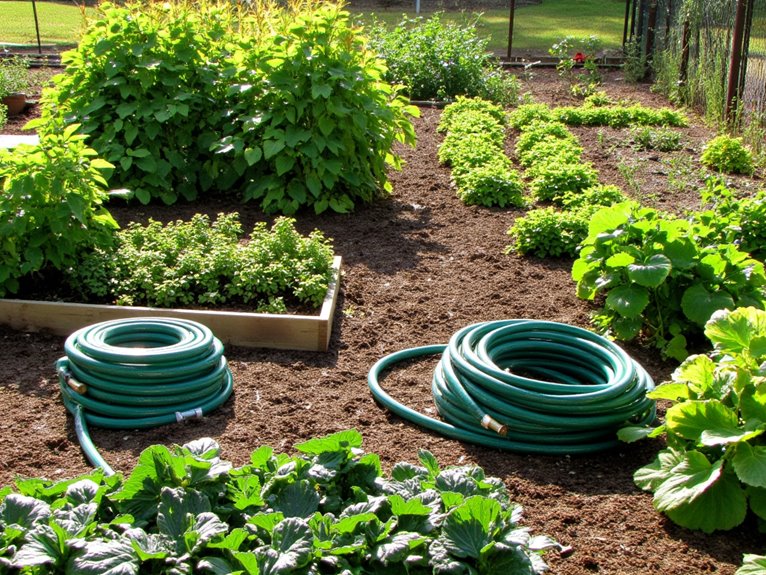
Having properly prepared your soil foundation, you’ll need the right tools to transform your gardening vision into reality this spring. Essential hand tools include trowels for precise planting holes, sturdy shovels for larger digging tasks, and sharp garden hoes for soil preparation and weed control. Watering equipment forms another significant category, featuring adjustable garden hoses, targeted watering cans, and efficient soaker hoses that deliver moisture directly to plant roots.
| Tool Category | Primary Function |
|---|---|
| Hand Tools | Digging, planting, cultivating |
| Watering Equipment | Moisture delivery and control |
| Protective Gear | Safety and comfort |
| Mobility Tools | Transport and soil handling |
Proper tool organization in garden sheds or storage areas keeps equipment accessible, while regular equipment maintenance, including cleaning and sharpening, guarantees peak performance throughout the growing season. For cutting tasks, invest in quality bypass pruning shears with steel blades that provide clean cuts suited for delicate plants and healthy growth promotion. Don’t forget to invest in comfortable garden gloves to protect your hands from thorns, sharp tools, and rough soil during extended planting sessions. Consider purchasing a complete tool set that features ergonomic handles to reduce hand fatigue during extended gardening sessions and ensure comfortable use throughout your spring planting activities.
Early Spring Planting Timeline: March Through April
As winter’s grip finally loosens, March and April present the perfect window for launching your garden’s most productive season.
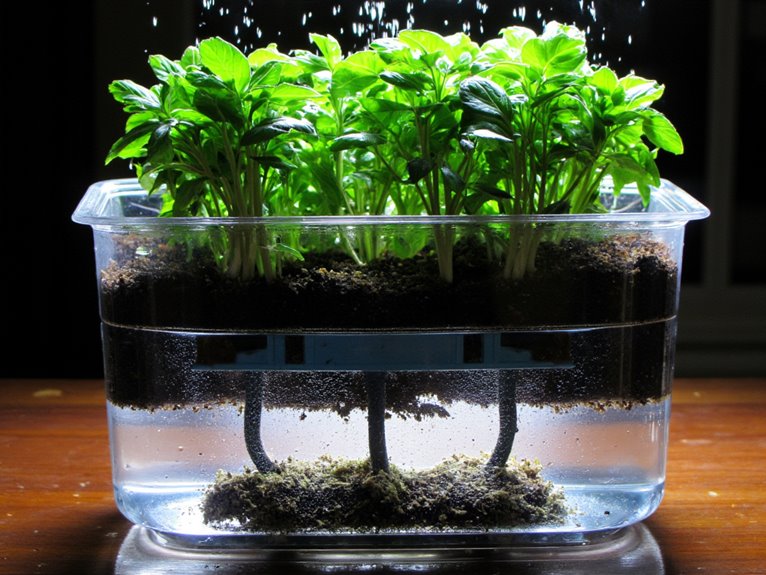
During this early spring period, you’ll focus on two main activities: preparing cool-season crops for outdoor planting and beginning seed starting indoors for warm-season vegetables.
Early spring demands a dual approach: nurturing hardy crops outdoors while cultivating heat-loving vegetables indoors under controlled conditions.
In zones 5-10, you can directly sow hardy vegetables like beets, broccoli, cabbage, carrots, and peas outdoors by March.
Meanwhile, start tomatoes, peppers, and eggplants indoors using sterile seed-starting medium and supplemental heat mats.
Zone 4 gardeners should prioritize indoor seed starting during early March, then shift to outdoor planting in April.
Monitor weather forecasts carefully, as late frosts remain common.
Use row covers or cold frames to protect tender seedlings, ensuring your early efforts aren’t damaged by unexpected temperature drops.
Cool-Season Vegetables Perfect for Beginner Gardeners
Now that you’ve established your planting timeline, you’ll want to focus on selecting the right vegetables that can handle cooler temperatures and won’t bolt at the first sign of frost.
Cool season varieties like leafy greens, root vegetables, and brassicas are perfect choices for beginners because they’re naturally hardy and forgiving.
Start with simple options like lettuce, spinach, radishes, and peas, which thrive in temperatures between 20°F and 70°F. These crops actually prefer cooler conditions and will struggle in summer heat.
Root vegetables such as carrots, beets, and turnips are excellent beginner choices since they’re direct-seeded and require minimal maintenance.
When selecting varieties, look for those with pest resistance to reduce potential problems and increase your chances of success.
For those interested in expanding beyond vegetables, consider adding Mediterranean herbs like lavender to your garden, which benefit from organic fertilizers that provide essential nutrients without harsh chemicals.
Warm-Season Crops and Late Spring Planting Schedule
Once the danger of frost has passed and soil temperatures consistently reach 60°F or higher, you’ll shift to planting warm season varieties that thrive in the heat of summer.
When soil reaches 60°F and frost danger ends, it’s time to transition to heat-loving summer crops.
These heat-loving crops include tomatoes, peppers, eggplant, cucumbers, squash, and beans, which require warmer conditions than their cool-season counterparts.
Your late spring planting schedule should follow this timeline:
- Early May: Transplant hardy warm-season crops like broccoli and early cabbage
- Mid-May: Direct sow beans, sweet corn, and okra into warmed soil
- Late May: Transplant tender crops like tomatoes, peppers, and eggplant
- Early June: Plant heat-sensitive melons, pumpkins, and watermelons
Master proper planting techniques by hardening off transplants gradually, providing support structures early for climbing varieties, and maintaining consistent soil moisture for newly planted seedlings. Before planting, test your soil pH to ensure it falls within the optimal 6.0-7.0 range for efficient nutrient absorption. For crops like cucumbers, consider applying balanced fertilizers with appropriate NPK ratios every 7-10 days once they’re established to support vigorous growth throughout the growing season.
Proper Spacing and Succession Planting for Continuous Harvest
After you’ve successfully planted your warm-season crops, maximizing your garden’s productivity depends on strategic spacing and thoughtful timing throughout the growing season. Proper spacing techniques prevent overcrowding that leads to competition for essential resources like light, water, and nutrients.
Give tomatoes 24-36 inches between plants, while carrots need only 1-2 inches, and onions require 4-6 inches of space.
Succession strategies involve staggering plantings every 2-3 weeks to guarantee continuous harvests throughout the season. Fast-growing crops like lettuce and radishes work perfectly for filling gaps left by harvested plants.
You can replant spaces freed by early crops with warm-season vegetables as temperatures rise. This approach, combined with companion planting techniques, maximizes your garden’s output while maintaining healthy plant development and reducing pest pressure naturally. For heavy-feeding vegetables like tomatoes and peppers, consider using slow-release fertilizers that provide consistent nutrition for up to three months, reducing the need for frequent applications. Remember to feed your plants every two weeks during the spring growing season with a balanced NPK ratio fertilizer to support robust growth and maximize your harvest potential.
Frequently Asked Questions
What Should I Do if My Seedlings Get Leggy or Start Falling Over?
Provide seedling support by gently staking tall stems and make immediate light adjustment by moving grow lights closer or increasing daily exposure to 16-18 hours to strengthen growth.
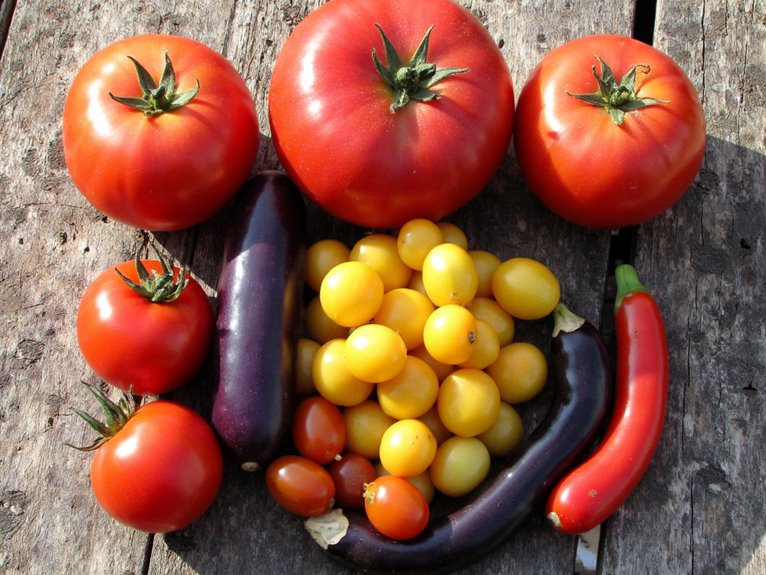
How Do I Know When My Vegetables Are Ready to Harvest?
You’ll recognize harvest indicators like color changes, shiny skin, and appropriate size. Follow timing guidelines by tasting for peak flavor, harvesting in early morning, and picking when vegetables reach usable size rather than waiting for maximum growth.
What Are the Most Common Pests and Diseases in Spring Gardens?
You’ll encounter aphids, slugs, and tomato hornworms as common spring pests, plus powdery mildew, early blight, and damping-off diseases. Effective pest control and disease management require regular inspection and early intervention strategies.
How Often Should I Water My Newly Planted Seeds and Seedlings?
You should water newly planted seeds and seedlings daily or every other day to maintain consistent moisture levels. Check your watering schedule based on soil dryness using the finger test near drainage holes.
Can I Save Seeds From My Vegetables for Next Year’s Planting?
Yes, you can practice seed saving from your vegetables for next year’s planting. Choose open-pollinated or heirloom vegetable varieties rather than hybrids, as they’ll produce seeds true to the parent plant’s characteristics.
On a final note
You’ve now equipped yourself with the fundamental knowledge, practical techniques, and seasonal timing needed for successful spring gardening. Remember that gardening is a learning process, and each season brings new opportunities to refine your skills, expand your plant varieties, and increase your harvest yields. Start small with easy-to-grow crops, observe your plants carefully, and don’t hesitate to adjust your approach based on your garden’s unique conditions and growing patterns.