Repotting Container Plants: When and How to Move Garden Plants to Fresh Growing Medium
You’ll know it’s time to repot when plants look stressed-leaves yellow, roots crowd the pot, or the plant leans over. Choose a pot 1-2 inches wider with good drainage and fresh, well-aerated soil. Gently remove the plant by watering first, then place it in the new pot at the right height. Add more soil around the roots but don’t pack it tight. After repotting, water well and keep an eye on your plants as they settle in. With a little care, your container garden will thrive in its new home-just wait a bit, and you’ll see the difference!
Notable Insights
- Repot plants when roots crowd the container or leaves yellow, wilt, or show stunted growth.
- Choose a pot 1-2 inches wider with drainage holes and use high-quality potting mix suited to plant needs.
- Repot in spring or fall during active growth periods, avoiding midsummer heat or flowering seasons.
- Gently water before removal, loosen soil, and center the root ball in the new pot without burying the crown too deep.
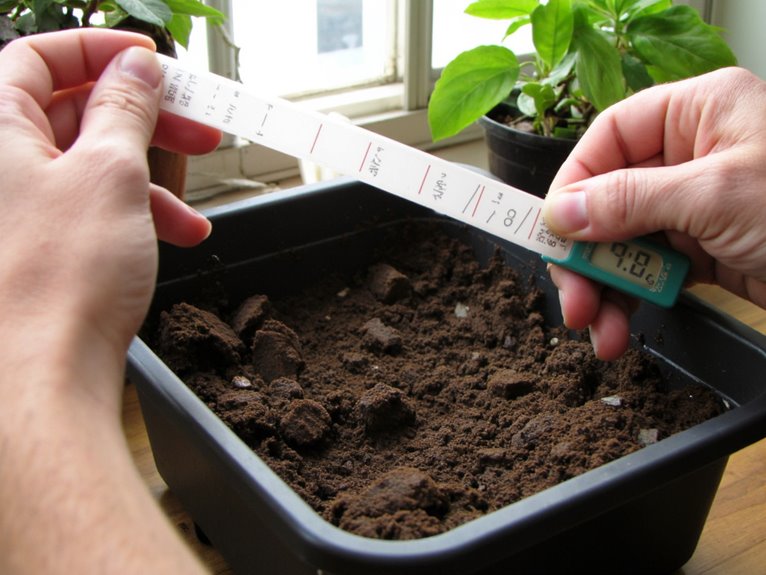
- Improve drainage with perlite, vermiculite, or coarse sand and refresh soil every 12–18 months to maintain nutrient levels.
Signs It’s Time to Repot Container Plants
This can cause yellowing leaves that droop under stress. Check for roots pushing through drainage holes-nature’s warning sign. Overcrowded roots also make plants top-heavy, leaning toward light.
Leaf changes may stem from restricted root systems unable to supply enough water or food. Don’t ignore these cues; delayed repotting strains plants further.
Give your greenery fresh soil and room to spread its roots for vibrant growth. Just as warm-season grasses require proper spacing and nutrition timing, container plants need adequate root space to absorb nutrients effectively.
Choosing the Right Pot and Soil for Repotting
When you notice your plants showing signs of overcrowding or stress, choosing the right pot and soil becomes it’s important to give them proper conditions for growth.
Select a pot 1-2 inches wider in diameter than their current container, ensuring adequate drainage holes to prevent waterlogging. For larger woody plants, choose proportionally bigger pots to accommodate their root systems.
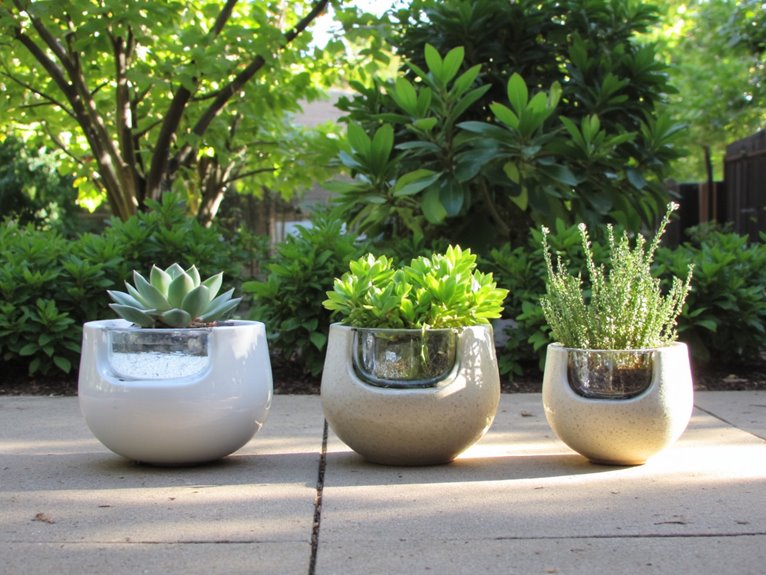
Opt for a high-quality potting mix designed for containers rather than garden soil, which compacts and hinders airflow. Add perlite or sand for succulents or improve moisture retention for shade-loving plants.
Always keep the root crown slightly above soil level after repotting to avoid rot and promote healthy development. Consider self-watering planters with bottom reservoirs if you have a busy lifestyle, as they deliver moisture directly to roots while preventing overwatering through built-in drainage systems. Your plants will thrive in fresh conditions tailored to their specific needs.
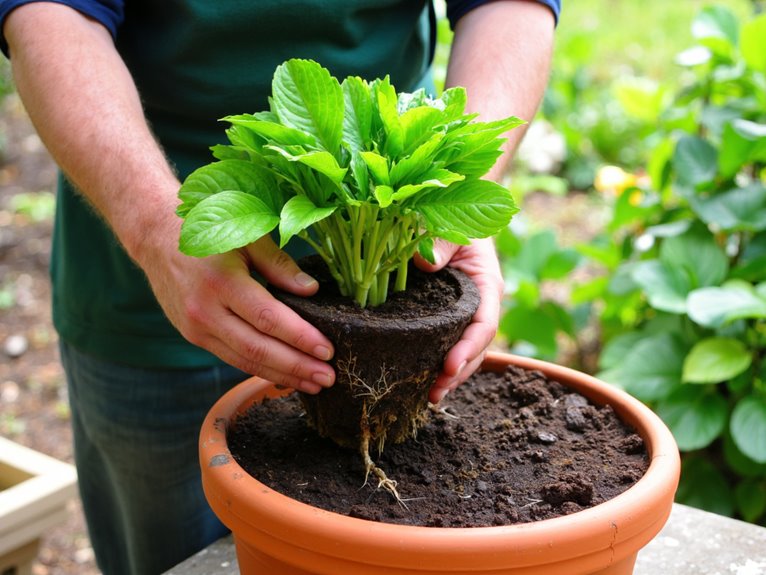
Techniques for Gently Removing Plants From Old Containers
Before you plunge into the process of removing your plant from its old container, it’s important to approach this step with care to protect both the roots and the overall health of your green friend.
Begin by watering the plant 24 hours prior to soften the soil and ease root extraction. Gently tap the container walls and use a plastic knife to loosen packed soil around the edges – this helps with container loosening. For stubborn roots, tilt the pot or disassemble wooden containers to facilitate removal without damaging the root ball.
As you extract the plant, hold the base firmly while rocking the container to free the roots. Never pull by the stem; instead, use a twisting motion to separate the root mass gently.
Inspect for circling roots after removal and trim only the outermost ½ inch to stimulate new growth. Prioritize preserving the main root structure while loosening secondary branches to guarantee successful transplanting. Porous containers require special attention during repotting to avoid damaging roots while maintaining airflow.
Proper Placement and Filling of the New Pot
A few simple steps can make your plant’s new home both comfortable and secure. Start by placing a breathable fabric over drainage holes to prevent soil loss while guaranteeing proper potting. Choose soil types that match your plant’s needs-well-draining mixes for succulents or moisture-retentive soils for tropical plants. Center the plant in the pot, positioning the root ball so it sits about an inch below the rim.
| Step | Action | Soil Type |
|---|---|---|
| 1 | Place fabric over drainage holes | Breathable material (burlap, cheesecloth) |
| 2 | Add base layer of fresh potting mix | Match to plant’s water needs |
| 3 | Position plant so root ball sits an inch below rim | Guarantee proper depth |
Fill around roots gently, avoiding air pockets. Leave 1-2 inches from the top for watering. Make sure the new container is large enough-1-2 inches wider than the old pot. For optimal plant health, select a potting mix that includes perlite or coarse materials to improve drainage and prevent root rot.
Essential Aftercare Steps Following Repotting
After placing your plant in its new home, the real work begins with care that supports its changeover-watering thoroughly to settle the soil, handling roots gently to avoid stress, and providing stable conditions as the plant establishes itself in its refreshed environment.
Focus on watering techniques: saturate soil until water drains freely, then let it dry moderately between waterings to prevent root rot. Monitor roots closely for signs of damage or decay, which could hinder recovery.
Water thoroughly to settle soil, then let dry moderately between waterings to prevent root rot and support your plant’s recovery.
Avoid overwatering initially, as newly repotted plants need time to adapt. Check soil moisture regularly and adjust based on the plant’s response.
With patient care, your plant will thrive in its new pot.
The Impact of Timing on Plant Recovery and Growth
Your plants will thrive when you time repotting with their natural cycles – late summer to early fall for tropics, and late winter to early spring for indoor plants.
The right moment minimizes shock while aligning with growth patterns, giving roots time to establish before peak seasons.
Watching for signs like root crowding or seasonal changes will help you decide when to give your plants their best chance at recovery.
Optimal Timing
When choosing the right moment to repot your container plants, timing can make all the difference in their health and vigor. Ideal seasons like spring and summer align with growth cycles when plants are most active, making recovery easier.
Early spring is perfect for perennials, while summer’s warmth accelerates root development after transplanting. Avoid dormancy periods, when plants struggle to recover from root damage.
Look for signs like roots pushing through drainage holes or the plant feeling top-heavy-these indicate it’s time to move. Repotting during active growth gives plants energy to explore fresh soil, supporting steady growth without shock.
Growth Signals
As we’ve seen, the right moment to repot depends on a plant’s growth cycle, but recognizing growth signals helps you decide precisely when to act.
When roots push the plant upward or crowd the soil surface, they signal limited space for root regeneration. Compacted roots hinder moisture retention and nutrient uptake, causing drooping leaves despite proper care.
Fresh potting mix improves both water retention and root aeration, supporting new root growth after repotting.
Monitoring these physical cues guarantees you act before plants show stress through halted growth or yellowing. By addressing these signals promptly, you create ideal conditions for robust root development and sustained plant health.
Seasonal Shifts
Although the perfect moment to repot can feel elusive, understanding how seasonal shifts influence plant recovery and growth offers a reliable framework for gardeners of all levels.
Temperature influence plays a key role-cool autumns ease transplant shock, while summer heat stresses roots. Seasonal considerations like light availability and humidity levels determine ideal timing.
Late winter’s increasing light stimulates root growth after repotting, supporting new foliage. Autumn’s cooler temps reduce water stress, aiding recovery.
Avoid midsummer repots during blooms or extreme heat. Instead, target mid-spring to mid-autumn for most plants, avoiding flowering periods.
Addressing Root Bound Conditions Through Repotting
Even if your plant looks fine, it might be struggling beneath the surface.
Root bound conditions occur when roots physically crowd each other, impairing water and nutrient uptake essential for root health. Signs include yellow leaves, wilting, and stunted growth.
Root bound plants suffer as crowded roots hinder water and nutrient absorption, often showing through yellowing leaves and slowed growth.
When repotting techniques involve selecting a larger container and gently loosening compacted roots, you create space for expansion. Trim any circling roots to prevent future binding and refresh the soil to support new growth.
This process not only improves root health but also revitalizes overall plant vigor.
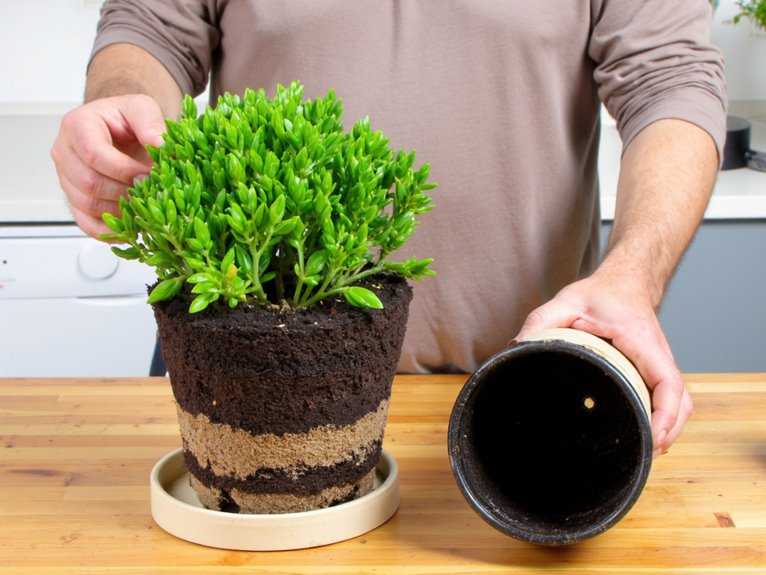
Enhancing Drainage and Aeration in Container Gardens
If your plant’s roots feel tight or you notice it isn’t growing as it should, improving drainage might be just what it needs.
Poor drainage leads to waterlogged soil and root rot, so focus on drainage solutions like proper hole placement and lightweight potting mixes. Aeration techniques such as adding perlite or vermiculite create air pockets that promote healthy root respiration.
Decorative pots without holes can use double potting or coffee filters to avoid soil loss while maintaining drainage. Avoid dense soils that hold too much water – opt for coconut coir, perlite, and coarse sand instead.
Check container design: terracotta’s porosity aids evaporation, while plastic needs robust bottom drainage.
Layering gravel or broken pottery risks perched water but crushed charcoal or shards can improve airflow in some systems.
Prioritize free drainage over decorative aesthetics to keep your plants thriving.
Maintaining Plant Health With Regular Soil Refreshes
Keeping an eye on your container plants means watching for signs that it’s time to refresh the soil-yellow leaves, slow growth, or compacted mix can all point to nutrient loss and poor drainage.
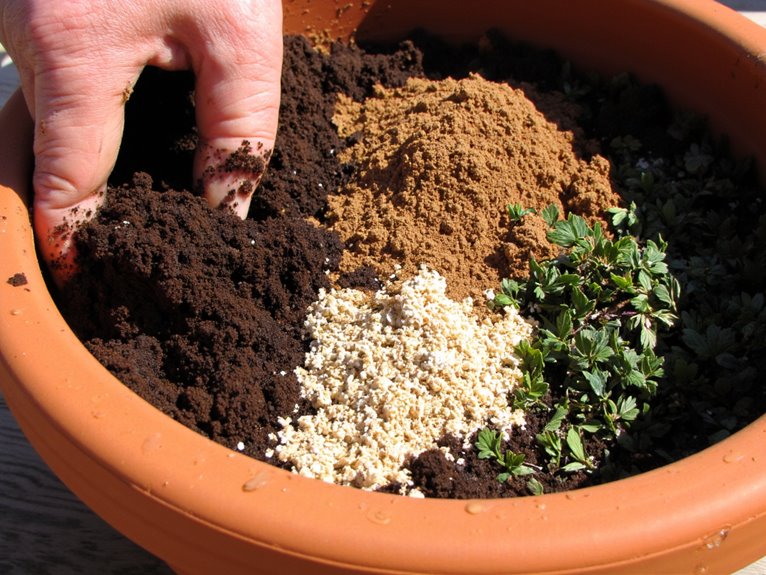
A simple mix of old soil with fresh potting mix, some compost, and maybe a bit of perlite helps maintain that perfect balance of air and water.
Regular soil updates keep roots happy, plants strong, and your container garden thriving year after year.
Soil Signs
Compacted soil limits aeration and drainage, stressing roots.
Mold or fungi often hint at overwatering issues. Regularly testing moisture helps avoid these pitfalls.
Aim to refresh soil every 12–18 months, especially if plants show signs of fatigue. This prevents nutrient exhaustion and keeps your containers thriving.
Root Health
As you tend to your container plants, the health of their roots often goes unnoticed until issues arise. Vibrant root systems thrive when soil nutrient dynamics stay balanced – freshening soil replenishes what plants take through growth and leaching.
Adding compost or mixing in perlite improves both nutrition and aeration, critical for root respiration. Regular top-layer refreshes (6 inches deep) support expansion without full container replacement costs.
Avoid reusing diseased soil; instead, focus on maintaining structure with organic amendments that resist compaction.
- Compost boosts nutrient content safely
- Perlite/vermilateral improve drainage
- Top-layer replaces extend pot life
- Disease-free practices protect roots
Improving Vigor and Appearance With Container Renewal
When you notice your container plants looking a bit tired or their growth slowing down, it’s a sign that renewal might be just what they need. Fresh soil composition replenishes nutrients and improves aeration, giving roots better conditions to thrive.
Root pruning helps remove damaged sections and encourages new growth, making plants look neater too. Choose pots only slightly larger-1-2 inches bigger-to avoid overpotting, which can cause waterlogging.
During repotting, gently wash out old soil and inspect roots for bound masses. If you find circling roots, trim them back to stimulate fresh growth. This not only boosts vigor but also helps plants maintain their shape and color.
Doing this every 3-5 years keeps your containers looking lush year-round!
Frequently Asked Questions
How Does the Time of Day Affect Successful Repotting?
The time of day greatly affects repotting success.
Morning repotting takes advantage of cooler temperatures and higher humidity, helping plants retain moisture as they adjust.
Evening repotting allows them to rest and recover from stress overnight when conditions are stable.
Both times minimize sun exposure and transpiration rates, giving roots better chances to establish in fresh soil without overheating or drying out.
Can Old Potting Mix Be Safely Reused for New Plants?
Yes, old potting mix can be safely reused for new plants if you take proper precautions.
Inspect it carefully for mold or disease signs before potting up. To maintain soil health, mix it with fresh compost and fertilizer to replenish nutrients.
If you’re unsure about contamination, solarize it by sealing in a plastic bag and leaving it in sunlight for 4-12 weeks.
With these steps, potting mix reuse can be both sustainable and successful!
What Alternatives Exist to Commercial Potting Mixes?
Homemade mixes and organic options offer budget-friendly solutions that support plant health while reducing environmental impact.
Coconut coir provides excellent drainage with water retention, while pine bark creates light, aerated beds for ornamental plants.
Combine compost with perlite or sand for nutrient-rich bases, or mix aged manure for natural fertility.
These alternatives require careful balancing of properties but reward gardeners with sustainable, customizable mediums that nurture thriving container plants.
How Do Container Sizes Influence Future Transplantation?
You’ll see how container size sets the stage for future transplant success – larger containers support better root systems that ease shifts, improving plant health after moving.
Transplant size matters most when plants need to grow bigger; starting them in appropriately sized pots helps avoid stress from being too small or too large.
For many gardens, fast potting to your final container size minimizes intermediate issues and promotes robust growth patterns.
Is Repotting Necessary for Newly Purchased Container Plants?
You don’t always need to repot newly purchased plants right away – only when roots are visible or soil quality degrades.
Wait until you see roots emerging from drainage holes, or if the existing medium has compacted and lost nutrients.
Repotting improves plant health by providing fresh soil for better growth.
Avoid it during dormancy periods when plants can’t recover as well.
Prioritize repotting when old soil becomes soggy, depleted, or physically damaged – these conditions stress plants most.
On a final note
You’ve got this! Check for roots crowding the pot, plants outgrowing their homes, or soil looking depleted – these are clues it’s time to repot. Choose pots with good drainage, fresh soil mix with compost, and gently lift plants by their stems. Aftercare means watering thoroughly and placing in bright but indirect light. Regular refreshes keep container gardens thriving year after year.