Container Composting Methods: Creating Nutrient-Rich Soil Amendments in Small Spaces
Container composting transforms food waste into rich soil with methods like Bokashi, which ferments scraps in small bins, or vermicomposting, using worms to break down organic matter. Choose plastic or wooden containers that let air flow but stay moist, and add layers of kitchen waste and brown materials like dried leaves. Turn the mix often to keep it balanced and avoid smells. Electric composters offer hands-off options for busy spaces. Start simple, and you’ll soon be turning trash into black gold-perfect for gardens, pots, or raised beds.
Notable Insights
- Bokashi bins create nutrient-rich soil amendments in small spaces with no odor or pest issues.
- Vermicomposting containers use red wigglers to transform food scraps into rich compost in limited areas.
- Electric composters like Lomi offer container-based solutions for efficient, space-saving decomposition.
- Trench methods in containers allow hidden composting while producing high-quality soil amendments.
- Stackable bins maximize vertical space, making container composting ideal for small-area nutrient production.
Bokashi Composting: Compact Fermentation for Kitchen Waste
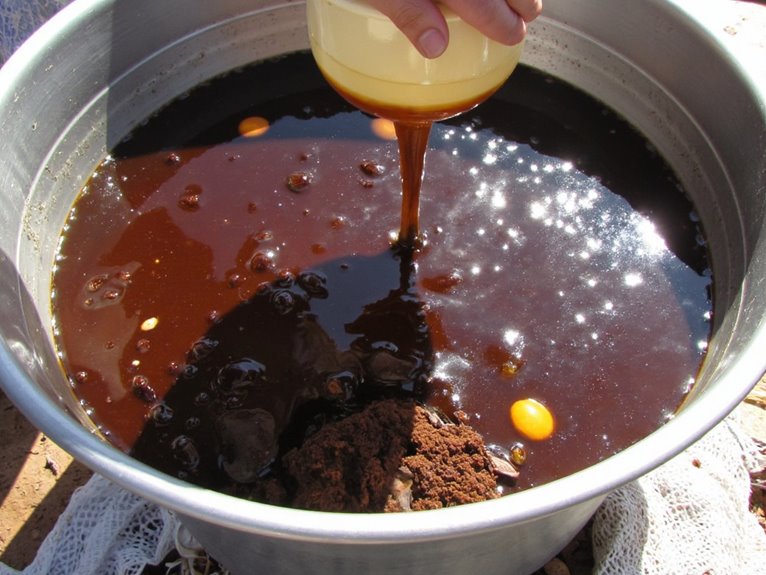
One efficient way to recycle kitchen scraps is through bokashi composting, a compact method that transforms food waste into rich soil amendments.
The anaerobic benefits create an environment where microbes thrive, breaking down scraps without odor or pests.
Anaerobic magic transforms food waste into nutrient-rich compost without smell or pests.
Fermentation timing is key-10 to 14 days in a sealed bin allows complete breakdown.
Layer scraps with bran, press firmly, and check the drain daily for liquid gold.
This method works with meats and dairy, often excluded from traditional piles.
Bokashi tea nourishes plants while compact bins fit small spaces.
When ready, bury the pickled waste to boost soil microbes and humus naturally.
Once matured, Bokashi compost can be directly added to garden beds or mixed with regular compost for enhanced nutrient content.
Vermicomposting Setup: Worms in Small Spaces
Starting a vermicompost setup in small spaces means picking the right bin and caring for your worms properly. A 10-gallon capacity residue-free cleaning is essential to ensure safe conditions for the worms, as the bin should be lined with plastic if it’s wooden or completely clean if it’s plastic.
Vermicomposting Setup: Worms in Small Spaces
Red wigglers thrive in compact setups, making them perfect for small-space composting. Choosing the right worm species guarantees efficient decomposition and nutrient cycling. Bedding materials like shredded paper or coconut coir provide excellent habitats, while feeding practices keep the colony healthy and thriving.
| Worm Species | Bedding Material | Feeding Practice |
|---|---|---|
| Eisenia fetida | Cardboard scraps | Kitchen waste only |
Bin location matters-keep it between 60°F and 75°F for ideal worm activity. Maintenance tips include monitoring moisture levels and fluffing bedding regularly.
You’ll be amazed at how quickly your compost transforms into rich, dark humus perfect for container gardens or indoor plant setups. The finished vermicompost provides essential micronutrients that tropical houseplants need for robust growth and healthy development.
Bin Selection Basics
Whether you’re working with a patio or an apartment, choosing the right bin for your worm colony is key to their health and your convenience.
Bin types like flexible plastic totes or stacked trays balance cost, access, and ventilation needs. Size considerations matter-medium bins (10-18 gallons) offer ideal surface area without depth issues.
Opaque containers protect worms from light stress while allowing airflow through drilled sides. Stacked systems let you grow vertically in small spaces, letting worms migrate up as compost forms.
Prioritize lightweight options for moving and easy lids for feeding. Just as plants benefit from full spectrum lighting to support all growth phases, your finished vermicompost will provide comprehensive nutrition for any plants you choose to grow with your nutrient-rich soil amendment. The right bin setup guarantees happy worms and simple care, making vermicomposting accessible to any green thumb!
Worm Care Essentials
Frequently checking on your worm bin secures these efficient decomposers thrive in small spaces. Red wigglers are ideal for containers-keep 1 pound per square foot, avoiding deep-burrowing species.
- Provide shredded cardboard or browns, keep moisture at sponge-wrung consistency
- Rotate feeding with kitchen scraps, avoiding citrus or dairy
- Monitor temperature (55°F–77°F) and aeration needs
Worm feeding should occur every few days, while bedding maintenance safeguards proper airflow and drainage.
Keep the bin covered to retain humidity but drain excess liquid regularly.
Electric Composter Options for Countertop Use

Composting indoors has never been easier or more efficient thanks to electric countertop models that turn food scraps into rich soil amendments right under your nose.
The Lomi offers app integration features for tracking impact and scheduling cleanups, while Reencle delivers whisper quiet operation ideal for bedrooms or offices.
The Lomi tracks impact through an app, while Reencle operates so quietly it won’t disrupt your sleep or workspace.
Vitamix FoodCyclers balance speed with lower noise levels, making them perfect for noise-sensitive environments.
GEME focuses on odorless microbial decomposition, offering hands-off convenience.
Each model prioritizes different factors-capacity, cycle time, and odor control-to fit lifestyles from busy apartments to family kitchens.
With these options, turning waste into wealth feels both practical and planet-friendly, no matter how small your space.
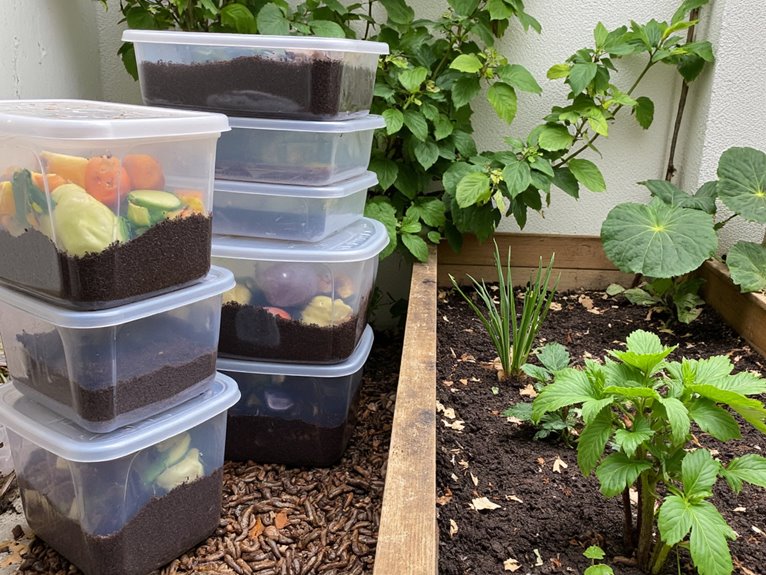
DIY Container Systems for Indoor Composting
While electric composters offer convenience, creating your own system can be both cost-effective and highly customizable-it’s perfect for small spaces where you want to turn scraps into nutrient-rich soil.
- Use airtight plastic tubs with drilled holes for airflow and charcoal filters to control odors.
- Try bokashi or worm bins for compact indoor composting that fits your sustainable practices.
- Regularly stir the pile and balance greens and browns to speed decomposition.
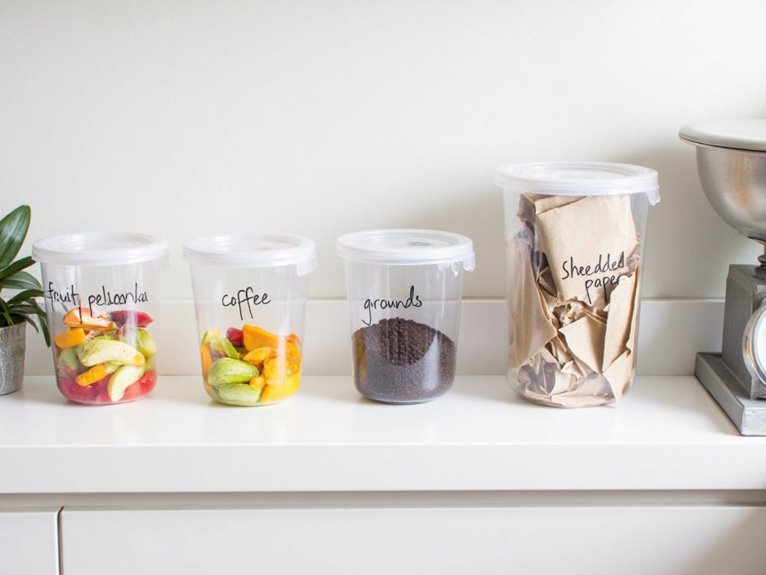
DIY container systems let you tailor indoor composting to your kitchen waste volume and available space. Repurpose household items like cat food tubs as bases, and add layers of browns (cardboard, dry leaves) and greens (fruit scraps, coffee grounds).
Maintain moisture levels by placing containers near windows or using leak-proof trays.
This approach supports sustainable practices by reducing landfill waste while creating valuable compost for your garden or houseplants. Consider using bacterial accelerators to significantly improve composting efficiency and reduce the time needed for decomposition in your DIY container system.
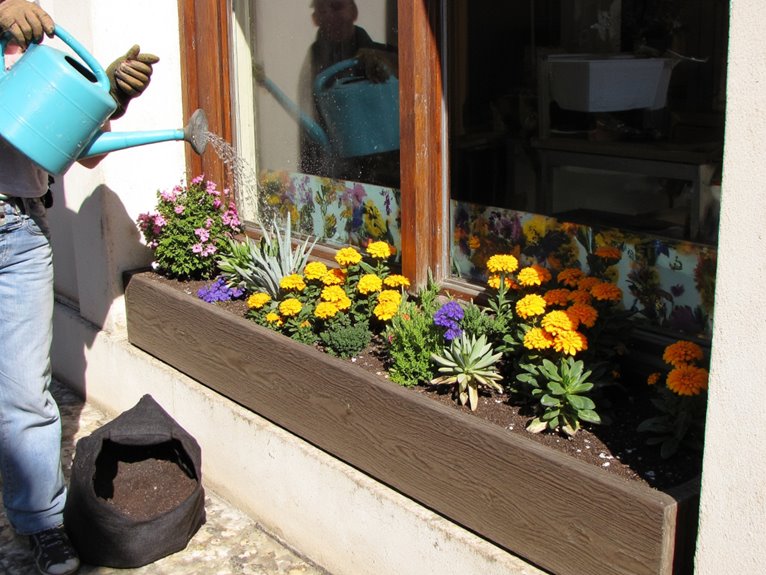
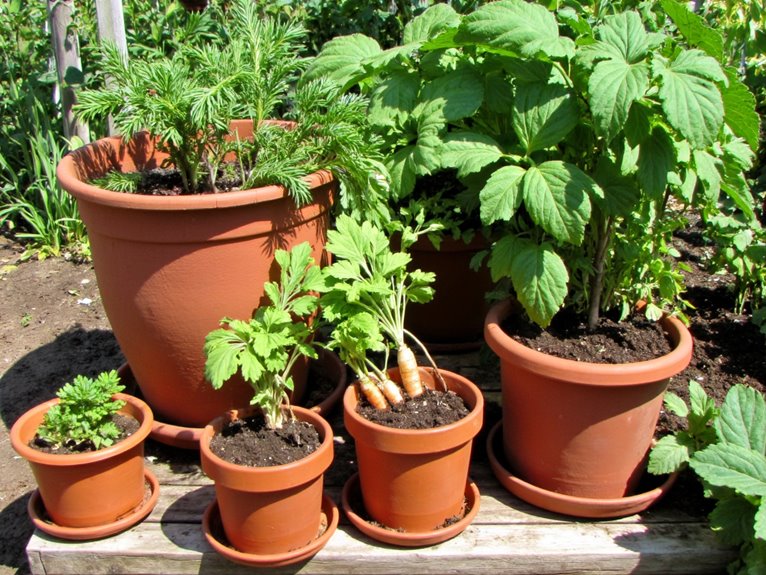
Space-Saving Techniques for Urban Gardens
When you’re working with limited space, the principles that make indoor composting containers effective also underpin many of these urban gardening techniques.
Vertical farming systems maximize output in small areas, while hydroponic and aquaponic methods conserve both water and land for urban sustainability.
Vertical farming maximizes space, hydroponics conserves resources-urban gardens grow up, not out.
Composting techniques extend to rooftop gardens, where tiered shelving and hanging containers optimize balcony space.
Smart technologies like moisture sensors improve efficiency in compact setups.
These approaches not only grow food but also enhance air quality in cities. By rethinking how we use vertical real estate, gardeners can create resilient ecosystems even in dense urban environments.
The result is a more connected community with fresh produce grown right where people live-offering practical solutions for those who want to cultivate change without sacrificing space.
Choosing the Right Container Method for Your Needs
Choosing the right container starts with figuring out how much food waste you actually make each day and where you can fit your compost system.
If you’re working with limited space, tumblers or small bins might be perfect while larger wire containers suit those with yards of room.
The key is matching your method to both your available area and what you’re trying to achieve with compost – whether it’s speed, odor control, or simple convenience.
Choosing the Right Container Method for Your Needs
Have you considered how your compost container’s design might be shaping your results? The right container can transform kitchen scraps into black gold.
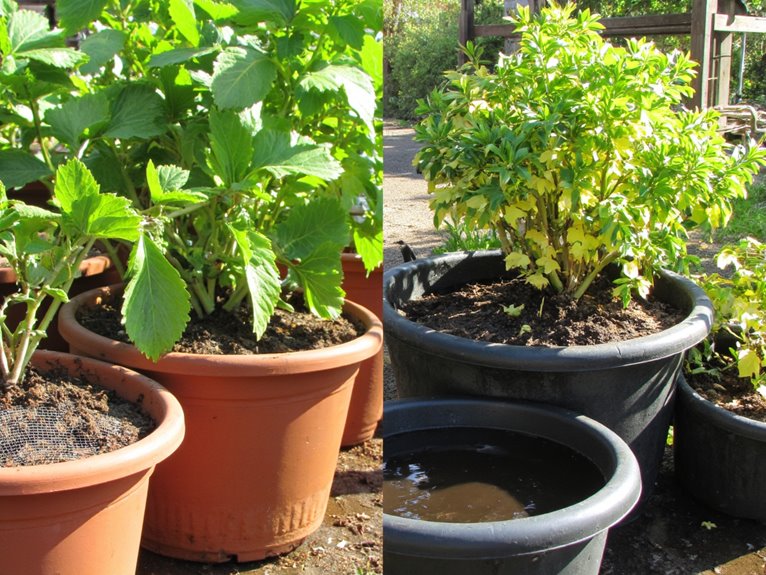
Let’s explore options: plastic bins offer affordability and portability, while wooden ones provide natural insulation. Metal containers deliver durability but may overheat. Fabric sacks promote airflow yet require careful moisture management. Commercial systems offer temperature control for faster decomposition.
- Evaluate your space and waste volume to choose appropriate container sizes
- Select materials that complement your composting method (aerobic vs. anaerobic)
- Consider maintenance needs based on how often you can handle the compost
Find the method that matches your lifestyle – whether it’s a simple bin under the sink or an advanced in-vessel system. Your perfect compost setup awaits!
Assessing Space and Waste Volume
Before you immerse yourself in container composting, take a moment to evaluate where your bin will live and how much waste it needs to handle-because the right fit makes all the difference.
Composting frequency depends on space; larger bins retain heat better for faster decomposition. Waste segregation guarantees you’re feeding the right mix of greens and browns to your system.
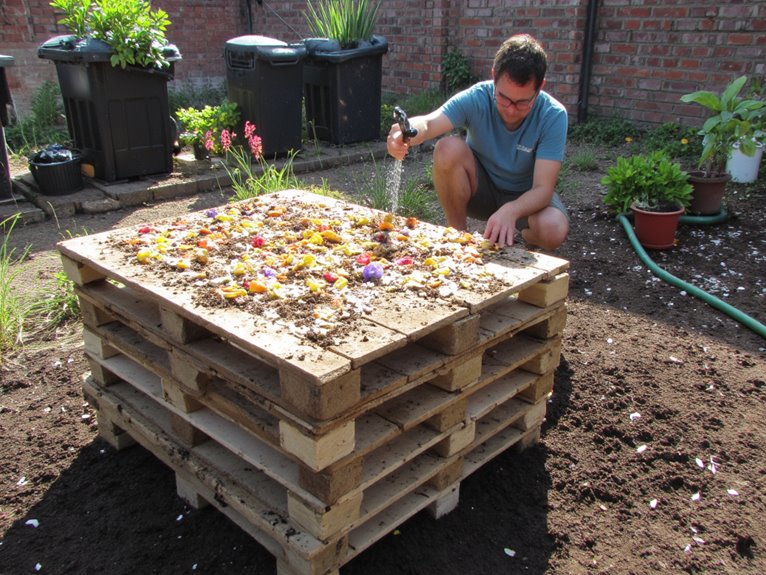
Consider your daily food scraps-0.5 to 2 pounds per person-and whether you’ll add bulky garden waste too. A 3×3×3-foot bin works best for regular use, while smaller containers need more frequent turning.
Position your bin near the kitchen for easy drop-offs and keep it level with good drainage.
Choose a container that matches both your space and your composting goals-whether you’re aiming for basic pile or rich, pathogen-free humus.
Select a Method That Fits Your Physical Constraints and Composting Goals
A little goes a long way in composting-understanding your space and waste volume shapes which method works best for you.
- Closed bins suit small spaces with moderate waste; insulated hot bins accelerate decomposition for quicker goals.
- Vermicomposting thrives on minimal area with low daily food scraps, producing nutrient-rich castings.
- Trench methods hide compost in soil for those with garden space and lighter waste generation needs.
Assess what fits your physical constraints and objectives: a busy gardener might prioritize insulated bins for fast results, while someone with limited space could opt for worm systems.
Whether you generate 1 or 5 pounds of food waste daily, selecting the right container method guarantees you’re working smart, not hard, toward richer soil.
Frequently Asked Questions
How Do I Handle Oily Food Waste in My Compost System?
You can handle oily waste in your compost system by mixing it with carbon-rich materials like dried leaves or paper. This helps absorb excess oils and prevents pests and bad smells.
Avoid putting large amounts of grease directly-start small and cover well. Keep your compost balanced with more browns than greens to avoid anaerobic conditions caused by the oils.
Regular turning also aids decomposition. Remember, oily food waste poses compost challenges, but with care, it can still enrich your soil.
Can I Compost Citrus Peels With My Worm Bin?
You can compost citrus peels with your worm bin, but be mindful of worm health.
Citrus benefits include potassium and trace minerals, but excess citric acid can stress worms. Add small amounts chopped to avoid overwhelming them – a few peels weekly at most.
Monitor their behavior; if they avoid the citrus, reduce input. Balance with other feeds and consider occasional breaks from citrus to maintain ideal conditions for your worm population.
What Should I Do With the Leachate From My Bokashi Bucket?
You can use it as a nutrient enrichment tool by diluting it with water and applying it to your garden. This leachate usage supports microbial life in soil, acting like a natural fertilizer.
Simply mix one part leachate to 100 parts water and spray it on plants or add it to compost piles. It helps break down organic matter faster and feeds the soil naturally.
Make sure you drain it regularly to keep your bucket working properly.
How Often Should I Add New Waste to My Electric Composter?
You can’t add new waste while the composter’s running – wait for each cycle to finish.
Add daily additions as the device allows, ideally every day or as cycles permit.
Balance is key: too much at once prolongs cycles and hinders decomposition.
Some models let small daily amounts, like 2.2 lbs in Reencle.
Let me know if you need help balancing your waste inputs!
Can I Compost Pet Waste With These Container Methods?
You can compost pet waste with container methods, but it requires careful attention to composting challenges.
The key is maintaining temperatures above 140°F by using adequate insulation, regular turning, and balancing nitrogen-rich pet waste with carbon sources like straw or leaves.
Containers need sufficient size to retain heat and allow proper aeration through drilled vents or access ports.
While possible in small spaces, this method demands more vigilance than typical composting due to pathogen risks – only apply the finished product to non-edible plants.
On a final note
Container composting offers efficient ways to recycle kitchen waste into rich soil amendments. Choose bokashi’s compact fermentation, worm bins for small spaces, or electric systems based on your needs. These methods transform organic matter into nutrient-dense compost, perfect for urban gardens with limited space. You’re never too green to start composting in your own container system.