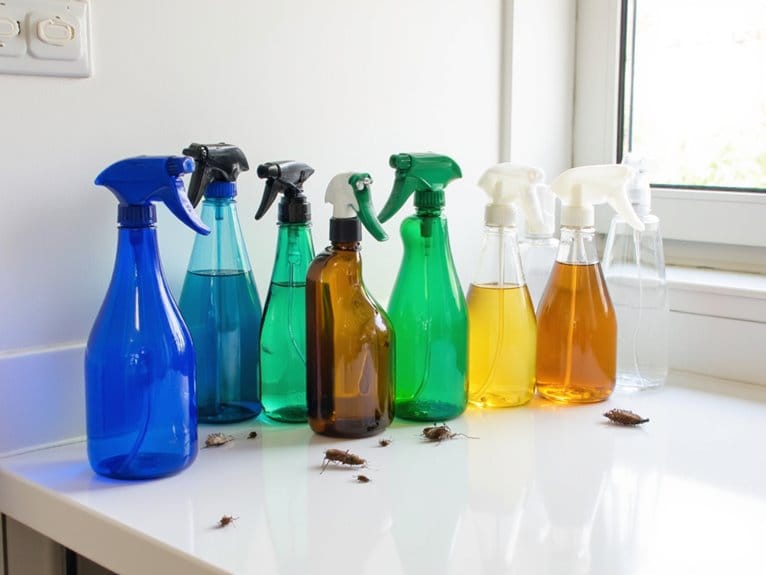
Physical Pest Barriers: Row Covers, Screens, and Protective Structures for Garden Plants
You can defend your garden by physically blocking pests with row covers, mesh screens, and durable structures. Install fine mesh to keep aphids out or use hardware cloth against burrowing rodents. Secure edges with trenches or clips so wind doesn’t tear your protection. Row covers work best when supported with hoops and laid taut over beds. Consider biodegradable collars around stems for an eco-friendly approach. These barriers complement biological controls while letting air and light reach plants. As you’ll discover, combining physical defenses with other methods creates a layered strategy for pest-free gardening.
Notable Insights
- Row covers provide physical protection against insects while allowing air and light penetration for plant growth.
- Fine mesh screens block small pests like aphids and thrips, while sturdy hardware cloth deters rodents and larger mammals.
- Secure row covers with rebar, PVC hoops, or soil trenches to prevent sagging and pest entry points.
- Use biodegradable collars around plant stems to protect against larvae without harming the environment.
- Combine physical barriers with regular inspections and biological controls for integrated pest management.
Types of Physical Pest Barriers for Gardens
Before you immerse yourself in the world of physical pest barriers, consider how these tools can complement your garden’s natural defenses.
Mesh and netting screens block pests like aphids and caterpillars while allowing air and light to reach plants. Durable hardware cloth keeps rodents away from beds, while biodegradable materials offer eco-friendly options for collars and covers. Physical barriers disrupt pest access and protect plants without chemical use Understanding pest behavior helps you choose the right barrier-fine mesh targets small insects, while tall fences deter mammals. Place physical barriers early in the growing season for best results.
Mesh screens deter aphids and caterpillars while letting light and air flow freely-perfect for a balanced garden defense strategy.
Sticky bands on trunks trap crawling pests, and protective screens on greenhouses keep out larger invaders without hindering ventilation.
Installing Row Covers: Techniques and Best Practices
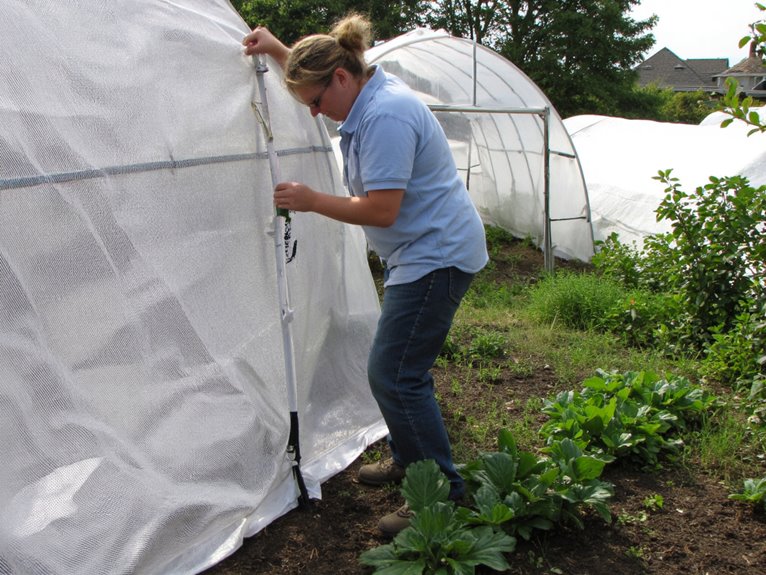
Before you start installing row covers, figure out your garden layout and mark the spots clearly with string or a tape measure to keep everything straight and easy to work with.
Once you’ve got your support structures in place-like hoops made from rebar or PVC-drape the fabric over them loosely so plants can grow without being squished. Fiberglass rods provide simple, durable support for row covers
Secure the edges firmly with soil trenches, rocks, or clips to hold the cover in place against wind and keep pests out.
Installation Techniques
Once you’ve prepped your garden space, setting up row covers becomes a straightforward process that can greatly extend your growing season. Begin by measuring beds accurately; fiberglass rods or PVC hoops usually span about 4 feet to create effective covers. Layout beds in full sun areas for winter use, considering sun angle and shading between tunnels. Make sure rows are straight using string and tape measure for alignment.
| Support Material | Insert Depth | Spacing |
|---|---|---|
| Fiberglass Rods | 1 foot | 2-4 feet |
| Rebar | 8 inches | 2-4 feet |
| PVC Pipes | Cut at angle | 2-4 feet |
Constructing support structures for row covers requires careful placement to make certain stability. For frost protection, build tunnels early in the season. Prioritize moisture management by mounding soil or burying edges under 3 inches of dirt.
As you drape and secure your row cover fabric, pull it taut over hoops to avoid sagging that can stress plants or collect water. Leave some slack if laid directly on the ground to allow growth without tearing.
This installation approach creates a physical pest barrier while supporting your garden through colder months with proper tunnel construction techniques.
Secure Fastening Methods
Two key approaches to securing row covers involve both mechanical fasteners and physical weights. Use plastic pegs or metal stakes to fasten folded edges, hammering them through fabric carefully to avoid tearing.
Weight edges with rocks, soil, or heavy objects every 3 feet for pest-proof stability. Burying cover edges in trenches also creates a secure seal against wind.
Tying twine around hoops or using clips preserves fabric integrity while maintaining tension. Combine methods for best results-pegs with weights, or ties with trenching-to guarantee covers stay intact during storms.
Fastening techniques that prioritize both weight distribution and secure attachment will maximize cover stability for your garden plants.
Mesh Screens for Garden Pest Exclusion
Whether you’re growing vegetables or ornamental plants, mesh screens offer a reliable way to keep pests at bay without resorting to chemicals.
Mesh screen effectiveness depends on size-standard (1.3–1.4 mm) blocks larger insects like moths but struggles with aphids, while fine (0.8 mm) and ultrafine (0.3–0.6 mm) meshes tackle smaller pests like thrips.
Pest exclusion strategies must balance protection with airflow; too-fine mesh can trap heat and humidity. Choose based on your largest target pest, and consider hybrid solutions combining mesh with shade cloth to mitigate environmental impacts.
These physical barriers complement biological controls by allowing beneficial insects through larger openings.
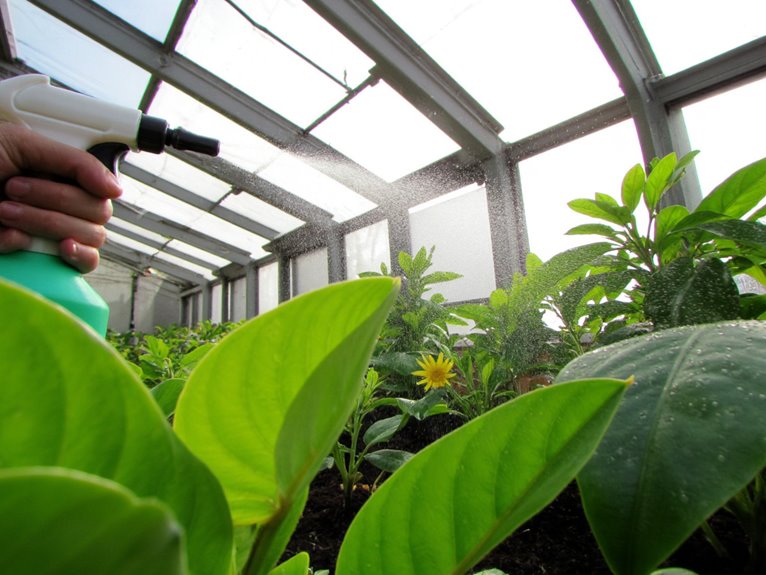
With proper installation, mesh screens provide durable pest exclusion that reduces chemical use and supports sustainable gardening practices. For indoor growing operations, full spectrum LED grow lights can supplement natural light while maintaining the protective benefits of mesh screening systems.
Creating Stem Collars to Protect Plants
A simple solution for protecting vulnerable plants starts with creating stem collars-think of them as wearable armor for your garden’s tallest fighters.
Stem collar materials range from biodegradable newspaper to waxed cardboard or recycled plastic, choosing something sturdy yet breathable to avoid moisture buildup.
Select stem collar materials wisely-biodegradable newspaper, waxed cardboard, or recycled plastic-to ensure durability without trapping moisture.
For installation, cut collars to slip around stems without girdling, inserting about an inch into soil to block cutworms and other subterranean pests. Extend 1.5-2 inches above ground for complete protection. Secure with staples if reusing materials.
This approach not only shields against larvae but also complements nematodes and cultural controls. Inspect regularly to prevent pest sheltering inside collars.
With proper installation, these simple barriers become essential allies in your garden’s defense strategy.
Using Hardware Cloth to Block Burrowing Pests
When it comes to blocking burrowing pests, hardware cloth is a reliable solution that works well when installed properly-especially if you choose the right mesh size for your specific pest problem.
A 1/2-inch mesh is usually good for moles, voles, and gophers, but check the specs carefully before buying to make sure it’s fine enough to stop what you’re up against.
The next step is figuring out how best to place and secure this material in your garden space without giving pests a way around it.
Installation Tips for Hardware Cloth
Before you dig in, take a moment to plan your hardware cloth layout so it fits seamlessly into your garden space. When installing hardware for pest control, measure carefully to guarantee the barrier extends below typical burrowing depths. Clean trench sides and bottom to avoid gaps pests could exploit.
Cut the cloth with extra length to fold upward at 90 degrees above ground, then anchor securely with staples or wire ties. Smooth placement prevents sharp edges from injuring plants or creating entry points.
Regular inspections will help maintain your barrier against gophers, voles, and moles. A well-installed hardware cloth offers lasting protection for your garden investment.
Choosing the Right Mesh Size
What mesh size should you choose to keep burrowing pests out of your garden? For moles and similar pests, 1/4-inch hardware cloth provides our mesh size recommendations. This size offers excellent protection when buried deep enough.
However, practical cost considerations mean larger sizes like 1/2 inch may be more affordable for some gardens. Weigh the need for exclusion against ventilation needs and installation ease.
Smaller mesh creates tighter barriers but adds weight and cost. For most gardens, 1/4 inch balances protection with manageability. If budget constraints matter, consider 1/8-inch cloth for maximum pest exclusion or larger sizes for better airflow.
Always bury at least 2 feet deep to prevent tunneling under your barrier. Choose a mesh that fits both your pest problem and gardening budget!
Floating Row Covers: Benefits and Pollination Management
Though often overlooked, floating row covers offer valuable protection against pests and weather extremes, yet they can also create challenges for pollinators – a balance gardeners need to carefully manage.
Floating row covers protect plants but can block pollinators – remove them timely for crops like tomatoes and squash to ensure productivity.
These lightweight fabrics serve as effective pest exclusion strategies, keeping out insects like leafminers while warming soil by 2-4°F and shielding plants from wind stress.
For cover management techniques, timing is key: remove them when flowers bloom to allow pollination, which is critical for tomatoes, peppers, and squash.
Some crops may suffer without proper pollinator access, so consider manual pollination or introducing managed pollinators.
While covers extend seasons and boost yields, their impact on pollination requires thoughtful planning to maximize both protection and productivity in your garden.
Materials for Effective Pest Barriers
Once you’ve decided on your pest problem, selecting the right barrier material becomes essential.
Welded mesh offers durable, rigid grids that withstand animal pressure while providing clean lines that complement garden aesthetics.
For underground pests, hardware cloth creates invisible yet robust barriers that protect crops without compromising organic standards.
Polypropylene fabrics balance weed suppression with air and water permeability, though heavier variants last longer than thinner options.
Choose netting based on pest size-chicken wire deters rabbits but not smaller insects-while synthetic meshes like Enviro mesh provide broader exclusion.
Always consider how materials will look in your space; polished galvanized options maintain visual appeal longer than untreated versions.
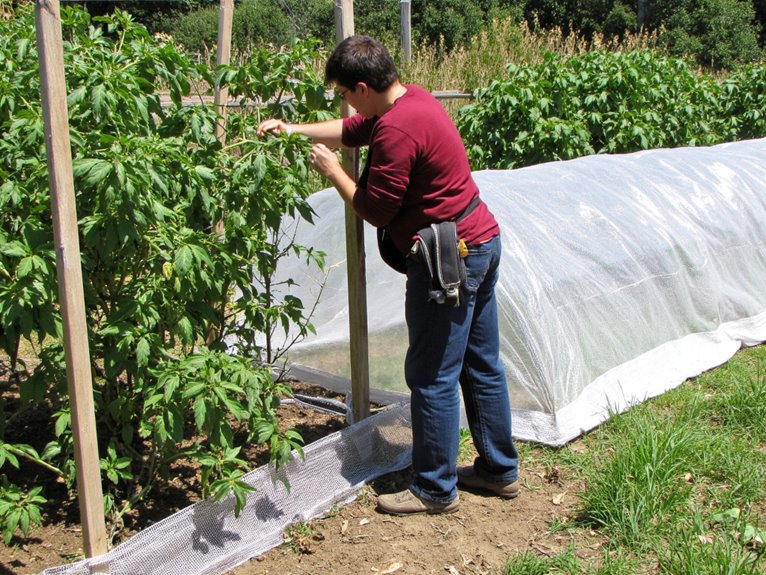
Physical Barriers in Integrated Pest Management
Let’s start with a simple yet effective approach: physical barriers. These provide pest exclusion by preventing access to crops while supporting integrated pest management (IPM). Physical barriers include row covers, fine mesh screens, fencing, and greenhouse entry systems.
- Screens with precise mesh sizes exclude specific pests like thrips or aphids.
- Regular barrier maintenance prevents gaps that could allow pest entry.
- Combining physical barriers with biological controls enhances pest suppression.
- Proper installation guarantees complete exclusion while maintaining necessary airflow for plants.
Remember to inspect and maintain barriers regularly to verify their effectiveness.
Physical barriers reduce chemical use, protect beneficial insects, and support sustainable gardening practices. By integrating these with other IPM methods, you create a layered defense against pests without harming the environment. When physical barriers alone aren’t sufficient for severe infestations, organic insecticides can complement these methods while maintaining garden safety standards.
Design Considerations for Pest-Proof Garden Structures
When designing garden structures to keep pests at bay, thoughtful planning guarantees these barriers last through seasons and pest pressure, so you can focus on growing rather than fixing.
Prioritize pest-resistant materials like steel posts and galvanized mesh for durability against subterranean threats. Bury barriers at least 12 inches deep to exclude burrowing pests, and seal all joints tightly to prevent gaps.
Consider plant diversity alongside your structure design-avoiding rodent-friendly plants near fences reduces pressure on the barrier itself. For a pleasant garden space, balance functional aesthetics with clean lines and natural finishes that complement your landscape.
Design for easy maintenance by using modular components or removable panels, allowing inspections and repairs without dismantling entire structures. Keep barrier areas free of debris to avoid creating additional pest habitats nearby.
Finally, think about microclimates around your structure-sun exposure and drainage can influence both pest activity and the longevity of your physical defenses. Just as lawn care products require temperature-sensitive application to avoid damaging grass, physical barriers must be installed when weather conditions won’t compromise material integrity or soil stability.
Frequently Asked Questions
Are Row Covers Safe for Pollinators During Harvest?
Not really – they block access entirely. For pollinator safety, remove covers when flowers open, especially during morning peak activity. Harvest timing matters: keep covers off past flowering to guarantee proper pollination. While covers protect from pests, they also prevent bees and butterflies from helping fruits set.
How Often Should Mesh Barriers Be Inspected for Damage?
Mesh durability depends on pest activity and weather conditions. Inspect at least four times a year, but check more frequently-monthly or bi-monthly-in high-risk areas. Always inspect after storms or heavy winds to catch tears or gaps early.
Can Physical Barriers Alone Prevent All Pest Issues?
Can physical barriers alone prevent all pest issues? No – they’re effective but limited. Pest tolerance strategies show that some pests bypass barriers entirely, while others thrive in microhabitats created by these protections. Barrier effectiveness comparison reveals they work best when combined with cultural practices and biological controls. Relying solely on them misses soil-dwelling pests and can disrupt pollination. Pair physical barriers with holistic approaches for lasting protection.
What Pests Are Most Likely to Bypass Garden Screens?
Pest identification shows that green peach aphids, melon aphids, silverleaf whiteflies, thrips, and leaffooted bugs often find ways around. Screen effectiveness depends on hole size, material, and installation-always check for gaps or damaged areas. Smaller pests like aphids may need finer mesh, while larger insects exploit structural weaknesses.
Proper sealing and choosing right screen materials make all the difference in keeping your garden protected!
Do Floating Covers Affect Plant Transpiration Rates?
Yes, floating covers change how plants lose water through transpiration. To measure it, you could use gravimetric methods or sap flow sensors. The cover material matters too-lightweight spunbond fabrics let more air and moisture pass than heavy plastic films. This alters the plant’s environment, often reducing transpiration while helping maintain water status, especially in dry weather.
On a final note
These physical barriers offer gardeners reliable protection against pests while supporting plant health. By layering row covers over beds or using mesh screens around structures, you create pest-free zones that thrive. Proper installation guarantees airflow and access for beneficial insects. As you experiment with hardware cloth for burrowing pests or floating covers for delicate plants, remember these methods complement rather than replace other gardening practices. With thoughtful design, your garden can become a resilient, pest-proof haven.