Salt Damage in Container Plants: Managing Fertilizer Burn and Salt Buildup in Potting Soil
You’ll notice salt damage in containers through yellowing leaf edges, browning tips, and stunted growth-especially on older leaves. To manage it, use low-sodium fertilizers, dilute applications, and water deeply to leach salts below the root zone. Check irrigation water quality, as high sodium levels can exacerbate the issue. For existing buildup, flush pots thoroughly with warm water and consider gypsum to help dissolve salts. Choose salt-tolerant species like oleander or rugosa rose for containers, and don’t forget to gently remove surface salt crusts-these practices will set you up for healthier plants that can handle even the harshest winters.
Notable Insights
- Identify salt damage through leaf browning edges, discoloration, and stem dieback in container plants.
- Prevent buildup with low-sodium fertilizers, diluted applications, and deep watering to flush salts from potting soil.
- Monitor irrigation water quality for high sodium/chloride levels that contribute to salt stress in containers.
- Leach excess salts by thoroughly watering to dissolve crusts and drain completely between flushes.
- Choose salt-tolerant container species like Oleander or Rugosa Rose and prioritize native coastal plants for resilience.
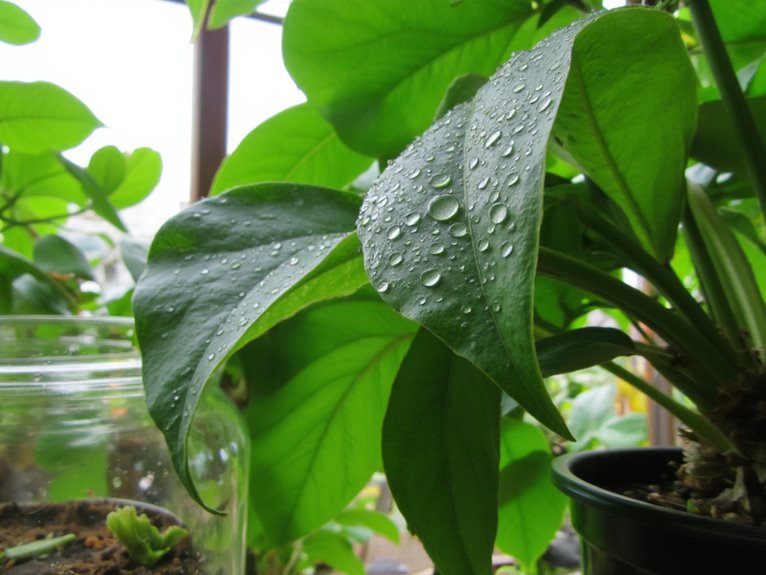
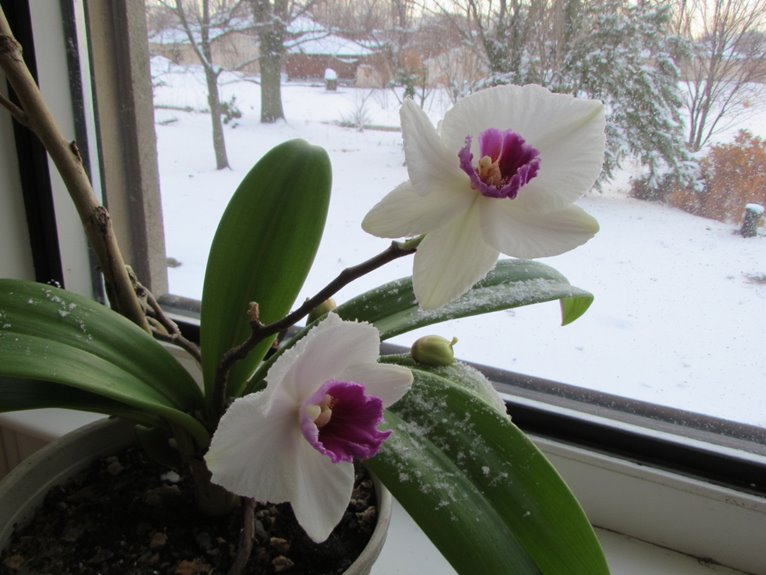
Recognizing Symptoms of Salt Damage in Container Plants
Have you ever noticed your container plants looking stressed despite proper care?
Salt damage often shows through distinct discoloration patterns and twig mortality. Leaves may turn yellow or brown at edges, with browning starting at tips and moving inward. Older leaves typically show these changes first.
Salt stress reveals itself through clear leaf discoloration and twig death, starting at edges and moving inward on older foliage.
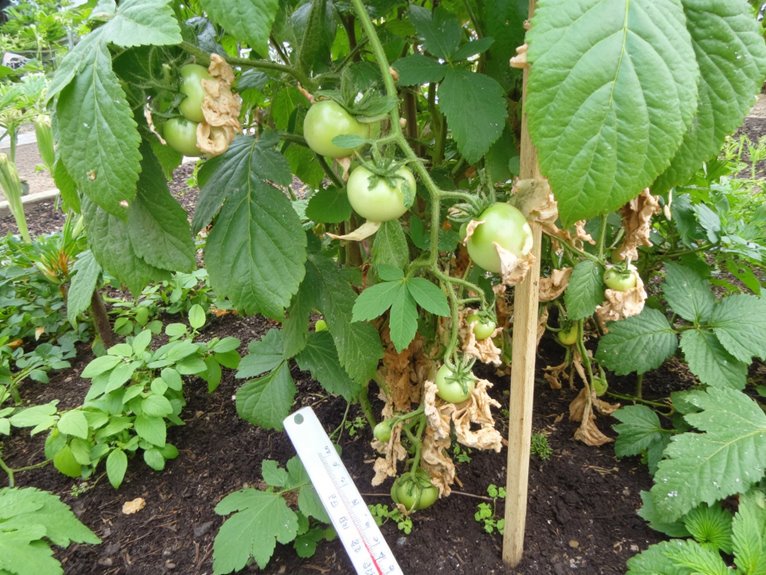
Stem dieback is common where salt spray hits directly, like on branches near roads. Twigs might blacken and die back, especially if plants face salty runoff paths.
These symptoms often appear in spring after winter deicing salts build up. Salt accumulation in potting mix can disrupt nutrient uptake and cause permanent root damage.
Check for unusual dark green before yellowing-this can signal salt stress early on. Similar to how chemical treatments can cause concerns for plant health, excessive salt buildup creates toxic conditions that stress container plants beyond their tolerance levels.
If you spot these signs, it’s time to rethink your fertilizing routine and watering practices.
Preventing Salt Buildup Through Fertilizer Management
The right fertilizer types and application methods can greatly reduce salt accumulation risks. Let me share some practical tips:
- Choose organic fertilizers over synthetic ones that often have higher salt content.
- Use water-soluble formulas with low sodium levels for containers.
- Apply diluted solutions rather than high-concentration applications.
- Follow recommended schedules instead of over-fertilizing.
- Monitor soil moisture to avoid localized salt concentrations near roots.
Consider using balanced NPK ratios like 10-10-10 for container plants, as they provide essential nutrients without overwhelming the plant with excess salts from any single nutrient component.
Regular flushing with water is essential to remove accumulated salts and prevent nutrient lockout.
The Role of Irrigation Water Quality in Salt Accumulation
You’re probably wondering how what you water affects those salt buildups-turns out the answer’s in the water itself!
High sodium and chloride from irrigation sources can sneak into containers even when you think you’re being careful.
Monitoring these levels regularly helps catch issues early before they really hurt your plants.
Hmm, I need to make it slightly more technical without overwhelming. Let me adjust a bit:
You’re probably wondering how what you water affects those salt buildups-turns out the answer’s in the water itself!
High sodium and chloride from irrigation sources can sneak into containers even when you think you’re being careful.
Monitoring these levels regularly helps catch issues early before they really hurt your plants.
I’ll go with this version as it strikes a good balance between accessible and informative, while naturally addressing the key points.
Water Quality Impact
As gardeners manage container plants, water quality plays a critical role in salt accumulation that can harm both plants and soil structure. The same tap water used for coffee might also be stressing your tomato seedlings!
Let’s examine how irrigation sources and water contaminants impact your garden.
- Well water may contain naturally high sodium from geological contamination.
- Road salts leaching into groundwater raise chloride levels in northern regions.
- Water softeners replace calcium with sodium, worsening salt buildup.
- High EC values (over 2 dS/m) signal increased salt stress risk.
- SAR measurements show how sodium relates to other cations in water.
Always test your irrigation water‘s composition before planting. Even small changes in water quality can dramatically affect container plant health over time. Regular monitoring with pH meters designed for water testing helps track changes in water quality that could indicate rising salt levels.
Salt Level Monitoring
Even when you water your container plants regularly, hidden dangers may be building up in the soil, so it’s important to understand how your irrigation source affects salt levels over time.
Excess salts from tap water stay behind as it evaporates, concentrating in the root zone and blocking water uptake.
Salt level testing through EC measurements helps track this buildup, showing when salinity thresholds could harm plants.
High sodium also disrupts soil structure, worsening water issues.
Regular testing lets you adjust watering or leaching practices before damage occurs.
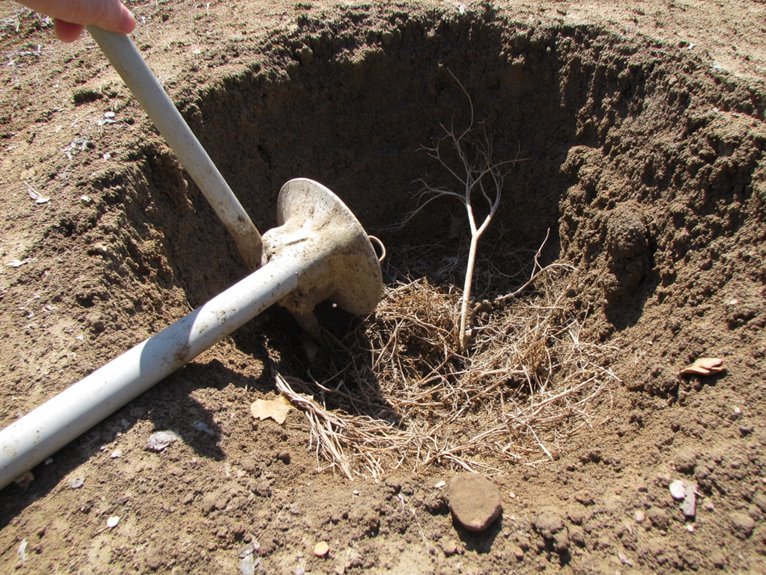
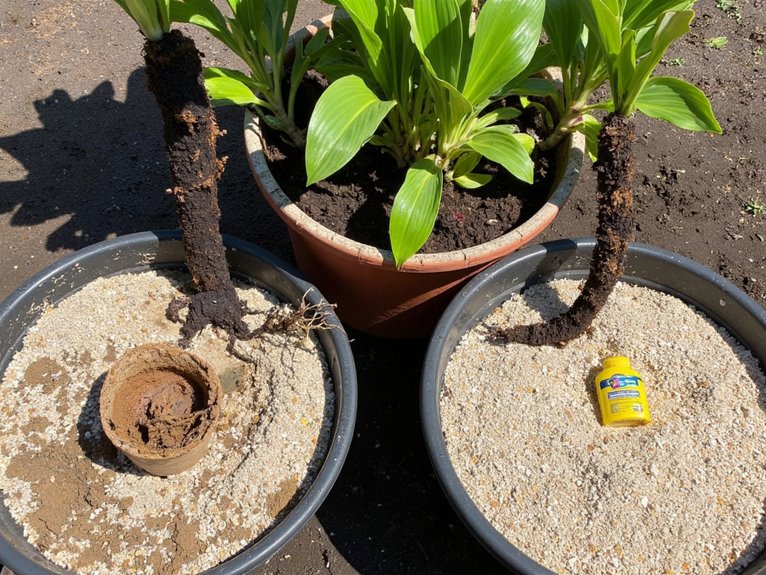
Techniques for Leaching Excess Salts From Potting Soil
Flush excess salts from your container plants with these straightforward techniques that restore soil balance and prevent damage. Start by watering deeply to dissolve salt buildup before flushing.
Salt leaching techniques require twice the water volume of your container to wash away accumulated salts from container soil. Let water drain fully between flushes to avoid reabsorption. Gently remove surface salt crusts before beginning, then repeat until runoff is salt-free.
Position pots in drains or sinks for complete drainage after each session.
- Water slowly but thoroughly to avoid displacing soil
- Use warm water for better salt dissolution
- Check drainage holes regularly to prevent clogging
- Avoid letting containers sit in saucers after watering
- Combine with gypsum applications for enhanced leaching
Monitor closely and flush periodically to maintain healthy container plants.
Choosing Salt-Tolerant Species for Container Gardening
What if your garden’s edge meets the sea? Choosing salt-tolerant species transforms container gardening from challenge to opportunity.
Prioritize plants native to coastal dunes or brackish marshes-these boast natural salt tolerance suitable for pots. For species selection, consult authoritative lists documenting resilience to both salt spray and soil exposure.
Pair drought tolerance with salt resistance for containers with limited retention. Rugosa Rose thrives near salty environments, while Oleander withstands urban pollution.
Pittosporum offers evergreen structure, and Daylily provides adaptable blooms. Herbs like lavender and succulents such as echeverias add fragrance and function.
Remember to match plants to your USDA zone for best results-salt-hardy species still need the right climate. With thoughtful selection, your containers can flourish where others would falter.
Improving Soil Structure to Mitigate Salt Stress
When your garden sits close to the sea or faces regular salt exposure, building resilient container plants starts with more than just choosing right species-it also involves nurturing their growing medium.
- Biochar benefits come from its ability to stabilize soil structure and improve cation exchange capacity
- Microbial inoculants like mycorrhizal fungi boost water uptake and nutrient availability
- Organic amendments bind soil particles and improve porosity for better drainage
- Proper drainage techniques prevent salt accumulation in potting mixes
- These strategies work together to create a more resilient growing environment
Avoiding Fertilizer Burn: Application Tips and Best Practices
You’re probably wondering how to keep that fertilizer from burning your plants-good question!
The key is mixing it just right, applying it at the best times, and checking on those salt levels without overdoing it.
Let’s break down how to do all three without stressing your containers or your green thumb.
Proper Fertilizer Dilution Techniques
Although starting with a weak mix can seem counterintuitive, it actually helps prevent fertilizer burn by allowing plants to gradually absorb nutrients without shock.
Fertilizer concentrations matter most-stick to dilution ratios between 1:100 and 1:200 for container health.
- Begin low and build up as plants strengthen.
- Soak granular organic forms before mixing.
- Water-soluble options let you tailor concentration needs.
- Avoid direct application of concentrated feeds.
- Always read labels to avoid burning young roots or scorching leaves.
Timing Application Practices
Once we’ve got our fertilizer mixed just right, the next step is making sure we time those applications perfectly-because even the best nutrients can do more harm than good if given at the wrong moment. Ideal fertilization starts 2-6 weeks after planting, depending on media type and watering. Avoid dormant periods and late freezes.
| Plant Type | Fertilizer Timing |
|---|---|
| Fast-growth | Biweekly apps |
| Slow-grow | Monthly |
| Dormant | None |
| Spring | Mid-spring start |
Seasonal adjustments matter-hold off in winter. Water before applying to dilute salts. Avoid midday feeding. Check plant response to adjust schedules.
Monitoring Salt Levels
Even as we focus on mixing up the perfect fertilizer blend, it’s just as important to keep an eye on salt levels in our container gardens. Excess salts can burn roots and leaves, causing visible damage.
- Regular salt testing with EC meters measures soluble concentrations
- Leach (leachate analysis) of drainage water reveals buildup patterns
- Check for white crusts on soil surfaces
- Flush pots with water to remove excess salts
- Monitor leaf browning and wilting symptoms
These methods help identify when salt levels have become harmful, allowing us to take action before plants show visible stress.
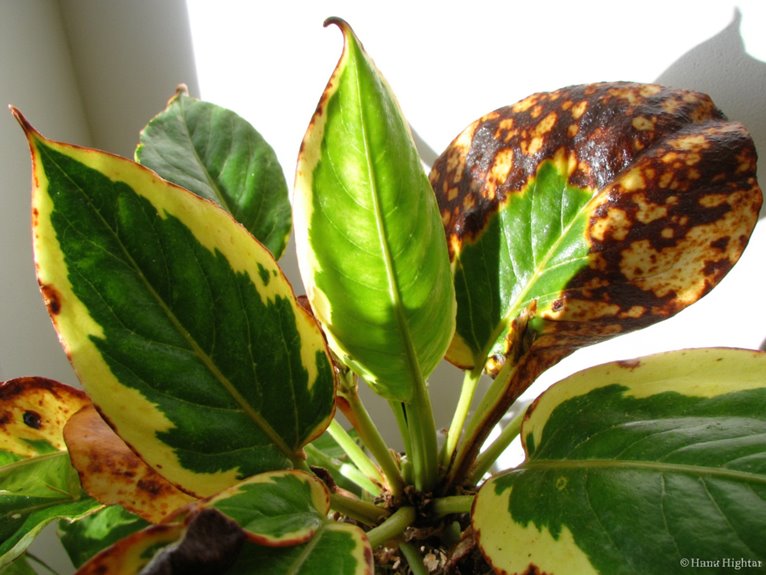
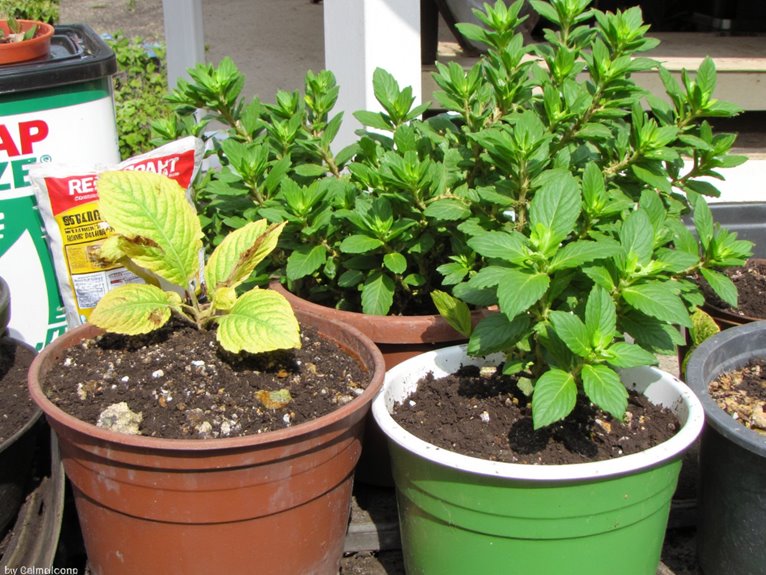
Monitoring and Responding to Early Signs of Salt Injury
How might you first notice salt’s subtle grip on your container plants? Look for browning leaf edges, stunted growth, or yellowing that starts on older leaves. These signs indicate salt injury disrupting water uptake and plant processes.
| Symptom | Location | Response |
|---|---|---|
| Leaf burn | Margins | Flush soil |
| Stunted growth | Stem tips | Reduce fertilizer |
| Yellowing | Older leaves | Leach salts |
| Bud drop | Terminal buds | Improve drainage |
| Root damage | Fine root tips | Amend soil |
Act quickly with leaching and adjust feeding. Monitor plant recovery closely, as salt-stressed plants need careful management to thrive again.
Proper Watering Strategies to Combat Salt Damage
You’ll likely notice salt’s effects creeping in subtly – plants may show signs like brown edges or stunted growth before you realize the full extent of the damage. The key is proper watering strategies that combat these issues.
- Deep, infrequent watering (1.5-2 hours) flushes salts below the root zone, reducing concentration.
- Avoid frequent shallow cycles that trap salts near surfaces; focus on thorough depth.
- Monitor moisture levels to avoid both drought stress and overwatering, which hinders leaching.
- Adjust watering frequency based on plant needs and seasonal changes, always checking soil dryness.
- Use quality water sources and consider mulching to maintain consistent moisture for efficient salt removal.
Cleaning Up Salt Deposits on Plant Surfaces and Soil
When salt crust forms on soil, use a clean tool to scrape off the top layer without hurting plant roots, and always rinse containers thoroughly to stop deposits from building back up.
You’ll want to flush the pot with water regularly to wash away salts before they cause fertilizer burn or block nutrient uptake completely.
Keeping those surfaces clean helps plants breathe easier and stay healthier in their confined spaces.
Removing Salt Crust From Soil
As water evaporates from containers, mineral salts often remain behind, forming visible crusts you’re likely to notice on soil surfaces or pot rims.
Salt crust removal begins with gently scraping off the crust with a knife or spoon, being careful not to damage plant roots.
- Use a plastic knife or small spatula to lift the crust without cutting into the potting mix.
- Always discard removed salt rather than returning it to the soil.
- For pots, scrub with diluted bleach or baking soda to remove salt deposits from surfaces.
- After removal, leach the soil thoroughly to flush remaining salts below the surface.
- Monitor regularly, as salt buildup can happen quickly with frequent fertilizing.
Salt crust removal is a simple but important practice for keeping container plants healthy.
Preventing Salt Accumulation
While salt buildup in containers is common, proactive measures can greatly reduce its impact on plants.
Using low-mineral water sources like filtered or rainwater cuts salt accumulation on surfaces and soil. Regularly wiping leaves with clean water removes existing deposits that harm plant health.
Water deeply enough to leach salts below the root zone, then drain thoroughly to prevent reabsorption. Choose salt-tolerant plants that handle mineral buildup naturally.
These strategies create a resilient system where salt doesn’t accumulate to damage foliage or soil quality.
Treating Fertilizer Burn
You’re trained on data up to October 2023. Fertilizer burn requires careful cleanup and recovery methods. Start by gently wiping salt deposits from leaves with water or damp cloths. Then leach the soil thoroughly, watering until runoff occurs to flush salts away from roots. Avoid fertilizing during recovery. Monitor for improvement signs like new growth. Prevention remains key to avoid future fertilizer solutions causing damage.
- Wipe leaf crusts with water
- Leach soil with distilled water
- Avoid fertilizing during recovery
- Maintain proper watering
- Test soil pH periodically
Be patient – full recovery takes days to weeks. Prioritize plant health by avoiding chemical fixes and focusing on natural recovery processes. Use recovery methods that support root function and minimize stress.
Frequently Asked Questions
How Does Road Salt Specifically Affect Container Plant Ph?
Road salt impact raises potting soil pH, disrupting pH balance critical for nutrient availability.
Sodium from road salt displaces potassium and phosphorus, shifting soil to alkaline conditions.
This elevated pH reduces micronutrient solubility, impairing growth.
Managing this requires leaching and amendments to restore ideal pH ranges for container plants.
Can Organic Mulch Prevent Salt Leaching From Potting Soil?
Yes, organic mulch helps prevent salt leaching from potting soil through its benefits.
As it decomposes, it improves soil structure, creating a clay matrix that holds minerals in place rather than letting them wash away.
Mulch also reduces evaporation, keeping moisture levels steady so plants uptake nutrients properly instead of leaving salts behind.
Are There Natural Alternatives to Chemical Deicers for Salt Prevention?
Yes, there are natural deicers that help with salt prevention. Instead of chemicals, try sugar beet juice or coffee grounds to melt ice without harming plants. These options work by lowering the freezing point naturally.
You can also use sand or gravel for traction without introducing salts into the soil. For containers, opt for organic products labeled as safe for plants to avoid fertilizer burn and salt buildup.
Do Certain Container Materials Exacerbate Salt Damage?
Yes, container materials do exacerbate salt damage.
Porous ceramic pots absorb moisture and trap salts near roots, while plastic containers minimize absorption.
Terracotta’s porosity increases evaporation, leaving more salts behind-especially in small pots where volume dilutes less.
Glazed ceramics and non-porous plastics reduce this risk by letting water drain without retaining dissolved minerals.
Choose wisely based on your garden’s needs!
How Do Climate Changes Influence Salt Accumulation in Potted Plants?
Climate variability increases evaporation, concentrating salts on soil surfaces.
Altered precipitation patterns reduce leaching, letting salts pool in root zones.
Warmer temperatures boost evapotranspiration, worsening this buildup.
Droughts limit water for plants while salts remain, causing fertilizer burn.
Even heavy rainfall events can deposit salts unevenly, creating hotspots.
Managing watering and choosing salt-tolerant plants helps counter these climate-driven challenges.
On a final note
You don’t have to face salt damage alone. With careful fertilizer use, proper watering techniques, and regular leaching, you can prevent and treat this common issue in container plants. Start by understanding the symptoms, then adjust your care routine accordingly. Even the most challenging plants can thrive if you manage salts effectively. Remember, knowledge is your greatest tool in any garden.