Repotting Emergency Procedures: When Plants Must Be Moved Immediately to Survive
When your plant shows emergency repotting signs-like roots bursting through drainage holes, wilting despite watering, or mushy underground stems-it’s time to act fast. Gather a trowel, pruning shears, and fresh well-draining soil. Gently remove the plant, trimming damaged roots and loosening compacted ones. Place it in a slightly larger pot with proper drainage, keeping roots moist but not soggy. Avoid direct sunlight for a week; focus on consistent moisture and indirect light as it recovers. If you’re unsure how to handle an urgent transplant, knowing what to look for can mean the difference between survival and loss.
Notable Insights
- Inspect roots for rot or damage immediately and trim only compromised sections before repotting.
- Handle plants with damp soil to minimize shock and avoid exposing them to direct sunlight for 1–2 weeks.
- Use clean tools to disinfect cuts and prevent infection during urgent transplant procedures.
- Place in bright, indirect light with higher humidity to support root recovery without additional stress.
- Avoid fertilizing immediately after repotting; focus on consistent moisture until plant shows signs of stabilization.
Recognizing Signs That Your Plant Needs Immediate Repotting
You might not realize it’s time for a fresh start until your plant looks completely different-sometimes, it’s hard to spot the subtle cues that signal urgent action. Common Symptoms like roots escaping through drainage holes or leaves wilting despite watering hint at overcrowded roots needing immediate attention. Growth Patterns change dramatically when plants stop flourishing or produce abnormally small leaves, showing their root systems are constrained. A plant pushing upward or tilting out of its pot physically demonstrates rootbound conditions. Check for compacted soil, salt crusts, or degraded pot material that restricts airflow and water retention. When selecting a new container, ensure adequate drainage holes to prevent water accumulation and root rot in the fresh environment. Recognizing these signs early prevents irreversible damage, giving your green companion a second chance to thrive in refreshed conditions.
Before proceeding with the physical move, ensure you’re using plant-specific soil mix that matches the plant’s water and nutrient needs, as improper soil can hinder recovery and cause additional stress.
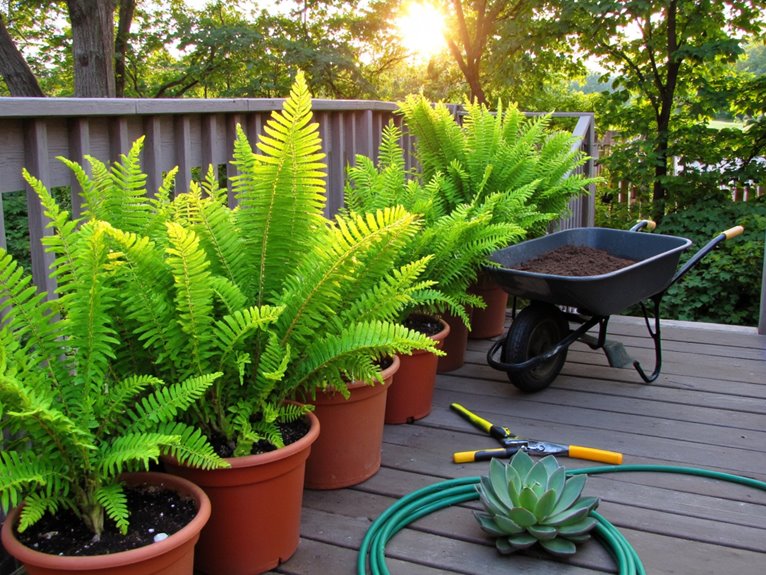
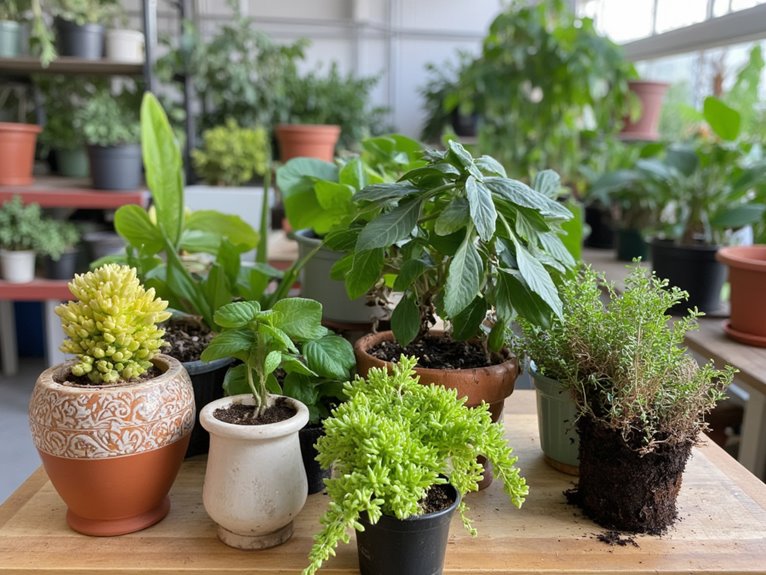
Preparing for Emergency Repotting: Tools, Soil, and Technique
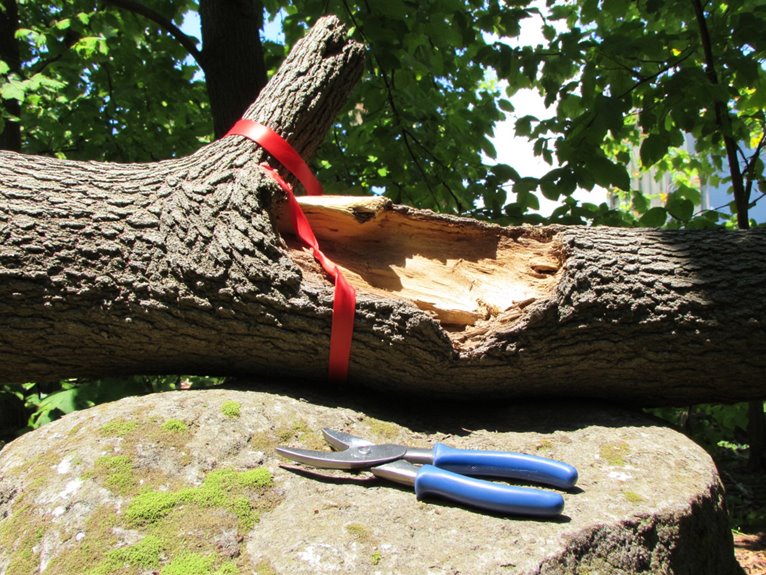
How might you go about giving your plant a brand-new beginning? Emergency repotting requires careful tool selection and thoughtful soil preparation. A metal trowel, pruning shears, and gardening gloves form your basic kit, while a watering can with a narrow spout helps avoid soggy roots. For soil, choose lightweight mixes that drain well and mimic your plant’s natural habitat. Add compost for nutrients but skip garden soil-it compacted too easily. Pre-moisten the mix to ease change, and avoid over-fertilizing immediately after. Organic mixes containing coconut coir provide excellent moisture retention while maintaining proper aeration for stressed roots. With the right tools and soil, you’re setting your plant up for recovery while minimizing transplant shock. Proper drainage is critical – compacted soil can lead to root rot and other issues.
Handling Roots During Urgent Transplantation
When you’re in a hurry to transplant, start by carefully inspecting roots for damage or disease – any rotted sections need immediate removal. While you’re working with the root ball, take time to trim compacted roots that might be circling or matting together, using clean pruning shears or a knife. Don’t forget to disinfect your tools and possibly treat the roots with fungicides to prevent infections from spreading during this stressful process.
Before placing the plant in its new container, make sure to position the roots evenly and avoid crowding them together, as proper root placement is crucial for the plant’s ability to absorb water and nutrients efficiently.
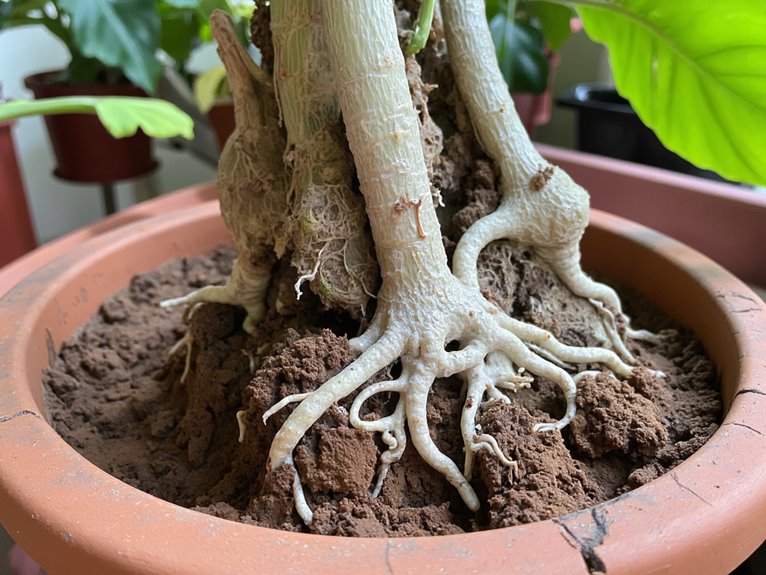
Inspecting Roots for Damage
While time constraints might tempt you to rush through the transplant process, taking a moment to carefully inspect roots can prevent long-term damage-especially when plants need immediate relocation. Focus on root discoloration and other signs during these inspections.
| Inspection Sign | Damage Type | Action Required |
|---|---|---|
| Discoloration | Brown/mushy | Remove affected sections |
| Texture | Slimy/rotten | Cut away with sterilized tools |
| Physical injuries | Broken/cut roots | Handle gently, avoid further damage |
| Root bound condition | Tightly wrapped roots | Loosen carefully before replanting |
| Dryness/brittleness | Desiccated roots | Mist or wrap in damp material |
Gentle handling is essential after root inspections reveal damage. Avoid pulling or twisting; instead, use moistened tools to separate roots without causing additional stress. Once you’ve addressed immediate root damage, selecting a quality organic soil with beneficial ingredients like mycorrhizae and earthworm castings will support your plant’s recovery and promote healthy root development in its new container.
Trimming Compacted Roots
Before you begin, take a moment to assess the rootball – those tightly bound roots need careful attention. Root trimming is essential for good root health when dealing with emergency transplants. Look for compacted, matted, or circling roots that restrict growth and trim them carefully with sharp tools. Avoid cutting more than one-third of the total root mass to prevent shock. Work around thick tap roots while slicing off the bottom inch of the rootball to loosen it up. Handle each root gently to avoid tearing – your plant’s survival depends on it!
Disinfecting Root Systems
After carefully trimming those compacted roots, you’re ready to protect your plant’s foundation – the root system itself. Disinfecting helps eliminate root pathogens before transplanting. Use a dilute bleach solution (1:9) or 3% hydrogen peroxide, but rinse thoroughly to avoid chemical damage.
| Method | Concentration | Time |
|---|---|---|
| Bleach | 1:9 | 5 min |
| Hydrogen Peroxide | 3% | 10 min |
| Water Rinse | – | 10 min |
Avoid chemicals if roots are already damaged. Instead, focus on clean tools and handling techniques to minimize stress. Keep roots moist during transit and provide shade after planting. Balance pathogen control with root health – over-disinfection harms fine hairs essential for water uptake.
The Step-by-Step Process for a Successful Emergency Repot
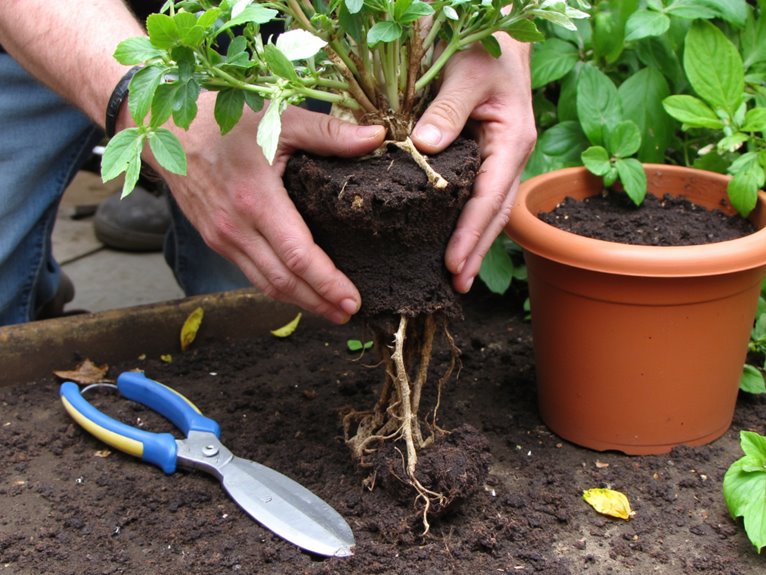
Five key steps guide you through an emergency plant repot, ensuring minimal stress and maximum growth potential during challenging conditions. First, carefully remove the plant by tapping its pot and gently pulling it out, avoiding root damage. Next, loosen tangled roots and trim any dead or circling ones to support plant survival. Choose a larger pot with drainage, adding porous material to prevent soil loss. Position the plant centrally, filling around roots without compacting the soil too tightly. Finally, water generously but avoid fertilizing immediately-let the plant adjust before exposing it to direct light. These steps create excellent conditions for recovery while minimizing shock from the transplant process.
Post-Repot Care to Help Your Plant Recover
After repotting, your plant needs careful attention as it rebuilds its root system – starting with how you water. Give it a thorough soak right away but let the soil dry slightly between drinks to avoid drowning the new setup. As it adjusts, watch for telltale signs like drooping leaves or slow growth that signal it’s either recovering well or needing more TLC.
Watering Wisdom
While repotting can be stressful for plants, finding the right balance in watering helps them recover more smoothly. After moving your plant, give it a thorough soak to settle into its new home, but hold back on frequent watering until it shows it needs it again. The goal is moisture retention without waterlogging-just enough to keep roots happy without drowning them.
- Water deeply once, then wait for the top inch to dry before checking again
- Use a finger or meter to test soil before adding more water
- Choose pots that let excess drain properly to avoid root rot
Watering frequency should match your plant’s needs and environment. Observe signs like drooping leaves or dry soil to decide when to water next. Let your green friend settle in at its own pace-patience pays off in plant recovery!
Environmental Care
Once your plant has settled into its new pot, creating the right environmental conditions becomes essential for successful recovery. After repotting, avoid direct sunlight for 1–2 weeks to prevent leaf scorch and stress-opt for bright, indirect light instead. This gradual approach helps plants acclimate without overexertion. Concurrently, maintain higher humidity levels to reduce transpiration stress and support moisture retention. Use humidifiers or pebble trays in dry environments, but avoid drafts from radiators or windows. Stable temperatures and consistent conditions allow roots to regenerate while minimizing transplant shock symptoms. Monitor light exposure carefully and adjust as your plant strengthens; the right balance fosters resilience without overwhelming its delicate state.
Stress Signals
When plants undergo the physical changes of repotting, their response often shows up as visible stress signals that can be confusing to interpret, but understanding these signs helps you provide better care during recovery. Transplant stress manifests through yellowing leaves, crispy edges, and wilting-each pointing to different aspects of root disruption. Monitoring these recovery signs lets you adjust watering or light conditions precisely.
- Yellowing suggests nutrient imbalance from disturbed roots
- Crispy leaf margins indicate water transport issues
- Drooping stems show impaired energy distribution
These signals fade as roots reestablish, but some plants may take months or even years to fully recover. Patience and consistent care will help your plant rebuild its strength after this stressful shift.
When Emergency Repotting Is Absolutely Necessary
Although emergency repotting might sound intimidating, recognizing the telltale signs like roots bursting through drainage holes or mushy, blackened underground stems can mean the difference between a plant’s survival and its demise. Root bound conditions signal urgent action-when roots crowd the pot, water drains instantly, or stems become woody. Emergency indicators also include soggy soil, leaf drop, or salt crusts. Don’t delay: prune rotted roots, replace contaminated soil, and choose a larger pot. This process can revive stressed plants and prevent irreversible damage. With care, emergency repotting becomes a lifeline rather than a last resort.
Frequently Asked Questions
Can I Use the Same Pot With Fresh Soil if Roots Are Not Bound?
Yes, you can use the same pot with fresh soil if roots are not bound. Make sure to select a pot with good drainage and add enough fresh soil to cover the root ball properly.
How to Prevent Transplant Shock During Emergency Repotting?
To prevent transplant shock during emergency repotting, focus on watering techniques that keep soil consistently moist but not soggy, and prioritize root protection by handling roots gently and avoiding air pockets. Minimize stress with shade and gradual acclimation.
Is It Safe to Trim All Damaged Roots Before Placing in New Soil?
No, it’s not safe to trim all damaged roots-only prune dead or severely damaged ones to protect root health. Use sharp tools and proper trimming techniques to minimize shock and promote recovery without over-pruning.
What if the Current Pot Has No Drainage Holes for Emergency Move?
What if the current pot has no drainage holes for emergency move? First, trim damaged roots and transfer to a drained pot ASAP. Use drainage solutions like gravel layers or drilling holes. Emergency techniques include placing pots on their sides after watering or using cachepots to control saturation.
Can I Repot a Plant With Pests Without Removing Them Completely?
No, you shouldn’t repot a plant with pests without removing them completely. Pest control is essential for plant health-leaving bugs or eggs behind risks re-infestation. Thorough removal during repotting helps prevent ongoing damage and keeps your greenery thriving.
On a final note
Repotting can be a lifesaving act for struggling plants. Recognize distress signals like root crowding or waterlogging, then move swiftly with fresh soil and care. Though challenging, this process builds your green thumb’s resilience. Stay patient as plants recover-they’ll thank you with renewed vigor. Your dedication nurtures not just flora but also your connection to nature’s rhythm.