Complete Guide to Growing Microgreens and Sprouts: Quick Fresh Greens Year-Round
Growing your own microgreens and sprouts brings fresh nutrition year-round with just a little patience. Microgreens develop true leaves while sprouts are young seedlings—both offer unique benefits but require different care. Start with organic seeds from reliable sources, then choose shallow containers with good drainage. Keep them in bright spots with consistent moisture but avoid overwatering. Harvest when they reach 2-4 inches tall for peak nutrition, and store properly to extend freshness. With these basics down, you’re ready to explore more advanced techniques!
Notable Insights
- Choose organic seeds with high germination rates for optimal growth and nutrition.
- Provide 4-16 hours of light daily using natural sunlight or grow lights to ensure robust development.
- Water regularly with bottom-watering techniques to maintain moisture without promoting mold.
- Harvest microgreens when true leaves appear (2-4 inches tall) for peak nutrients and flavor.
- Store in plastic bins with paper towels to preserve freshness and extend shelf life up to 10 days.
Understanding Microgreens vs. Sprouts: Key Differences
Whether you’re starting from seeds or looking to grow these nutrient-dense foods, understanding the difference between microgreens and sprouts is key—because they aren’t just smaller versions of the same thing. Microgreens develop beyond sprouting to form true leaves, stems, and roots, while sprouts stop at the seedling stage with only cotyledons and a radical. Germination methods diverge here: sprouts thrive hydroponically in water, whereas microgreens grow in soil or compost under light. This affects nutrient density, with microgreens offering higher concentrations of vitamins, minerals, and antioxidants due to their advanced development. Nutrient density varies significantly between stages Sprouts provide initial seed nutrients and enzymes but generally have lower nutritional value than these miniature plants. Both offer health benefits, but microgreens’ complex nutrition makes them a popular choice for those seeking more robust nourishment from fresh produce.
Selecting the Right Seeds for Your Garden
Selecting the Right Seeds for Your Garden
Actually, selecting seeds for your microgreen or sprout garden is more than just choosing what looks tasty—you need to take into account quality, size, and preparation methods. Seed sourcing matters most; opt for organic, untreated varieties from reputable growers. Before planting, do viability testing by germinating a sample to verify they’ll grow.
Consider seed size too—large ones like sunflower are easier to handle than tiny basil seeds. Always check packaging for germinity rates and storage conditions to maximize your harvest. Germination time varies significantly by species, impacting both growth timeline and productivity levels.
| Seed Type | Germination Time | Yield Potential |
|---|---|---|
| Sunflower | 2-4 days | High |
| Basil | 3-5 days | Moderate |
| Mustard | 1-3 days | Low |
| Kale | 3-7 days | High |
| Fava Bean | 4-6 days | Moderate |
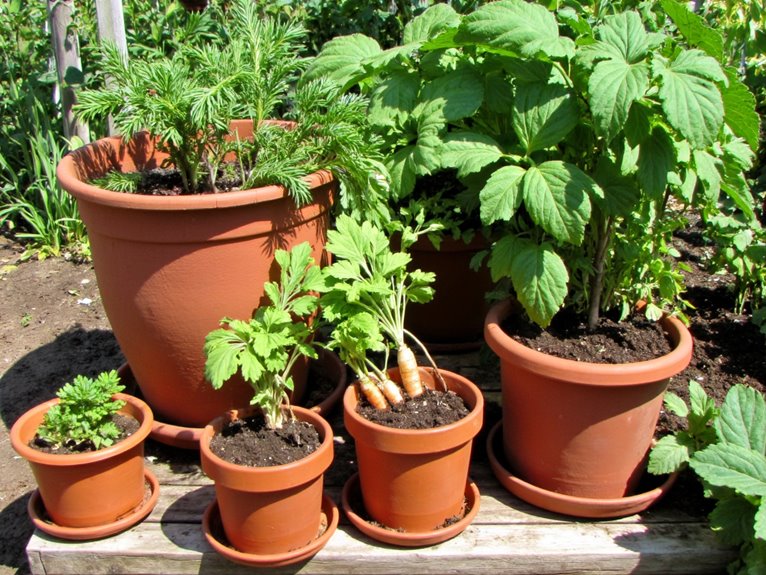
Setting Up the Perfect Growing Environment
Once you’ve selected your seeds, creating the right environment becomes essential to their success, whether you’re working with a garden plot or indoor setup. Choose shallow containers with drainage holes, or punch them yourself to avoid overwatering. For lighting requirements, aim for 4-16 hours daily using natural sunlight or cool-white grow lights. Manipulate humidity by misting regularly and covering trays initially – microgreens thrive in moist conditions. Maintain temperatures between 65°F and 75°F, avoiding drafts or heating vents. Consider hydroponic mats or coconut coir as soil alternatives for contamination-free growth. Harvest timing is critical – most varieties are ready in 14 days when reaching 3-4 inches tall. With these elements balanced, your seeds will germinate strong and grow into delicious, nutrient-packed greens in just a week or two.
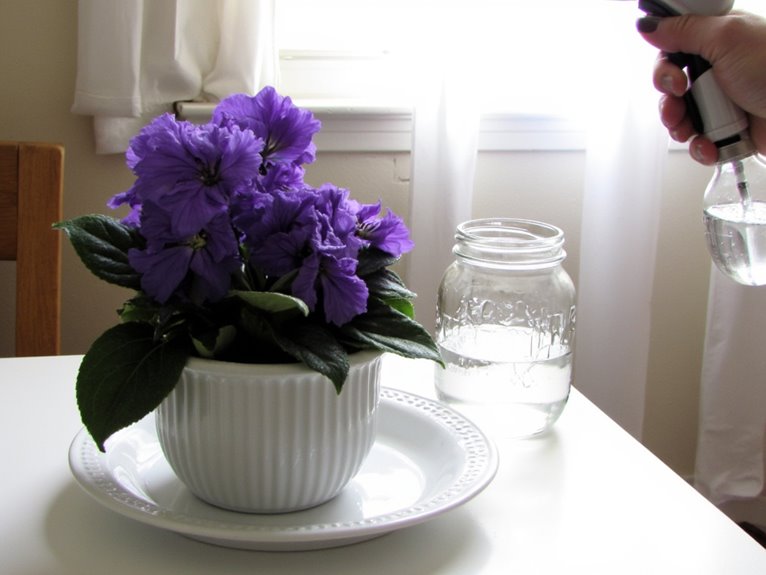
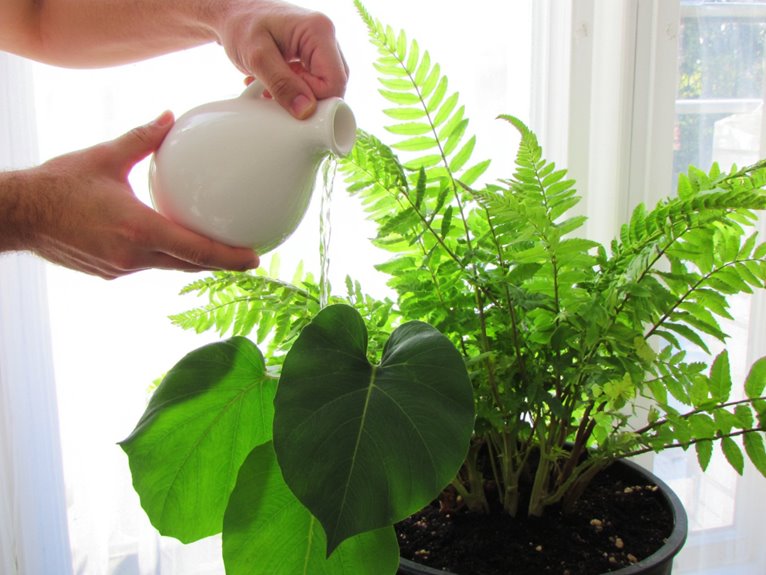
Watering Techniques for Healthy Greens
After establishing the right conditions for your microgreens to start sprouting, the next important step is keeping them consistently watered without overdoing it. Watering frequency should match the drying rate of your substrate—check it daily and only water when it feels slightly dry but not parched.
Top-watering risks damaging shoots, while bottom-watering keeps roots healthy and cuts mold risk. Use a dome during germination for moisture control, then let air circulate as they grow. Always use clean water and adjust volume based on tray size.
For optimal growth, consider containers with self-watering mechanisms that use absorbent cotton ropes to maintain consistent moisture levels without the need for daily monitoring.
Observe your greens closely to find their watering rhythm. With the right balance of water and air, you’ll nurture strong, nutritious microgreens that thrive all year long.
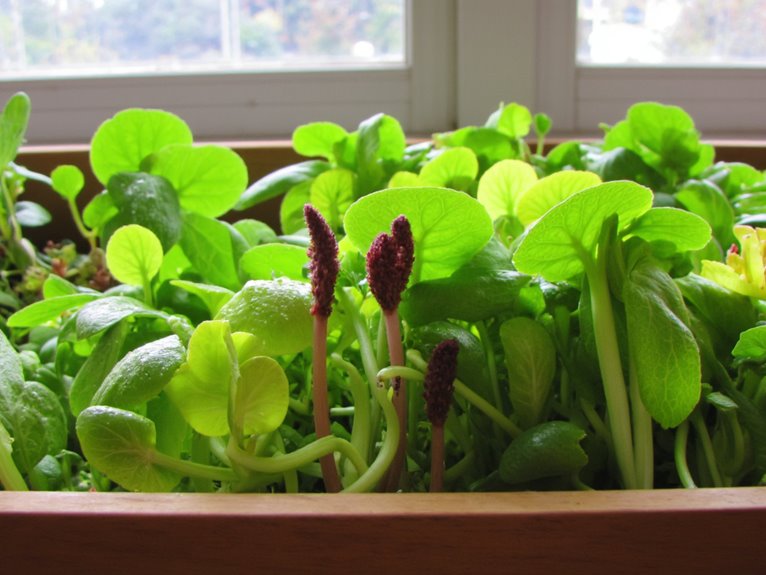
Knowing When to Harvest for Maximum Nutrition
When exactly should you pluck your microgreens at peak power? The harvest timing is vital for maximizing nutrient density. Aim to cut them when the first true leaves appear—between day 7 and 21 after sowing—and plants reach 2–4 inches tall. Harvesting too early reduces nutritional value, while waiting too long toughens texture and dims flavor. Fast growers like radish or wheatgrass are ready in 7 days, while slow ones like kale take longer. Always check for firm, crisp leaves without wilting or yellowing before you snip. This guarantees maximum vitamins, minerals, and antioxidants at harvest.
Boosting Your Diet With Fresh Greens
Imagine biting into a bite of pure nutrition—fresh from your own hands. Microgreens and sprouts pack concentrated health benefits, with antioxidants up to nine times higher than in mature greens. Their high fiber supports digestion, while sprouting boosts enzyme activity that aids nutrient absorption from other foods. Broccoli microgreens even reduce inflammatory markers, potentially lowering disease risks. By adding these vibrant greens daily, you’re not just eating vegetables—you’re enhancing your diet’s power to combat oxidative stress and support immune function. Start small: a handful of radish sprouts with lunch or a sprinkle of red cabbage microgreens on soup. For optimal growth, ensure your microgreens receive clean water free from contaminants that could disrupt nutrient absorption and development. Your body will thank you for boosting both flavor and nutrition year-round.
Avoiding Common Growing Problems
One common pitfall in growing microgreens and sprouts is encountering issues that can derail your harvest, from mold outbreaks to weak seedlings. Mastering germination techniques—like proper planting depth and moisture levels—is key to starting strong. For mold prevention, focus on airflow and humidity control, keeping it below 85%. Always use clean trays and avoid overwatering. If you notice mold or disease, remove affected plants immediately. Pay attention to temperature stability and seed quality, sourcing from reliable suppliers. With careful planning and consistent care, you’ll avoid many common problems and enjoy a bountiful harvest of fresh greens.
Storing Microgreens and Sprouts for Freshness
Once your microgreens and sprouts are ready for harvest, proper storage becomes essential for maintaining their freshness and nutritional value. Container selection matters—plastic bins outperform glass by reducing condensation that spoils greens. Always manage moisture carefully; paper towels absorb excess without trapping dampness that encourages mold. Store in cool (5-13°C) dark spaces for seeds. Harvested microgreens last 2-3 weeks when refrigerated properly (33-40°F), though shelf life varies by variety. For long-term storage, freeze-drying retains most nutrients better than dehydration methods. Handle gently and use within a reasonable timeframe for peak taste and nutrition.
Frequently Asked Questions
Are There Specific Seed Varieties Best for Beginners?
You can grow microgreens successfully with these beginner-friendly varieties. Check local nurseries or trusted online retailers for quality seeds.
How Do I Know if My Growing Medium Is Suitable?
You can tell your growing medium is suitable by checking its pH levels and drainage requirements. It should be loose, well-aerated, and hold moisture without pooling. Start with fresh, clean material each cycle for best results.
Can I Grow Microgreens and Sprouts Together?
You can’t really grow them together well, you know – sprouts need constant rinsing in water while microgreens rely on soil for anchorage and nutrients. Their different growing methods and nutrient needs make it tricky without compromising either crop.
What’s the Ideal Light Source for Young Plants?
The ideal light source for young plants is LED lights, which offer consistent, full-spectrum illumination. Natural sunlight works too when you get at least 4-6 hours daily. Both help with photosynthesis and strong growth.
Do Organic Seeds Make a Significant Difference?
Yeah, organic seeds do make a difference—you get chemical free produce with potentially better nutrient density. The organic seed benefits include sustainable farming and reduced environmental impact, though the nutritional differences are usually minor.
On a final note
With microgreens and sprouts ready to harvest, you’re well on your way to enjoying nutrient-packed, fresh greens anytime of year. Keep your growing space bright, moist, and well-ventilated for continued success. Experiment with flavors and textures by trying different seed varieties—rocket adds a peppery kick, while radish sprouts offer a crisp bite. Don’t hesitate to expand your garden; these tiny plants pack big nutritional benefits that can elevate any meal. Happy growing!