DIY Window Box Construction: Building Custom Plant Containers for Window Growing
You’re ready to transform any window into a lush garden space with custom-built window boxes! Start by selecting durable, weather-resistant materials like cedar or composite for your frame. Design for proper drainage and consider lightweight options if mounting on walls. Assemble with precision – glue edges thoroughly and secure with screws at each joint. Finish with non-toxic sealants to protect both your box and plants. With these steps, you’ll create a beautiful growing space that enhances any outdoor area. Continue exploring techniques to make your garden truly thrive!
Notable Insights
- Select cedar for natural rot resistance or composite materials for durability in custom window box builds.
- Design with 5-7 inch soil depth, trellis integration, and lightweight options for wall-mounted containers.
- Secure joints with wood glue and screws, using clamps and pilot holes to prevent splitting during assembly.
- Finish with non-toxic paint or sealant to protect both the box and plants while preserving natural material properties.
- Mount with weatherproof brackets, ensuring level alignment and gap filling for a seamless window installation.
Selecting the Right Materials and Tools
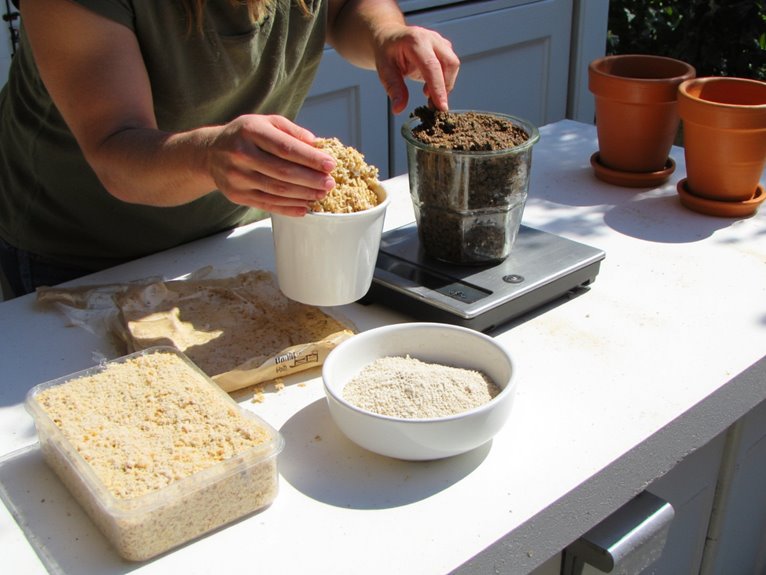
Before you cut your first board, take time to choose materials that align both with your design vision and your climate—cedar offers natural beauty but may require sealing, while composite PVC resists rot yet comes at a higher cost. Emphasize Material Sustainability by selecting recycled composites or locally sourced wood; pressure-treated lumber balances affordability with durability though it often demands additional finishing. Always prioritize Tool Safety when operating power tools like miter saws—wear eye protection and secure your workpiece with clamps. Remember, the right selection guarantees your window box thrives season after season.
When selecting climate-appropriate materials, consider how local weather patterns will affect your container garden’s performance—porous terra cotta may be ideal for Mediterranean climates but could struggle in areas with frequent freezing temperatures.
Design Planning and Dimensioning Guidelines
After choosing your materials, the next step is shaping your window box to fit both your space and plants. Measure carefully—make sure your design complements your window’s size and style with thoughtful color coordination. A box that’s too large or small can disrupt the visual balance of your outdoor area.
Consider adding a trellis integration for climbing plants, which adds dimension without expanding the box’s footprint. Aim for a height between 5 to 7 inches to provide enough soil depth while keeping the weight manageable. Use lightweight materials if mounting on fragile walls, and always confirm proper drainage to keep roots healthy. If you plan to grow edible plants in your window box, selecting organic insecticides for pest management ensures safe treatment up to harvest day. Secure attachment methods are crucial to ensure your box remains firmly in place regardless of weather conditions or plant weight.
Step-by-Step Assembly Techniques
Once you’ve gathered your materials and planned your design, it’s time to bring your window box to life with careful assembly techniques that achieve durability and functionality. Prioritize tool safety by wearing gloves and goggles while drilling pilot holes to prevent wood splitting. Minimize waste through precise measurements before cutting pieces. For custom joinery, apply wood glue along edges and secure with screws, using two per end and four in the bottom. Add temporary support when attaching heavy components like reinforced corners. Finally, design for modular disassembly by ensuring clean joints that allow easy reconfiguration or repair without compromising structure. The construction process emphasizes durability with weather-resistant materials, ensuring your window box can withstand outdoor conditions for years to come. Consider positioning your completed window box at the optimal height of 30-50 inches for easy plant maintenance and visual appeal.
Wood Selection and Finishing Processes
When choosing wood for your window box, consider both its natural properties and how you’ll care for it over time—after all, the right material can make all the difference between a short-lived project and a lasting garden feature. For sustainable alternatives, opt for cedar or black locust, which offer natural rot resistance without chemical treatments. Avoid pine unless untreated, and steer clear of yew or hickory due to their toxic compounds. When finishing, use non-toxic paints or clear sealants to protect both the wood and your plants. Regular maintenance will extend your box’s life, making this a rewarding addition to any space.
Mounting and Installation Procedures
Before you fasten your window box in place, take a moment to plan your mounting strategy – the right approach will guarantee stability that lasts seasons. Secure brackets at half-width marks with Tapcon screws or lag bolts for structural support. Apply silicone sealant around screw heads and between box and wall for weatherproofing techniques.
| Surface | Fastener | Additional Support |
|---|---|---|
| Brick/Stucco | Tapcon screws | Galvanized washers |
| Concrete | Masonry screws | Nylon spacers |
| Wood Siding | Structural screws | Dowel for back support |
Level brackets with a long level and Verify they align with wall marks. Fill gaps on lap siding with cedar or plastic shims. Avoid over-tightening to prevent material deformation. Double-check your work before adding plants – safety first!
Planting Tips for Window Boxes
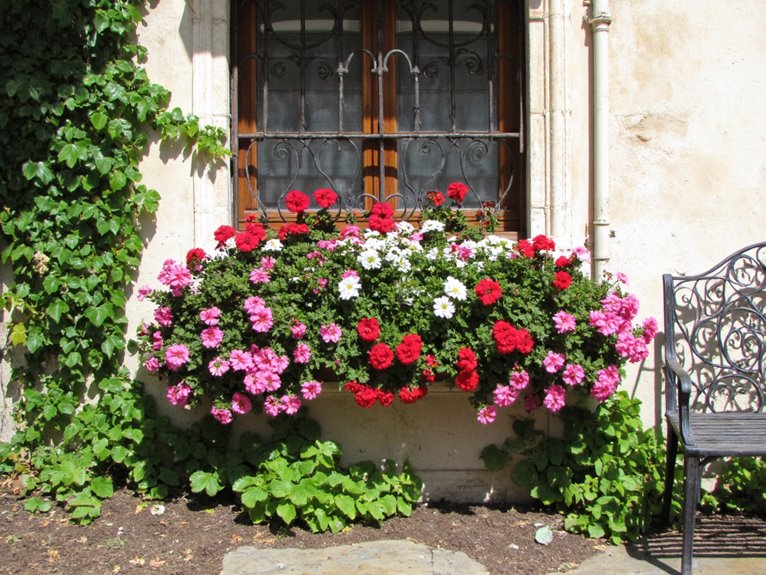
After securing your window box in place, you’re ready to fill it with greenery that will brighten your space all season long. Start by selecting plants suited to your window’s sun/shade exposure and bloom time for continuous color. Optimize Container size optimization by choosing varieties that won’t overcrowd or outgrow their space too quickly. Check Soil pH balance regularly, aiming for 6.0-7.0 for most flowers and herbs. Follow the “thriller, filler, spiller” method: place a tall centerpiece like geraniums at the back, mid-height fillers in the middle, and trailing plants like coleus at the edges. Gently massage roots before planting to encourage growth. Water thoroughly but avoid overwatering – your window box will dry out faster than garden soil! For acid-loving plants like blueberries, use specialty acidic mixes with pH levels between 4.5-5.5 to ensure optimal nutrient absorption and healthy growth. With these tips, you’ll create a vibrant display that complements your home’s style while providing fresh herbs and blooms year-round.
Frequently Asked Questions
How Do I Prevent Birds From Nesting in My Window Box?
You can use bird proofing techniques like foil strips or shiny ribbons to deter songbirds in urban gardens. Try motion-activated sprinklers or place birdhouses nearby to redirect them. Make sure your window box is sealed tight with no gaps for birds to nest.
Can I Use Composite Materials Instead of Wood for the Box?
Yes, you could use composite materials instead of wood for the box. Composite materials, rock wool, and plastic all have pros and cons for durability, weight, and plant health in window boxes.
What Plants Are Best for Shady Windowsill Containers?
You’ll find peace in shady window boxes with ferns, begonias, and anthurium—these plants love low light! Ivy and marigolds can handle some sun, while lilies and succulents need careful placement. Orchids and palms prefer brighter spots, so keep ’em away from dark corners.
How Much Weight Can a Standard Window Box Hold Safely?
A standard window box can hold safely up to 40-60 lbs with two brackets, but weight distribution techniques matter. Use box ventilation solutions to keep it light and avoid overloading. Check your mounting strength before adding heavy plants.
Should I Line the Box With Potting Soil or Just Use Rocks for Drainage?
You should use rocks for drainage, not line the box with soil. Rocks improve airflow, prevent waterlogging, and keep soil in place—key parts of soil composition techniques. For container plant selection methods, choose species that thrive in well-drained environments to avoid root rot.
On a final note
With your window box complete and plants thriving outside your window, you’ve created a personal connection to nature right at home. Remember to rotate blooms for even growth and water according to seasonal needs. As you experiment with layouts and plant combinations, let each season inspire new designs—there’s always room to grow both literally and figuratively from this rewarding project.