A Step-by-Step Guide to Planting Zinnias in Containers
Are you ready to add a burst of color to your outdoor space? Look no further than planting zinnias in containers! This step-by-step guide will walk you through the entire process, from choosing the right container to enjoying the blooming zinnias. With simple instructions and helpful tips, you'll have beautiful zinnias brightening up your patio or balcony in no time. Get your gardening gloves on and let's get started!
Choosing the Right Container
To ensure successful growth, select a suitable container size when planting zinnias in containers. Choosing the right container is crucial for the health and development of your zinnias. The container should be large enough to accommodate the root system of the plant and provide ample space for growth. A general rule of thumb is to choose a container that is at least 8-12 inches deep and wide. This will allow the zinnias to establish a strong root system and prevent overcrowding. Additionally, ensure that the container has proper drainage holes to prevent waterlogging and root rot. Consider the number of zinnias you want to plant and select a container size accordingly. By choosing the right container size, you are setting the foundation for healthy and vibrant zinnias.
Selecting the Perfect Potting Mix
When selecting the perfect potting mix for planting zinnias in containers, you should look for a blend that provides adequate nutrients, moisture retention, and good drainage. Zinnias are heavy feeders, so it's important to choose a potting mix that is rich in organic matter and contains slow-release fertilizers. This will ensure that your zinnias have access to the nutrients they need to grow and bloom beautifully. Additionally, zinnias require a well-draining soil to prevent waterlogged roots and fungal diseases. Look for a potting mix that includes perlite or vermiculite, as these materials improve drainage. Furthermore, zinnias thrive in moist soil, so choose a potting mix that retains moisture without becoming overly saturated. A mix that includes coconut coir or peat moss can help with moisture retention. By selecting a potting mix that meets these criteria, you will provide the ideal growing environment for your zinnias in containers.
Preparing the Container for Planting
First, gather all the necessary materials and choose a suitable container for planting your zinnias. You will need a container that is at least 6 inches deep with drainage holes to prevent waterlogging. Make sure it is large enough for the zinnias to grow and has enough space for their root system. Clean the container thoroughly before use to remove any dirt or debris. Next, fill the container with a good quality potting mix, leaving about an inch of space at the top. The potting mix should be well-draining and nutrient-rich to provide a healthy growing environment for the zinnias. Gently pat down the soil to remove any air pockets. Finally, water the soil lightly to moisten it before planting your zinnias.
Sowing Zinnia Seeds in Containers
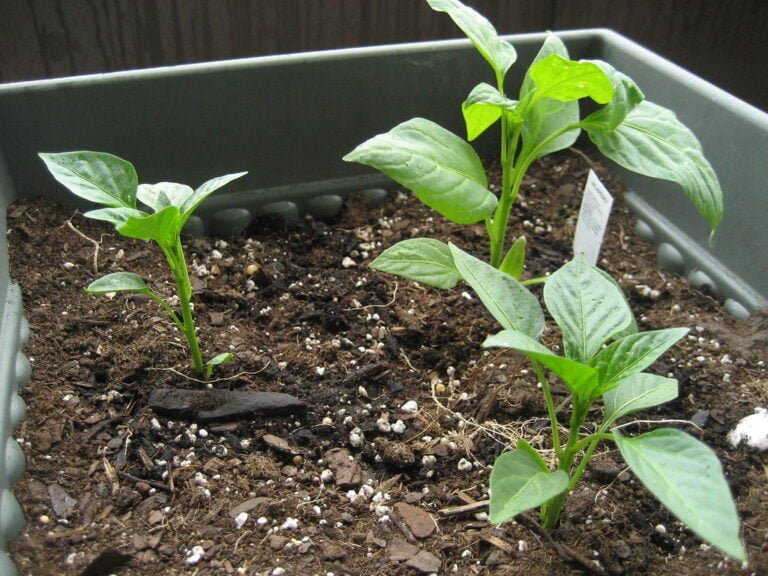
Start by selecting zinnia seeds to plant in your containers. Look for a variety that suits your preferences and the conditions of your growing space. Consider factors such as size, color, and bloom time. Once you have chosen your seeds, prepare your containers by filling them with a well-draining potting mix. Moisten the soil before sowing the seeds to ensure good germination. Place the seeds on top of the soil and lightly press them down, making sure they are in good contact with the soil. Cover the seeds with a thin layer of soil or vermiculite to protect them and help retain moisture. Water gently after sowing and keep the soil consistently moist until the seeds germinate. Place your containers in a sunny location and watch as your zinnias grow and bloom, bringing beauty and joy to your space.
Providing Optimal Sunlight for Growth
To provide optimal sunlight for your zinnias' growth, choose a sunny location for your containers. Zinnias thrive in full sunlight, so find a spot that receives at least six to eight hours of direct sunlight each day. Look for a place that is not shaded by buildings, trees, or other structures that may block the sun. Keep in mind that zinnias can tolerate some shade, but they will produce fewer flowers and have weaker stems. If you live in a hot climate, you may want to consider providing some afternoon shade to protect your zinnias from intense heat. Position your containers in a way that maximizes exposure to the sun, ensuring that your zinnias receive the light they need to grow and bloom beautifully.
Watering Zinnias in Containers
To ensure the proper growth and health of your zinnias in containers, it's important to establish a regular watering routine. Zinnias require consistent moisture to thrive, but overwatering can lead to root rot and other problems. When watering your zinnias, aim to keep the soil evenly moist, but not waterlogged. One way to check if your zinnias need water is by sticking your finger into the soil up to the knuckle. If it feels dry at that depth, it's time to water. When watering, pour water slowly and evenly around the base of the plant until you see it starting to come out of the drainage holes. This ensures that the water reaches the roots. Avoid wetting the foliage, as this can lead to disease. During hot and dry periods, you may need to water your zinnias more frequently to prevent them from drying out. Remember to adjust your watering schedule based on the weather conditions and the needs of your specific zinnia variety.
Fertilizing and Feeding Zinnias
To ensure the proper growth and health of your zinnias in containers, continue nourishing them by fertilizing and feeding on a regular basis. Zinnias are heavy feeders and require regular doses of fertilizer to thrive. Start by choosing a balanced, water-soluble fertilizer with equal amounts of nitrogen, phosphorus, and potassium. Mix the fertilizer according to the instructions on the package and apply it to the soil around the zinnias every two weeks during the growing season. Be careful not to over-fertilize, as this can lead to excessive foliage growth and fewer flowers. Additionally, supplement the fertilizer with organic matter, such as compost or well-rotted manure, to provide essential nutrients and improve the soil's structure. Remember to water your zinnias after fertilizing to help the nutrients reach the roots. With regular feeding, your zinnias will reward you with vibrant blooms all season long.
Controlling Pests and Diseases
Keep pests and diseases at bay by implementing effective control measures. One of the first steps is to regularly inspect your zinnias for any signs of pests or diseases. Look for common pests like aphids, spider mites, and whiteflies. If you notice any, use an insecticidal soap or neem oil to treat the affected plants. Additionally, practicing good sanitation is crucial in preventing the spread of diseases. Remove any dead or infected plant material promptly and dispose of it properly. Water your zinnias at the base to avoid wetting the foliage, as this can create a favorable environment for diseases. Finally, consider using organic fertilizers and mulch to promote healthy growth and increase the plants' resistance to pests and diseases. By following these steps, you can ensure that your zinnias thrive and remain pest and disease-free.
Pruning and Deadheading Zinnias
Have you noticed any overgrown or faded blooms on your zinnias? Pruning and deadheading your zinnias can help maintain their health and promote continuous blooming. Deadheading involves removing faded flowers, while pruning focuses on shaping the plant and controlling its growth. To deadhead your zinnias, simply pinch off the spent blooms just above a set of healthy leaves or buds. This encourages the plant to redirect its energy towards producing new flowers. Pruning can be done by cutting back the stems to about half their length, which promotes bushier growth and prevents legginess. It's best to prune zinnias in the early morning or late afternoon when the temperatures are cooler. By regularly pruning and deadheading your zinnias, you can ensure a vibrant and abundant display of blooms throughout the season.
Enjoying the Blooming Zinnias in Containers
As you continue to care for your zinnias by pruning and deadheading, you can now fully enjoy the vibrant blooms in your containers. The beautiful colors and delicate petals will bring joy to your garden or outdoor space. To make the most of your blooming zinnias, consider placing the containers in areas where you and others can easily admire them. Whether it's on your porch, patio, or balcony, the zinnias will add a pop of color and create a welcoming atmosphere. Take some time each day to sit and appreciate the beauty of the blooms, observing the different stages of growth and the insects that are attracted to them. You can also cut some of the flowers to create a stunning bouquet for your home or to give as a thoughtful gift to others. Remember to continue watering and fertilizing your zinnias to ensure they stay healthy and keep producing more blooms for you to enjoy.
Conclusion
Now that you have followed this step-by-step guide to planting zinnias in containers, you are well on your way to enjoying beautiful blooms. By choosing the right container, selecting the perfect potting mix, and providing optimal sunlight, your zinnias will thrive. Remember to fertilize, control pests, and prune as needed to keep your zinnias healthy. With a little care and attention, you will soon be enjoying the vibrant colors and delightful fragrance of blooming zinnias in your container garden.