Understanding the Process of Harvesting Kale
Are you ready to dive into the world of kale harvesting? In this article, we’ll guide you through the process step by step. From choosing the perfect time to preparing the soil and planting the seeds, to providing adequate water and monitoring for pests and diseases, we’ve got you covered. Learn how to prune and thin your kale plants, and discover the art of harvesting both young and mature leaves. Finally, we’ll share tips on storing and preserving your kale for future use. Let’s get started!
Choosing the Right Time
To choose the right time to harvest kale, you need to consider the plant’s maturity and leaf quality. Kale is a versatile and nutritious leafy green vegetable that can be enjoyed in various dishes. When determining the ideal time for harvesting, look for mature leaves that are firm and crisp. Avoid harvesting kale when the leaves are small and underdeveloped, as they may lack the desired flavor and texture. It is important to note that kale leaves tend to become tougher and slightly bitter with age, so it is best to harvest them before they reach this stage. Additionally, keep an eye out for any signs of wilting or yellowing, as these indicate that the kale may be past its prime. By carefully assessing the plant’s maturity and leaf quality, you can ensure that you harvest kale at its peak freshness and flavor.
Preparing the Soil
Prepare the soil by loosening it with a garden fork before planting kale. This step is crucial to ensure that the soil is well-aerated and allows the roots of the kale plants to grow deeply. Start by removing any weeds or debris from the area where you plan to plant your kale. Using a garden fork, gently pierce the soil and lift it up, breaking apart any clumps. Work your way across the entire area, making sure to reach a depth of at least 6 inches. This process helps to improve drainage and allows the roots to access nutrients more easily. Once the soil is loosened, you can amend it with organic matter such as compost or well-rotted manure to enrich its fertility. This will provide the kale plants with the nutrients they need to thrive. Remember to water the soil lightly after preparing it, as this will help settle it and create a conducive environment for your kale plants.
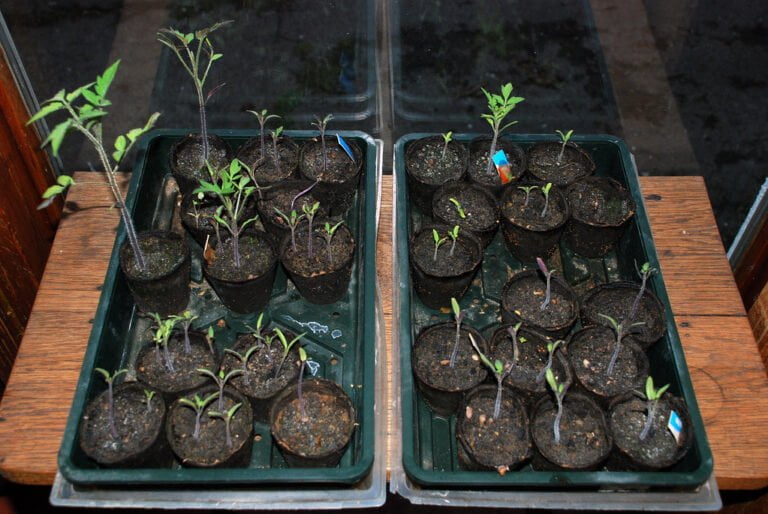
Planting Kale Seeds
Start by selecting a sunny location for planting your kale seeds. Kale thrives in full sun, so choose a spot in your garden that receives at least six hours of direct sunlight each day. Prepare the soil by removing any weeds and loosening it with a garden fork or tiller. Kale prefers well-drained soil with a pH level between 6.0 and 7.5. Before planting, amend the soil with organic matter, such as compost or aged manure, to improve its fertility and moisture retention. Sow the seeds about half an inch deep and one inch apart in rows spaced 18 to 24 inches apart. Water the seeds gently but thoroughly, keeping the soil consistently moist during germination. In about 7 to 14 days, you will see the seedlings emerge.
Providing Adequate Water
To ensure healthy growth and development, you need to provide your kale plants with an adequate water supply. Kale is a leafy vegetable that requires consistent moisture to thrive. When watering your kale plants, it is important to strike a balance between keeping the soil moist and preventing waterlogging. A good rule of thumb is to water deeply, ensuring that the soil is evenly saturated without becoming waterlogged. Aim to water your kale plants about one to two inches per week, depending on weather conditions and soil type. It is also beneficial to water your kale plants in the morning, allowing the leaves to dry throughout the day and minimizing the risk of disease. Remember, providing adequate water is essential for your kale plants’ overall health and productivity.
Monitoring for Pests and Diseases
Begin by regularly inspecting your kale plants for any signs of pests or diseases. Pests like aphids, caterpillars, and flea beetles can cause significant damage to your kale crop if left unchecked. Look for chewed leaves, holes, or discolored spots, as these are indications of pest infestation. If you spot any pests, consider using organic pest control methods such as handpicking or applying insecticidal soap. Diseases like powdery mildew and downy mildew can also affect your kale plants. Keep an eye out for fuzzy white or gray patches on the leaves or a yellowing of the foliage. To prevent the spread of diseases, remove any infected leaves and maintain good air circulation by spacing your plants appropriately. Regular monitoring and quick action are key to protecting your kale plants and ensuring a healthy harvest.
Fertilizing the Plants
To properly nourish your kale plants, it is essential to regularly fertilize them. Fertilizing provides the necessary nutrients for healthy growth and abundant harvests. When choosing a fertilizer, opt for one that is high in nitrogen, as kale plants require a good nitrogen supply for optimal development. You can use organic fertilizers like compost or well-rotted manure, or choose a commercial fertilizer specifically formulated for leafy greens. Apply the fertilizer evenly around the base of the plants, making sure to follow the manufacturer’s instructions for dosage. It is recommended to fertilize kale every four to six weeks throughout the growing season. Regular fertilization will ensure that your kale plants receive the nutrients they need to thrive and produce delicious, nutrient-rich leaves.
Pruning and Thinning Kale
Trimming and removing excess foliage from your kale plants is an important step in the process of cultivating healthy and productive plants. Pruning helps to improve air circulation and sunlight penetration, reducing the risk of disease and promoting better growth. When pruning kale, start by removing any damaged or yellowing leaves. Use clean, sharp pruning shears to make clean cuts at the base of the stem, just above the node. This will encourage the growth of new leaves and prevent the plant from wasting energy on damaged foliage. Thinning kale plants is also essential to ensure proper spacing and prevent overcrowding. Remove weaker or smaller plants, leaving enough space for the remaining ones to grow and receive adequate nutrients. By regularly pruning and thinning your kale plants, you will promote their overall health and maximize their productivity.
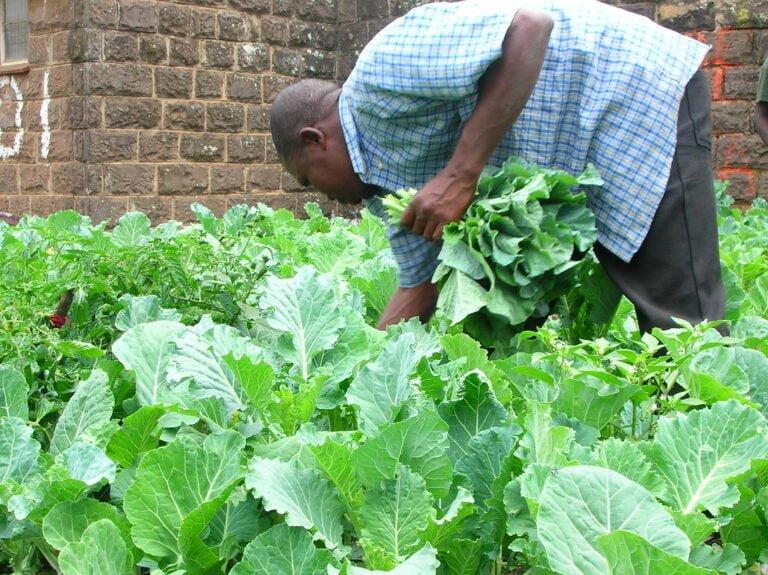
Harvesting Young Leaves
When harvesting young leaves of kale, you can use the knowledge gained from pruning and thinning to ensure optimal growth and productivity. To harvest young kale leaves, begin by identifying the outermost leaves that are large and mature. Carefully hold the stem of the leaf close to the base and gently pull it away from the plant. Avoid tearing or damaging the surrounding leaves. Remember to harvest from the bottom of the plant, working your way up as you go. By removing the larger, older leaves, you allow space for the younger leaves to grow and thrive. Harvesting young leaves regularly promotes continuous growth and encourages the plant to produce fresh, tender leaves throughout the season. Enjoy the benefits of your well-tended kale garden!
Harvesting Mature Leaves
When it comes to harvesting mature kale leaves, it’s important to choose leaves that have reached their full size and have a rich, vibrant color. These leaves are typically firm to the touch and have a slightly textured surface. To harvest them, gently grip the base of the leaf and pull it away from the stem in a swift motion. Avoid tearing the leaves, as this can lead to damage and reduce their quality. Once harvested, place the leaves in a container or bag, taking care not to overcrowd them. Remember, harvesting mature kale leaves at the right time ensures that you serve your audience with the most delicious and nutritious produce.
Storing and Preserving Kale
To ensure the freshness and longevity of your harvested kale, it is essential to properly store and preserve it. After harvesting, remove any damaged or wilted leaves and wash the kale thoroughly to remove any dirt or insects. Once the kale is clean, gently pat it dry using a paper towel or a clean kitchen towel. Next, you can store the kale in a plastic bag or an airtight container to maintain its freshness. It is important to keep the kale in the refrigerator, ideally in the crisper drawer, where the temperature is cooler. By storing your kale properly, you can extend its shelf life by up to a week, allowing you to enjoy its nutritional benefits in various dishes like salads, smoothies, or stir-fries.
Conclusion
Now that you have a better understanding of the process of harvesting kale, you can confidently grow and enjoy this nutritious vegetable in your own garden. By choosing the right time to plant, properly preparing the soil, and providing adequate care, you can ensure a bountiful harvest. Remember to monitor for pests and diseases, prune and thin the plants as needed, and harvest the leaves when they are young and tender. Store and preserve your kale properly to enjoy its freshness for longer. Happy gardening!