How to Set Up Your First Indoor Garden in 7 Simple Steps
Start your indoor garden by choosing a location with proper light exposure, ideally near east or west-facing windows for moderate sunlight. Select containers with drainage holes and fill them with quality potting mix enriched with compost. Install LED grow lights for consistent illumination, and establish a watering system with humidity controls between 40-60%. Choose beginner-friendly plants like herbs or leafy greens, then arrange them strategically by height and light requirements. The following thorough guide reveals essential details for each step.
Notable Insights
- Choose a location with appropriate light exposure and maintain stable temperatures between 60-75°F away from air vents.
- Select containers with proper drainage holes and fill with high-quality potting mix enriched with organic compost.
- Install LED grow lights positioned based on beam angles and use timers for consistent lighting schedules.
- Set up a watering system with food-grade containers and consider drip irrigation for automated, controlled watering.
- Group plants by similar light needs, arrange by height for visual appeal, and ensure adequate spacing.
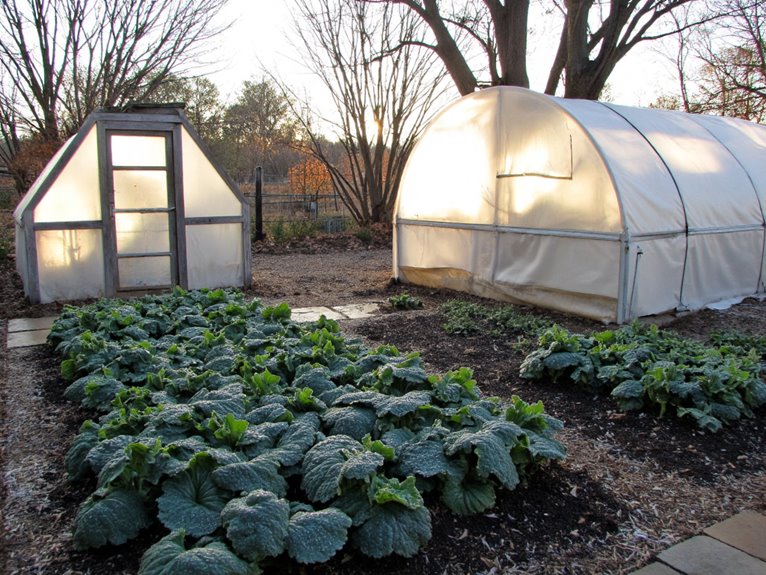
Choose the Perfect Location for Your Indoor Garden
Every successful indoor garden begins with selecting the right location, which directly impacts your plants’ health, growth rate, and overall productivity.
You’ll need to evaluate light exposure first, considering east- or west-facing windows for ideal sunlight, while south-facing windows work best for sun-loving vegetables and succulents.
Temperature stability between 60-75°F is vital, so avoid areas near air vents or heating sources that create fluctuations.
Guarantee proper air circulation without drafts, and consider humidity needs based on your chosen plants. Indoor gardening provides improved air quality and reduces stress while enhancing your living space’s natural beauty.
Space considerations include room for mature plant growth and accessibility factors for routine plant maintenance.
For areas with insufficient natural light, consider adding grow lights to supplement your plants’ lighting needs, as UV-resistant artificial options can provide consistent illumination without the variability of seasonal changes. Look for full-spectrum LED models that provide essential red and blue wavelengths while maintaining energy efficiency for your indoor vegetables.
Finally, implement safety measures by keeping toxic plants away from pets and making sure electrical outlets are available for grow lights when needed.
Select the Right Containers and Pots
When selecting containers for your indoor garden, you’ll need to take into account two fundamental aspects that directly impact plant health and maintenance ease.
Proper sizing and drainage requirements guarantee your plants have adequate root space while preventing waterlogged soil, which can lead to root rot and stunted growth. When repotting, increase the pot diameter by only 1 to 2 inches to provide enough room for roots without overwhelming the plant with excess soil that stays wet. Look for containers with multiple drainage holes to promote healthy root development and prevent water accumulation.
Additionally, implementing effective water collection systems beneath your containers will protect your indoor surfaces while making watering routines more manageable and less messy. Choose containers that complement your choice of potting soil, as the right combination of proper drainage and quality growing medium creates the foundation for thriving indoor plants.
Size and Drainage Requirements
Although choosing the right container might seem straightforward, selecting proper size and drainage directly impacts your indoor garden’s success and your plants’ long-term health.
Container compatibility requires matching pot dimensions to your plant’s root system, with shallow-rooted plants needing 6-8 inches of soil depth while root vegetables demand 10-12 inches minimum. Choose pots 1-2 inches wider than small root balls, or 2-3 inches wider for larger specimens, avoiding drastic size increases that cause overwatering issues. Consider container weight carefully when selecting pots, as heavier materials provide better stability for top-heavy plants and windy indoor conditions near windows or vents. For optimal plant development, ensure containers have a minimum 12-inch depth and 5+ gallon capacity when growing larger vegetables or fruits indoors.
Effective drainage solutions include multiple holes sized appropriately for container volume-20-gallon pots need 4-6 holes around 3/4 inch diameter. Position drainage holes on container sides rather than bottoms when possible, and elevate larger pots using bricks to facilitate proper water escape and prevent root rot. As your plants mature, you may eventually need pruning tools to maintain proper growth and shape within your container garden space.
Water Collection Systems
Effective water collection systems transform your indoor gardening experience by providing a sustainable, reliable water source that reduces dependence on municipal supplies while ensuring consistent moisture for your plants. You’ll want to choose containers made from food-grade plastic or durable polyethylene, which resist UV damage and prevent algae growth when positioned away from direct light. Consider 40-100 gallon capacity barrels with screened lids that block debris while preventing mosquito contamination.
| Container Feature | Benefit | Indoor Application |
|---|---|---|
| Screened Lids | Prevents debris/insects | Maintains water quality |
| Spigot Valves | Easy water access | Connects to irrigation |
| Stackable Design | Increases capacity | Maximizes space efficiency |
| Overflow Outlets | Prevents flooding | Manages excess water |
Your water collection setup should include shutoff valves for connecting drip irrigation systems, ensuring your indoor gardening efforts remain both efficient and sustainable. For optimal plant health, consider supplementing your water collection system with humidity control devices that maintain moisture levels between 40-60% to create an ideal growing environment. When selecting containers, always verify what substances were previously stored and flush thoroughly before use to ensure the safety of your plants and eliminate any potential contaminants that could harm your indoor garden. While chemical treatments exist for outdoor maintenance needs, indoor gardens benefit from natural approaches that protect surrounding plants from potential harm while maintaining a healthy growing ecosystem.
Prepare Your Growing Medi
Your growing medium serves as the foundation for healthy plant development, directly affecting root growth, nutrient uptake, and water retention throughout your indoor garden.
You’ll need to select a high-quality potting mix that provides proper drainage and aeration, while incorporating organic compost to enhance soil structure and nutrient availability. Indoor gardening systems often utilize porous materials that excel at retaining both oxygen and moisture for optimal root environments.
Installing adequate drainage barriers in your containers prevents waterlogging and root rot, ensuring your plants receive the balanced moisture levels they need to thrive. Premium organic mixes with mycorrhizae and beneficial nutrients help facilitate improved nutrient uptake for stronger plant development.
For indoor vegetable gardening, choose an OMRI-listed potting mix specifically formulated for indoor environments that combines sphagnum peat moss with coir and natural fertilizer to maintain proper moisture levels.
Choose Quality Potting Mix
One essential decision that’ll profoundly impact your indoor garden’s success involves selecting the right potting mix, which serves as the foundation for healthy plant growth.
Quality potting mix ingredients should include organic materials like sphagnum peat moss or coconut coir for moisture retention, combined with inorganic components such as perlite or vermiculite.
Aeration importance can’t be overstated, as these porous materials prevent soil compaction and promote healthy root development while reducing risks of root rot and fungus gnats.
You’ll want to avoid cheap mixes containing garden soil or topsoil fillers, which compromise drainage and texture.
Instead, choose sterile, pathogen-free potting mixes specifically formulated for indoor plants, or create your own blend tailored to your specific plants’ moisture and nutrient requirements.
Premium potting mixes with slow-release fertilizers can provide sustained nutrition for several months, reducing the frequency of fertilization and making maintenance easier for busy gardeners.
For vegetable gardening indoors, ensure your potting mix maintains pH levels between 6.0-7.0 to optimize nutrient absorption and support healthy plant development.
Add Organic Compost
After selecting your quality potting mix, the next essential step involves enriching it with organic compost, which transforms ordinary soil into a nutrient-dense growing medium that’ll dramatically boost your plants’ health and productivity. The compost benefits include improved moisture retention, enhanced nutrient availability, and stronger root development through beneficial microbes.
| Application Method | Recommended Ratio |
|---|---|
| Mix with potting soil | 10-20% compost volume |
| Top-dress existing plants | 1-inch layer |
| Compost tea watering | 1:10 dilution |
| Seasonal refresh | Once per growing season |
For proper compost application, blend mature, dark compost directly into your potting mix before planting, or apply as a thin surface layer around established plants. Look for composts with OMRI certification to ensure adherence to organic standards and rigorous testing for contaminants like trace metals, pathogens, and weed seeds. This organic enrichment reduces your dependency on chemical fertilizers while creating a sustainable growing environment. Consider supplementing your compost with slow-release fertilizers that provide continuous nutrition for 2-6 months, further supporting long-term plant health and reducing the need for frequent reapplication.
Install Drainage Barriers
While organic compost provides essential nutrients for your plants, proper drainage barriers form the foundation that prevents waterlogged roots and guarantees your indoor garden thrives.
You’ll want to choose barrier materials like clay pebbles, perlite, or natural options such as river rocks and pine cones for your drainage layer.
These drainage techniques require placing a two-inch layer of your chosen material at the planter’s bottom, then covering it with landscape fabric to prevent soil from clogging the barrier.
For larger containers, consider installing a vertical PVC pipe that allows easy water removal.
Always avoid compressing drainage materials against walls, as this blocks water flow and defeats your barrier’s purpose entirely.
If you’re using clay-based potting soil, adding gypsum amendments can improve water penetration and reduce compaction issues in your containers.
When selecting your potting mix, focus on chunky textures that maintain airflow and prevent soil compaction in your containers.
Set Up Proper Lighting Systems
Since indoor plants can’t access natural sunlight, establishing an effective lighting system becomes the foundation of your gardening success. Understanding different lighting types helps you make informed decisions for your plants’ specific needs. LED grow lights offer the most energy-efficient option, using semiconductors to produce ideal spectrum balance while consuming less electricity than traditional alternatives.
| Light Type | Energy Efficiency | Heat Output | Best For |
|---|---|---|---|
| LED | Highest | Very Low | All growth stages |
| Fluorescent | Moderate | Low | Seedlings, herbs |
| Metal Halide | Good | Moderate | Hydroponics |
| Incandescent | Lowest | High | Not recommended |
Position your lights considering beam angles: narrow beams penetrate deeper canopies, while wide angles cover multiple plants effectively from greater distances. Most LED grow bulbs offer E26 compatibility for easy installation in typical fixtures without requiring specialized equipment. When growing vegetables like cucumbers indoors, you’ll need to supplement with proper fertilizers since nutrient deficiencies can occur more quickly in controlled environments compared to outdoor soil conditions.
Establish Watering and Humidity Controls
How can you guarantee your indoor plants receive consistent moisture without the guesswork of manual watering?
Installing a drip irrigation system provides precise, automated water delivery directly to your plants’ root zones. You can create a simple DIY system by drilling small holes in a capped hose, or invest in plastic pipes with emitters for more controlled flow rates.
Drip irrigation delivers automated, precise watering directly to plant roots, eliminating guesswork through DIY hose systems or professional emitter setups.
Position emitters 12-18 inches apart depending on your soil type, and run watering sessions for approximately 30 minutes every few days using automatic timers.
For humidity control, maintain 40-60% relative humidity using humidifiers or water-filled pebble trays beneath your plants.
Group plants together to create beneficial microclimates through collective transpiration, and avoid placing them near heating vents that can drastically reduce moisture levels.
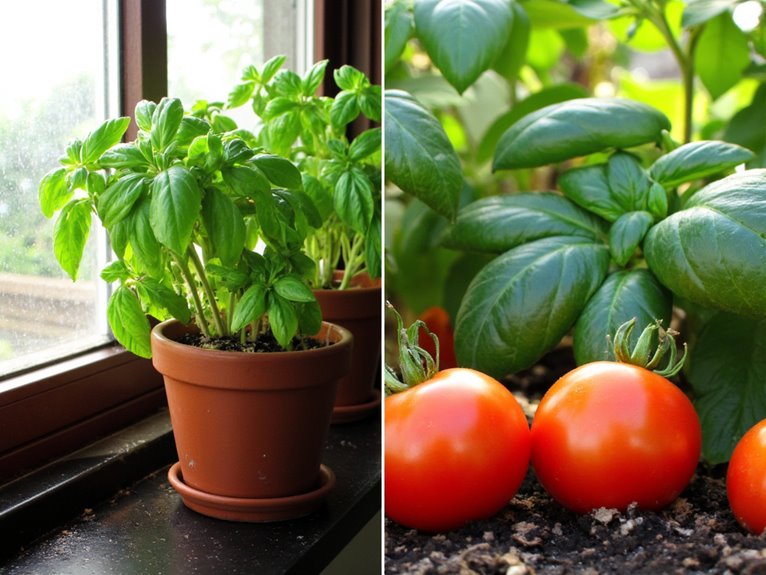
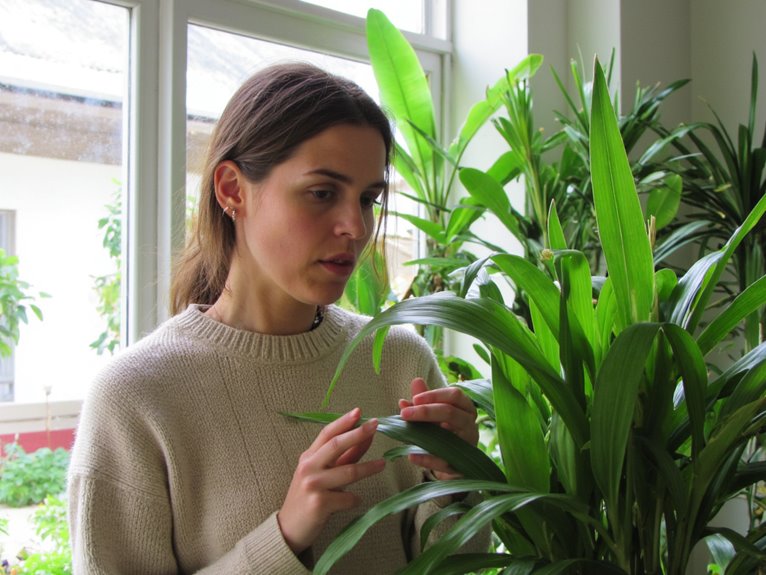
Pick Suitable Plants for Indoor Growing
Three key factors determine your success when selecting plants for indoor cultivation: light requirements, maintenance needs, and growth patterns.
Start with low-maintenance options like Snake Plants or Cast Iron Plants, which adapt to various environmental conditions and forgive occasional neglect. These hardy varieties demonstrate excellent plant compatibility with indoor spaces, thriving in low light while requiring minimal watering.
For brighter areas, consider tropical vines like Pothos and Philodendrons, which offer vibrant foliage and fast growth with moderate care.
If you’re seeking flowering options, Crepe de Chine provides colorful blooms when placed in sunny spots with consistent light. As your plants mature, you may need hedge trimmers to maintain their shape and prevent overgrowth in your indoor space.
Match each plant’s specific needs to your space’s environmental conditions, considering factors like available light, humidity levels, and your maintenance schedule to guarantee long-term success. Regardless of which plants you choose, understanding NPK ratios will help you provide proper nutrition as your indoor garden develops.
Arrange Your Plants for Optimal Growth
Once you’ve selected your plants, thoughtful arrangement becomes the foundation for creating a thriving indoor garden that maximizes both visual appeal and growing success. Strategic plant groupings guarantee each species receives ideal light exposure while creating attractive visual layers throughout your space.
Position taller plants like ferns and dracaenas as backdrops, with shorter succulents and herbs arranged in front to prevent shading issues. Group plants with similar light requirements together, placing high-light varieties near windows and low-light species in shadier spots.
| Plant Height | Light Requirements | Positioning Strategy |
|---|---|---|
| Tall (3+ feet) | High light | Near windows, back placement |
| Medium (1-3 feet) | Moderate light | Middle zones, filtered areas |
| Short (<1 foot) | Low light | Front arrangement, shaded spots |
Guarantee adequate spacing between plants for proper air circulation, preventing fungal diseases while maintaining healthy microclimates throughout your indoor garden.
Frequently Asked Questions
What Temperature Range Is Best for Most Indoor Vegetables?
You’ll want to maintain an ideal temperature between 64°F and 75°F for most indoor vegetables. This range optimizes vegetable growth while preventing stress from temperature extremes that can reduce flowering and fruit production.
How Long Does It Take to See Results From Indoor Gardening?
You’ll see growth timeline results within 1-2 weeks with seedling emergence. Expected yields vary – microgreens harvest in 7-14 days, herbs in 3-6 weeks, and fruiting vegetables need 8-12 weeks.
Can I Use Kitchen Scraps or Food Waste as Fertilizer?
Yes, you can use kitchen scraps as fertilizer! Composting banana peels, coffee grounds, and vegetable scraps provides excellent compost benefits while improving your food waste management and creating nutrient-rich fertilizer for your plants.
What Should I Do if My Plants Get Pests or Diseases?
Start with pest control by physically removing visible insects and washing leaves with soapy water. For disease prevention, remove infected parts immediately, improve air circulation, and avoid overwatering to keep plants healthy.
On a final note
You’ve now learned the essential steps to create your thriving indoor garden, from selecting the perfect location to arranging plants for maximum growth. Start with easy-to-grow varieties like herbs or leafy greens, which tolerate beginner mistakes and provide quick rewards. Don’t worry if you encounter challenges initially, as every gardener learns through experience. With consistent care, proper lighting, and attention to watering schedules, you’ll soon enjoy fresh produce year-round from your flourishing indoor space.