Seed Starting Equipment: Indoor Growing Essentials
You’ll need essential seed starting equipment to create ideal growing conditions for indoor germination and seedling development. Start with proper containers like 24-50 cell trays with drainage holes, quality seed starting mix containing coco coir and perlite, and humidity domes for moisture retention. Add heat mats maintaining 65-75°F soil temperature, LED grow lights positioned 8-12 inches above seedlings, and gentle watering tools like spray bottles. This foundation guarantees successful indoor seed starting, though mastering advanced techniques requires understanding specific timing and environmental controls.
Notable Insights
- Choose 24-50 cell trays with drainage holes and sterile, lightweight seed starting mix containing coco coir and perlite.
- Maintain 65-75°F soil temperature using heat mats and control humidity with adjustable vented domes for optimal germination.
- Position LED grow lights 8-12 inches above seedlings, providing 12-18 hours daily light to prevent leggy growth.
- Water gently using bottom watering or spray bottles while ensuring air circulation with fans to prevent disease.
- Label seedlings with waterproof markers and feed with diluted liquid fertilizer once true leaves appear.
Choosing the Right Containers and Trays
Selecting the right containers and trays forms the foundation of successful seed starting, directly impacting germination rates, seedling health, and transplanting success.
You’ll need to evaluate container materials carefully, as plastic trays offer durability and reusability, while biodegradable peat pots reduce transplant shock by breaking down naturally in soil.
Tray sizes greatly influence your workflow and space efficiency, with 24- to 50-cell trays providing larger spaces for fast-growing vegetables like tomatoes and cucumbers.
Larger cell trays streamline cultivation of vigorous crops like tomatoes and cucumbers by providing adequate root space from germination.
Alternatively, 128- to 210-cell trays maximize space for tiny seeds but require additional transplanting steps.
Choose containers with proper drainage holes, and ascertain compatibility between cell trays and bottom catchment trays to prevent waterlogging while protecting your indoor surfaces. Budget-conscious gardeners can repurpose household items like yogurt cups, eggshells, and toilet paper rolls as effective seed starting containers.
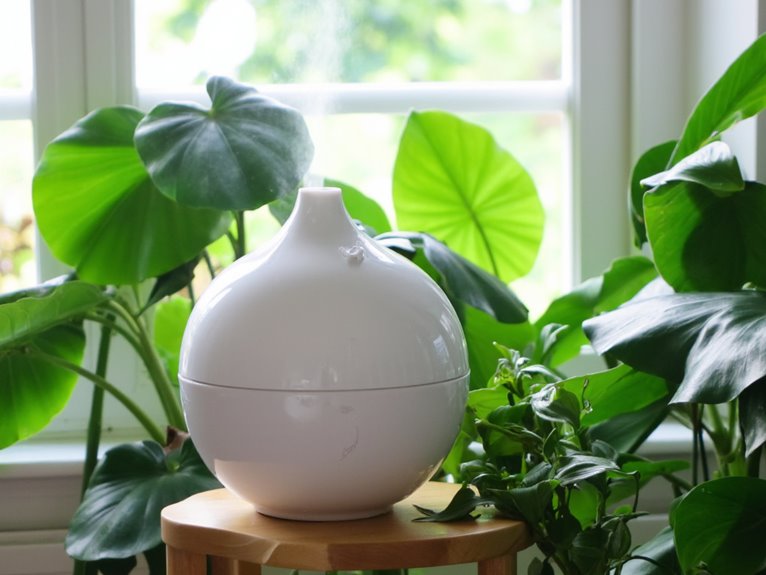
Humidity Domes and Moisture Control
You’ll find several humidity dome options available, from basic clear plastic covers to adjustable vented models that offer better airflow control.
These transparent shields create the perfect mini-greenhouse environment your seeds need, trapping moisture and warmth while allowing essential light penetration for healthy germination.
The key to success lies in understanding when to remove these helpful covers, as timing this change properly prevents fungal problems while maximizing your germination rates. Remove the dome once seedlings develop their first true leaves to help them acclimate to normal indoor growing conditions.
Dome Types and Options
Three primary types of humidity domes offer distinct advantages for creating ideal moisture environments during seed germination and early seedling development.
Standard clear plastic dome designs provide basic moisture retention with adjustable ventilation systems, allowing you to control airflow through top vents as seedlings mature. These dome materials, typically food-grade PET plastic, guarantee durability and clarity for optimal light transmission.
Dome sizes range from compact 5″ x 5″ units for small-scale projects to larger 10″ x 20″ options accommodating standard commercial trays. Single larger domes can effectively replace four smaller units, streamlining your setup while reducing clutter and simplifying germination management.
Specialized propagation domes feature recessed tops for grow light integration, combining humidity control with supplemental lighting systems.
Advanced dome benefits include compatibility with heating mats and bottom-watering systems, creating extensive growing environments that promote faster germination rates and healthier seedling development across various plant species. Once seedlings emerge, they’ll benefit from proper nutrition through liquid fertilizers that provide quick results for early plant development. For precision trimming of delicate seedlings and maintaining optimal plant health, quality tools with sharp blades ensure clean cuts that promote better healing and growth.
Proper Removal Timing
Once your seeds have successfully germinated and tiny green shoots emerge from the soil, you’ll need to carefully time the removal of your humidity dome to guarantee healthy seedling development.
Remove the dome when most seeds have sprouted in each cell, as prolonged use creates humidity effects that promote fungal problems and weak growth.
Begin by propping the dome open for one-hour intervals, gradually increasing exposure time to prevent seedling stress from sudden environmental changes.
Watch for the first true leaves beyond cotyledons, which signals readiness for lower humidity conditions.
This gradual “weaning” process, extending over several days, helps seedlings acclimate to ambient conditions while maintaining their vigor and preventing shock from abrupt moisture and temperature fluctuations. Fresh air circulation becomes crucial during this transition as seedlings require adequate carbon dioxide for proper energy production and healthy development.
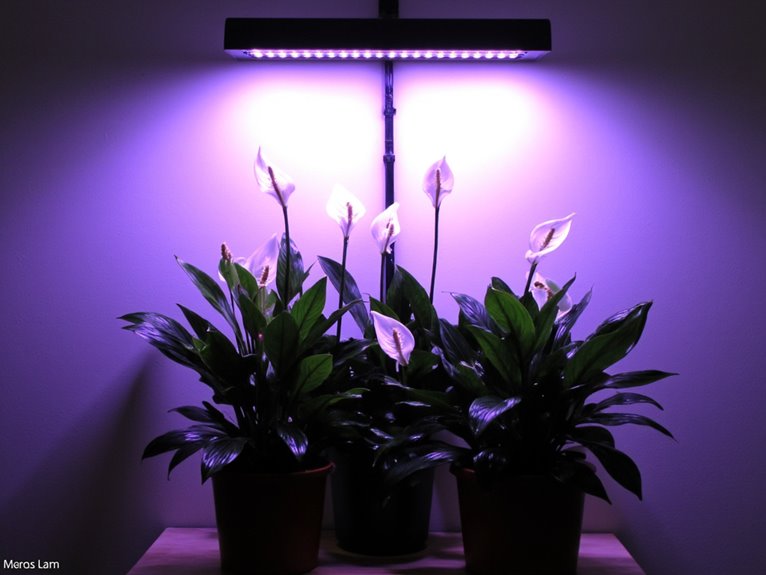
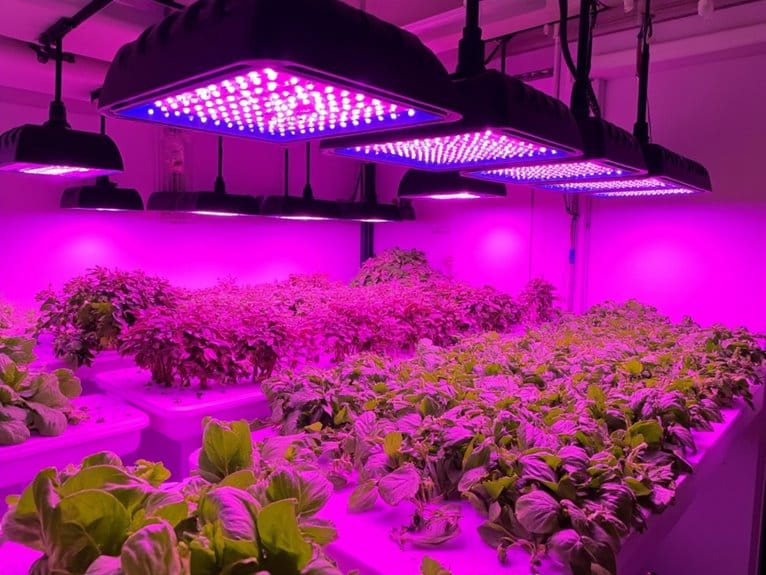
Grow Lights for Optimal Seedling Development
When you’re starting seeds indoors, proper grow lights become essential for producing strong, healthy seedlings that won’t struggle with weak, leggy growth.
You’ll need to take into account both light intensity and strategic placement, positioning your lights within one inch of seedlings to guarantee adequate photosynthetic photon flux density reaches developing plants.
Managing timing and duration control allows you to optimize energy costs while providing the 12-18 hours of daily light that most seedlings require for robust development. Programmable timers eliminate the need for daily manual adjustments and support consistent light cycles that promote healthy seedling establishment. Modern LED grow bulbs offer superior energy efficiency, consuming only 9-11W while replacing traditional 100W systems and providing up to 90% savings on electricity costs. Excessive light exposure beyond 18 hours can cause plant stress symptoms like yellowing leaves and reduced growth, particularly in tomatoes and peppers.
Light Intensity and Placement
A PAR meter becomes your most valuable tool for measuring the precise light intensity your seedlings receive, ensuring they get exactly what they need for healthy development. Start with 25-50 μmol/m²/s for newly emerged seedlings, then gradually increase to 100-300 μmol/m²/s as they establish. Proper light spacing requires positioning LEDs 8-12 inches above your seedlings, while T5 fluorescents work best at 5-6 inches distance.
| Light Type | Distance | PPFD Range |
|---|---|---|
| LED | 8-12 inches | 100-300 μmol/m²/s |
| T5 Fluorescent | 5-6 inches | 100-300 μmol/m²/s |
| Compact Fluorescent | 6-8 inches | 100-250 μmol/m²/s |
Monitor your seedlings daily for stretching or leaf burn, making intensity adjustments through dimming or height changes. Multiple smaller fixtures provide better coverage than single large lights, preventing dark zones and ensuring uniform growth across all your seedlings. Look for LED fixtures with automated timers that can run 4, 8, or 12-hour cycles to maintain consistent lighting schedules without manual adjustment. Modern LED grow lights with full spectrum coverage support all growth stages from seedlings to flowering, making them an excellent investment for your indoor growing setup.
Timing and Duration Control
Getting your light placement and intensity right sets the foundation, but timing your light exposure properly determines whether your seedlings will thrive or struggle. Most seedlings need 14 to 16 hours of daily light exposure, with an essential 8-hour rest period to prevent stress.
You’ll want to establish consistent light intervals using timers, which create reliable day-night cycles that promote healthy development and growth synchronization across all your seedlings. Built-in timers with 3, 9, or 12-hour presets can automate your lighting schedules, though some timer functions may reset after power interruptions and lack permanent memory. Quality grow lights with built-in timers often include additional preset options like 6, 8, or 16-hour intervals to better match your specific seedling requirements.
Start your lights immediately when seedlings emerge from soil, then adjust duration as they mature. Different plant species have unique requirements, so research your specific varieties for ideal results.
Coordinate your lighting schedule with watering and temperature control for best outcomes. Remember, consistent timing prevents leggy growth while promoting vigorous, uniform seedlings ready for successful transplanting.
Selecting the Perfect Seed Starting Mix
Before you can nurture those tiny seeds into thriving seedlings, you’ll need to select a seed starting mix that provides the perfect foundation for germination and early growth.
The ideal mix combines lightweight ingredients like coco coir, perlite, and vermiculite to create proper aeration and moisture retention. Consider peat moss alternatives such as coco coir, which offers neutral pH and eco-friendly benefits while maintaining excellent water-holding capacity.
Most quality mixes contain low nutrient levels to prevent damping-off disease, though you can enhance them with nutrient amendments like worm castings or gentle slow-release fertilizers. When selecting amendments, ensure they maintain acidic conditions for seeds that will eventually develop into acid-loving plants.
Look for sterile, pasteurized blends that eliminate harmful pathogens and provide consistent germination rates for your seedlings. For optimal results, choose mixes that include beneficial elements like mycorrhizae and kelp meal to enhance nutrient uptake and support healthy root development during the critical early stages of growth.
Heat Mats and Temperature Management
While your carefully selected seed starting mix provides the foundation for germination, maintaining ideal soil temperature becomes the catalyst that transforms dormant seeds into vigorous seedlings.
Heat mats deliver gentle, uniform warmth directly to the root zone, creating favorable conditions between 65-75°F for most seeds. These versatile tools accelerate germination rates, promote stronger root development, and help prevent common issues like damping-off disease in cooler indoor environments.
Heat mats create optimal 65-75°F conditions that accelerate germination, strengthen roots, and prevent damping-off disease in indoor growing environments.
Heat mat benefits extend beyond faster sprouting, as consistent soil warmth enhances seedling vigor and synchronizes crop establishment.
Place mats under seed trays, adjusting intensity with barriers like saucers when needed. Essential soil temperature monitoring with a thermometer guarantees you’re meeting specific plant requirements-tomatoes thrive at 75°F while lettuce prefers cooler 50-72°F ranges, making precise control vital for success. For enhanced safety and reliability, prioritize models featuring MET certification that comply with established safety standards.
Most quality heat mats feature energy-efficient wattage ranging from 20W to 21W, providing reliable temperature control while maintaining cost-effective operation for continuous seed starting projects.
Essential Watering and Air Circulation Tools
How can you guarantee your carefully nurtured seedlings receive the precise moisture and airflow they need to thrive? Essential watering methods include gentle watering cans with rose heads, bottom watering techniques, and pressurized sprayers for controlled moisture delivery. Air circulation tools like adjustable fans strengthen seedlings while preventing fungal diseases.
| Tool Type | Your Growing Success | Seedling Benefits |
|---|---|---|
| Humidity Domes | Creates perfect germination environment | Retains warmth and moisture |
| Watering Trays | Maintains consistent soil moisture | Prevents root disturbance |
| Circulation Fans | Reduces disease risks dramatically | Strengthens stems naturally |
Combine moisture meters with automated systems for precise monitoring, while maintaining room-temperature, pH-balanced water for ideal nutrient uptake. Battery-free models provide instant, reliable readings without maintenance costs, making them ideal companions for monitoring your seedling moisture levels. These tools transform your seed starting from guesswork into reliable success.
Organization and Tracking Accessories
Perfect watering and air circulation set the foundation, but successful seed starting depends equally on systematic organization that prevents costly mix-ups and lost varieties.
Effective labeling techniques and tracking methods transform chaotic seed collections into streamlined operations that save time, money, and frustration throughout the growing season.
Waterproof labels and weather-resistant markers guarantee your identification system survives humid germination environments, while index cards create simple tracking systems for recording sowing dates and germination rates.
Photo storage cases with removable dividers organize packets by planting schedules, and digital spreadsheets provide backup records of variety performance.
As seedlings mature and require transplanting, proper support structures like adjustable height cages ensure continued organization by accommodating different plant varieties and growth stages.
Essential organization tools include:
- Durable seed labels for trays, pots, and cells that withstand moisture
- Photo storage cases with seasonal dividers and inventory cards
- Digital tracking templates combined with analog garden journals for redundancy
Fertilizing Equipment for Seedling Growth
Proper nutrition transforms weak, spindly seedlings into robust transplants ready for garden success, but choosing the right fertilizing equipment makes all the difference in delivering nutrients effectively.
The right fertilizing equipment transforms how effectively you deliver nutrients to developing seedlings for optimal transplant success.
You’ll find fertilizer types ranging from granular to liquid formulations, each requiring specific application methods for ideal results. Handheld spreaders work perfectly for small indoor setups, distributing granular fertilizers precisely around delicate seedlings without waste.
For liquid feeding, foliar sprayers deliver nutrients directly to leaves, allowing rapid absorption that strengthens young plants quickly.
Drop spreaders provide accurate placement beneath your equipment, ensuring controlled nutrient delivery without overspreading. Timing of application is crucial for liquid fertilizers, as they should be applied when seedlings can achieve maximum absorption for optimal results.
Automated fertilizer injectors integrate seamlessly with hydroponic systems, maintaining consistent feeding schedules that support steady growth throughout the seedling stage.
Many indoor gardeners prefer organic fertilizers because they provide essential nutrients safely around children and pets while promoting strong root development in young seedlings.
Frequently Asked Questions
Can I Start Seeds Successfully Without Any Special Equipment?
Yes, you can start seeds successfully using household containers, natural light, and basic soil options. Choose appropriate seed types for your conditions, maintain consistent moisture, guarantee drainage, and monitor daily for best results.
How Much Should I Expect to Spend on Basic Seed Starting Equipment?
You’ll spend $20-60 for basic seed starting equipment, though cost comparison shows budget alternatives like recycled containers and basic soil can reduce expenses to around $20, while moderate setups with purchased trays cost $30-60.
What’s the Biggest Mistake Beginners Make When Starting Seeds Indoors?
You’ll likely struggle most with overwatering seeds, which kills more seedlings than anything else. Improper lighting comes second – weak window light creates leggy, stretched plants that won’t survive transplanting outdoors.
Can I Reuse Seed Starting Equipment From Previous Seasons Safely?
Yes, you can safely reuse seed starting equipment by thoroughly cleaning with soapy water, then disinfecting with diluted bleach solution. This protects seed health and guarantees mold prevention for successful germination.
Which Equipment Should I Prioritize if I’m on a Tight Budget?
Prioritize essential supplies first: grow lights, seed trays with drainage, and quality seed starting mix. These budget friendly tools guarantee successful germination and healthy seedlings. You can add accessories like heating mats later.
On a final note
With the right equipment in place, you’re ready to transform seeds into thriving seedlings that’ll flourish in your garden. Remember, success comes from combining proper containers, adequate lighting, consistent moisture, and temperature control with careful monitoring. Start with basic essentials, then expand your setup as you gain experience and confidence. Your seedlings will reward your investment with stronger roots, healthier growth, and better transplant success rates.