Exploring Different Methods of Herb Propagation: From Seed Starting to Transplanting
When propagating herbs, starting from seeds is cost-effective and offers a wide plant selection. Choose containers, potting mix, and herb seeds wisely. Create ideal conditions for growth. Set 2-3 seeds in each pot, cover lightly, and water gently. Consider pre-treatment methods to boost germination. Transplant seedlings in late summer or fall, acclimating them gradually. Select sunny spots with good drainage. Dig proper holes for transplanting to guarantee strong roots. Monitor water and sunlight carefully. Wait for developed seedlings and minimize stress during transplanting. Establish robust root systems for healthy growth. Mastering these methods is crucial for successful herb gardening.
Benefits of Seed Starting
When starting herbs from seeds, gardeners can enjoy cost-effective cultivation and a wide range of options for plant selection. Herb seeds are readily available in nurseries, garden centers, and online stores, offering an extensive variety of herbs to choose from. This process is particularly important during early spring when the urge to get back into the garden is strong.
To kickstart the growth of herb seeds, the choice of potting mix is essential. Opt for a high-quality potting soil that is well-draining and enriched with nutrients. A good potting mix provides the necessary aeration and moisture retention for seeds to germinate successfully. Mixing in some perlite or sand can improve drainage, preventing issues like root rot.
Herb seeds have different requirements for light, temperature, and moisture levels. Researching the specific needs of each herb type before planting ensures a higher success rate. Some seeds may require a period of stratification or soaking before planting to mimic natural conditions. By understanding these nuances, gardeners can provide the best environment for their herb seeds to thrive.
Starting herbs from seeds not only saves money but also offers a deeper understanding of the plant lifecycle. It’s a hands-on way to witness the magic of growth from a tiny seed to a flourishing herb ready for harvest.
Seed Starting Supplies Needed
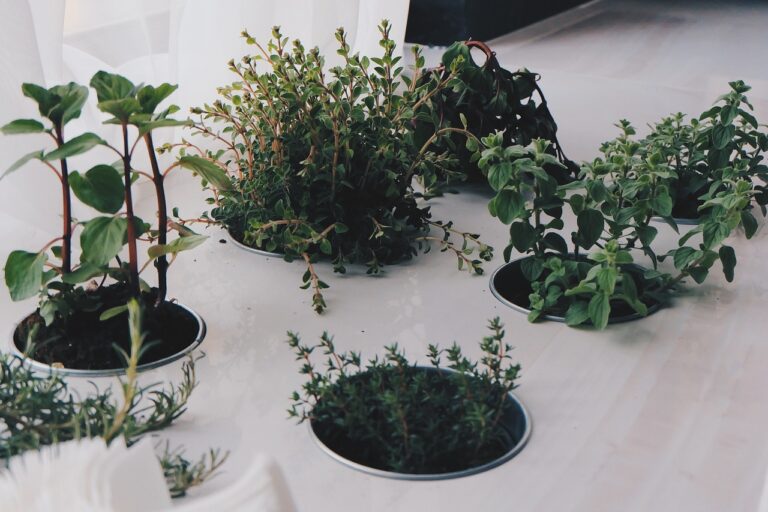
To successfully start herb seeds, one must gather essential supplies such as containers, potting mix, organic fertilizer, coconut coir, and a variety of herb seeds. When starting herb seeds, having the right containers is essential. Cell packs and trays provide the optimal environment for germination and early growth, offering sufficient space for root development.
Potting mix plays a critical role in the seed starting process. Enriched with nutrients, it provides the necessary support and nourishment for herb seeds to thrive. Organic fertilizer is another essential supply needed when starting herb seeds. It promotes healthy growth without the use of harsh chemicals, ensuring that the herbs grow robustly and with full flavor.
Coconut coir is a beneficial addition to the seed starting supplies. This natural fiber helps retain moisture in the soil, creating a balanced environment for the seeds to germinate and grow. By maintaining proper hydration levels, coconut coir supports healthy seedling development.
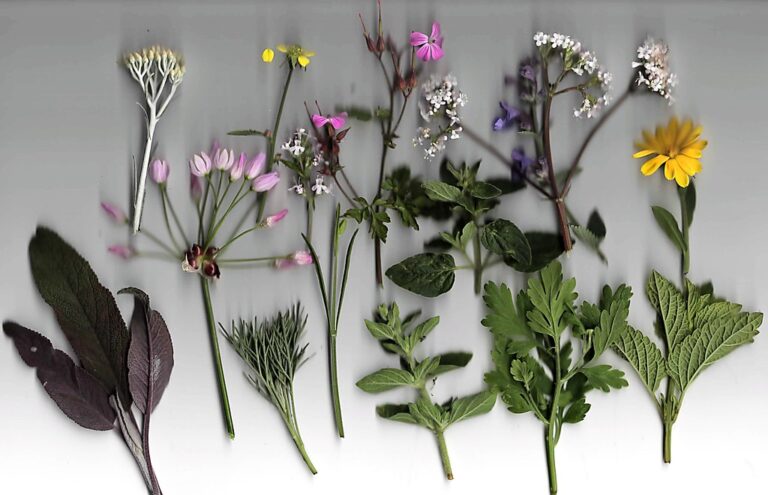
Lastly, a variety of herb seeds such as dill, parsley, thyme, lavender, and oregano are essential for starting the propagation process. Each herb brings its unique flavors and aromas, enriching your garden and culinary experiences. By acquiring these seed starting supplies, you set the foundation for a successful herb propagation journey.
Steps for Successful Seed Starting
Achieving successful seed starting requires precise preparation and attention to detail. To start, dampen the soil before planting the seeds. This step is essential for ensuring proper germination. When planting, it’s advisable to place 2-3 seeds in each pot. Cover them lightly with damp soil to provide them with the ideal conditions for growth. Additionally, consider any pre-treatment needs the seeds might have, such as soaking them in water before planting to improve germination rates.
Choosing the right soil is equally vital. Opt for a suitable growing medium like soil-less compost or potting soil to provide the seeds with the necessary nutrients for healthy development. When selecting containers, choose ones that are appropriately sized for seed starting. Pots, flats, or even recycled egg containers can work well for this purpose. Ensure that the containers have proper drainage to prevent waterlogging, which can harm the seeds.
Transplanting Herb Seedlings
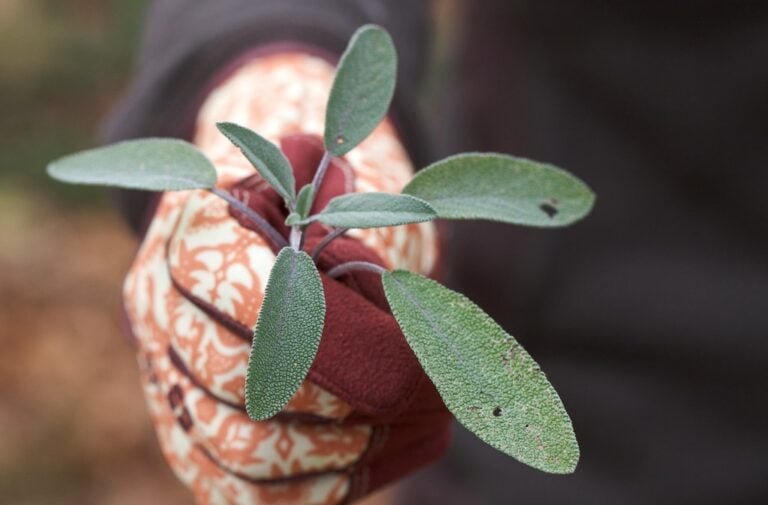
After successfully initiating herb seeds, the next step is moving herb seedlings once they have established strong roots and multiple sets of leaves. Late summer or fall is an ideal time for relocating herb seedlings, as the weather is cooler and provides a better environment for their adjustment. When selecting a spot for moving, make sure to choose a sunny location with well-draining soil to promote healthy growth.
Before moving herb seedlings, it is crucial to harden them off gradually. This process involves exposing the seedlings to outdoor conditions over a period of time to acclimate them to the external environment. Once the herb seedlings are ready for transplantation, dig a hole slightly larger than the root ball of each seedling to accommodate their roots without crowding.
When moving herb seedlings into the prepared soil, gently place each seedling in its hole and backfill with soil, ensuring the plant stands upright. Water the transplanted herb seedlings thoroughly to help them settle into their new surroundings and establish strong root systems. Monitor the newly transplanted seedlings carefully, providing adequate water and sunlight to support their growth. Following these steps will help guarantee the successful transplantation of herb seedlings in late summer or fall.
Tips for Transplanting Success
For successful transplanting of herb seedlings, timing and preparation are key factors in ensuring their growth and establishment. When transplanting herbs, it is vital to wait until they have developed 2-4 sets of leaves and their roots have filled the container. This indicates that the plants are robust enough to handle the stress of being moved. Before transplanting, harden off the seedlings by gradually exposing them to outdoor conditions. This process helps them acclimate to their new environment and reduces the risk of shock.
Choose the right time for transplanting, preferably on a cloudy day or in the late afternoon to minimize stress on the plants. When planting them in the garden, dig a hole that is at least twice the size of the root ball to give the roots room to spread out and establish themselves. Once the herbs are in place, water them immediately. This helps the plants settle into their new surroundings by providing them with the moisture needed for healthy growth.