Bokashi Composting Techniques: Fermented Organic Matter for Container Garden Soil
Bokashi composting transforms kitchen scraps into nutrient-rich organic matter perfect for container gardens. Start by chopping fruits, veggies, and even cooked food-avoid dairy, meat, and strong spices. Mix with bokashi bran, layer carefully in airtight buckets, and let ferment for 14-21 days. Monitor warmth and look for bubbling or white mold as signs of progress. The resulting liquid, rich in microbes, can be diluted and used as fertilizer. When ready, mix the fermented material into soil to boost plant health-just don’t apply it directly to roots! Mistakes like overfilling or opening too early can spoil the batch, so follow careful steps. Keep this method going, and you’ll build thriving container gardens with every new batch.
Notable Insights
- Use airtight buckets with spigots for efficient bokashi fermentation and liquid collection.
- Layer kitchen waste with bran, keeping it slightly moist but not soggy during setup.
- Ferment 14-21 days at room temperature, monitoring warmth and mold development.
- Dilute bokashi tea 1:100 before applying to container soil or compost piles.
- Bury finished compost deeply in soil or mix with organic matter for nutrient release.
Selecting and Preparing Kitchen Waste for Bokashi
One of the most rewarding aspects of bokashi composting is selecting the right kitchen waste.
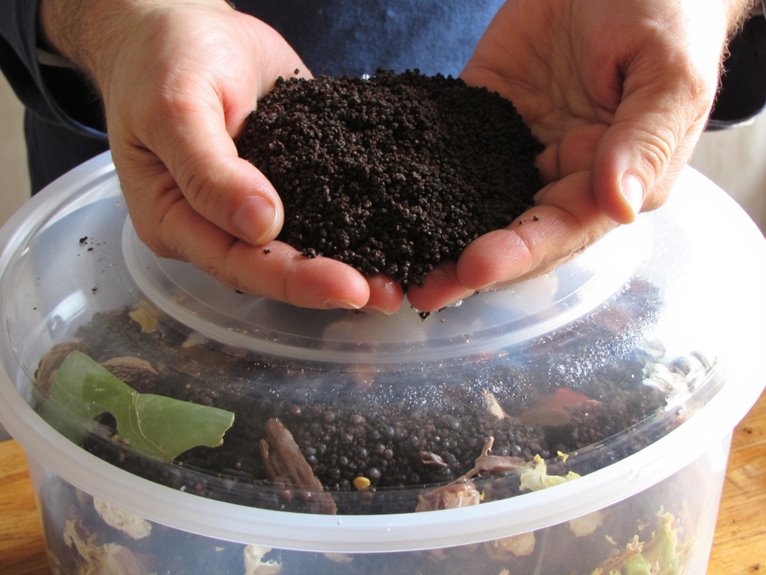
Preparation techniques let you transform scraps into nutrient-rich soil amendments. Fruits, veggies, and even cooked food fit perfectly, while dairy and meat add extra value. Layering with bokashi bran is crucial for initiating and maintaining the fermentation process. Chopped large pieces for faster breakdown, and drain excess liquid to avoid soggy conditions. Layer waste with bran to kickstart fermentation and press down to cut air pockets.
Avoid citrus or strong spices that might hinder microbes. Remember to leave space for the tea to drain naturally.
With these preparation techniques mastered, your bokashi bin becomes a thriving ecosystem of decomposition, turning everyday waste into garden gold.
Building the Bokashi System: Containers and Materials
Two gallons of space can work wonders for your bokashi setup.
Container selection should prioritize airtight plastic buckets with lids and spigots for drainage system efficiency. A bottom strainer plate keeps solids separate from liquid, aiding airflow prevention. Food-grade plastics offer durable, lightweight options for frequent handling.
Add a drainage system by installing a spigot near the bucket’s base to collect bokashi tea regularly. This setup guarantees prime conditions for fermentation while preventing odors.
When choosing containers, verify they’re large enough to hold several weeks’ worth of scraps before needing to rotate bins. Position them in cool areas to maintain stable temperatures during the composting process.
With the right container selection and drainage system in place, you’ll create an ideal environment for transforming food waste into rich soil amendments ready for your garden.
The Fermentation Timeline and Monitoring Process
After setting up your bokashi container, the next important step is managing the fermentation process that transforms food waste into nutrient-rich compost. Fermentation duration typically spans 14-21 days, with ideal results at room temperature. Monitoring cues like white mold or vinegar smell indicate progress, while black mold suggests failure.
| Fermentation Phase | Key Indicators |
|---|---|
| Week 1 | Warmth, slight bubbling |
| Week 2 | White mold appearance |
| Week 3+ | Volume reduction (up to 25%) |
| Complete | Stable texture, vinegar scent |
Check daily for signs – no smell change may require more time. Avoid extremes in temperature and make certain the bucket remains sealed. Optimal conditions help ensure successful fermentation.
Let this guide help you cultivate rich soil amendments with confidence!
Managing Bokashi Liquid Byproduct as Fertilizer
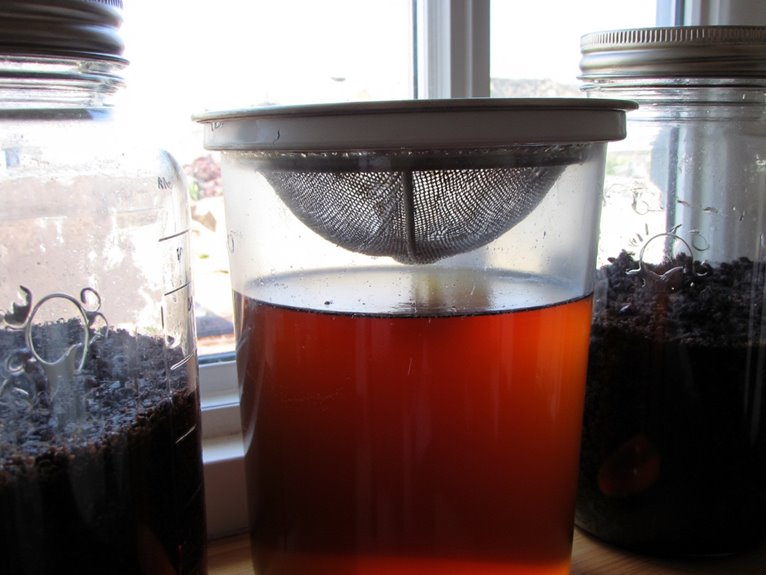
Bokashi liquid, that tangy byproduct of fermentation, packs potent nutrients and microbes ready to transform your garden soil.
Bokashi liquid, that tangy fermentation treasure, fuels gardens with microbial magic and nutrient power for thriving soil and plants.
Rich in organic acids and microbial activity, it supports nitrogen, phosphorus, and potassium uptake while boosting Bokashi liquid benefits like soil structure and plant health.
Dilute 1:100 with water before application to avoid burning plants-especially sensitive ones!
This microbial diversity strengthens soil ecosystems, aiding nutrient mineralization and pathogen suppression.
Apply directly to soil rather than foliage for best results.
Excess can be used in compost piles or poured down drains, where its microbes help break down organic matter sustainably.
Perfect for container gardens needing quick nourishment without synthetic inputs-just remember to use it fresh!
Like other organic liquid fertilizers, bokashi liquid should be applied bi-weekly for optimal plant health and consistent nutrient delivery.
Transferring Bokashi Pre-Compost to Garden Soil
You’re ready to turn your fermented gold into garden treasure-let’s talk about how to mix that bokashi pre-compost with soil using trenches, small holes, or even a homemade soil factory.
Each method helps spread the rich compost without damaging plants, keeping those microbes happy and working their magic.
We’ll cover the dos and don’ts of mixing, burying, and waiting before planting-because your garden will thank you for the patience.
Soil Integration Methods
How should you best transfer your bokashi pre-compost to garden soil?
Bury it 25-30 centimeters deep to exclude oxygen and deter animals. Cover completely with garden soil to maintain anaerobic conditions for decomposition.
Use bokashi amendments directly in the soil or mix them into planting beds for enhanced soil microbial benefits. You can also sprinkle bokashi bran on top-dressed areas or blend it into container mixes.
Let it decompose for two months, then incorporate fully broken-down material back into your garden. This process enriches soil structure and nutrient availability through microbial activity from the fermented organic matter.
Nutrient Release Techniques
Rather than simply tossing your bokashi pre-compost into the soil, take a moment to think about how best to let its nutrients unfold-like a well-told story, each step revealing something new and valuable.
Mix it with garden soil in equal parts, or top-dress beds for gradual nutrient cycling. Microbial activity from the fermented bran kicks off decomposition, releasing nitrogen, phosphorus, and potassium for plant uptake.
Let the mix rest 2-4 weeks to allow beneficial fungi to extend their mycelium networks. Water regularly but avoid saturation-microbes thrive in moist conditions.
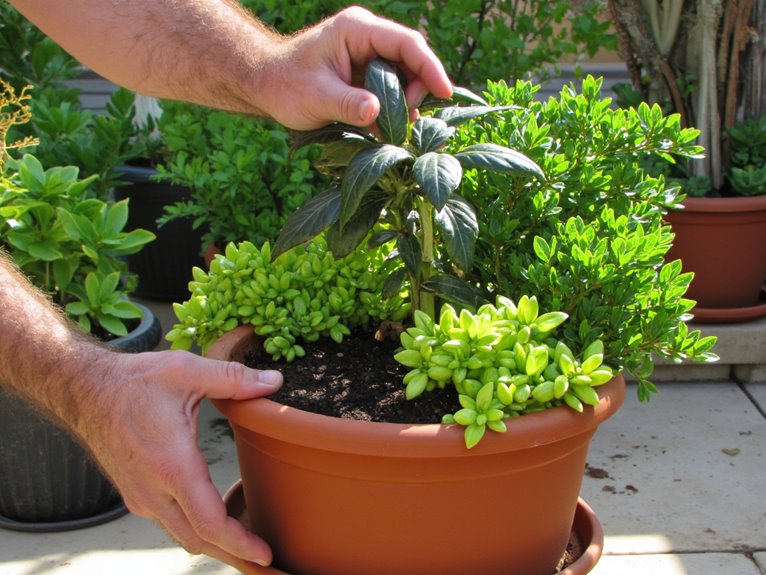
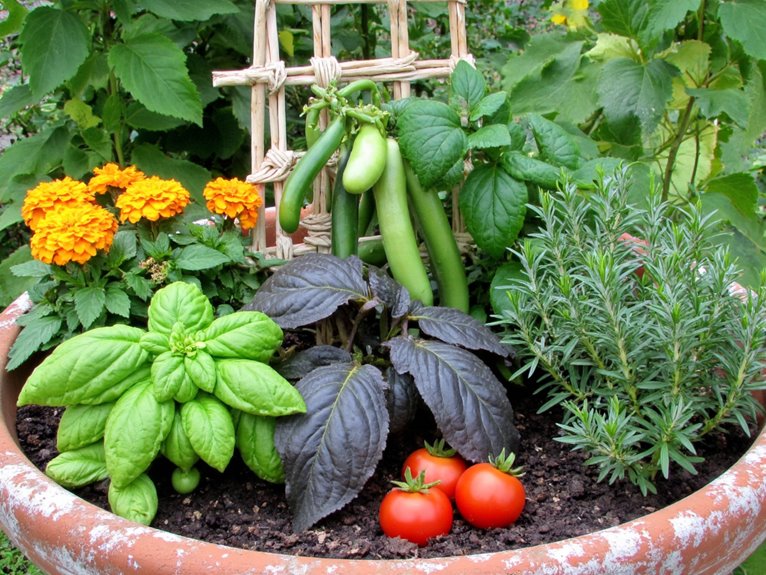
For container gardens, layer soil with pre-compost in a bin or corner, turning occasionally to boost microbial activity. This builds long-term fertility while supporting resilient nutrient cycles naturally.
Consider enhancing your bokashi-enriched soil with premium organic ingredients like kelp meal and alfalfa meal to further improve nutrient uptake and support beneficial microbial communities.
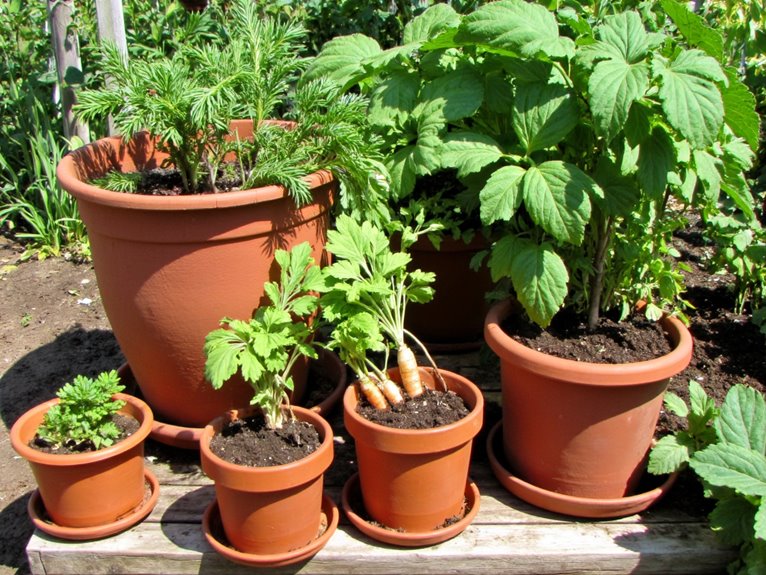
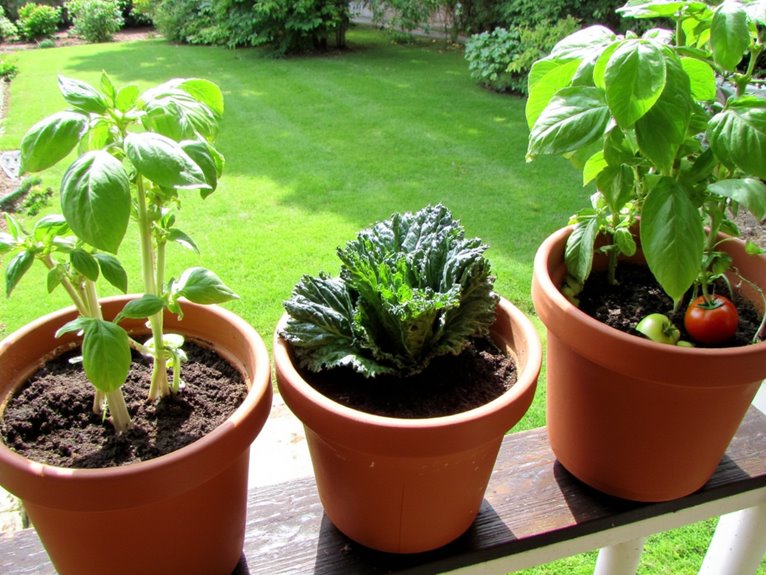
Enhancing Container Garden Health With Bokashi
Bokashi compost isn’t just a way to recycle waste-it’s a powerful tool that boosts container garden health in surprising ways. The fermentation process teems with microbial diversity, transforming ordinary scraps into a living soil amendment. These microbes don’t just sit there; they actively build soil structure, making it easier for roots to breathe and grow.
- Imagine burying Bokashi under potting mix-microbes begin working instantly, like a hidden garden within your container.
- Picture nutrient-rich compost improving nitrogen retention, keeping pots fertile longer than traditional mixes.
- Visualize Bokashi tea dripping from hanging baskets, offering plants a natural energy boost.
- Envision compact bins filling with dark, crumbly compost ready to rejuvenate tired containers.
This method boosts microbial diversity and strengthens soil structure, creating an ideal environment for container plants to thrive without the need for synthetic inputs. Like organic fertilizers, Bokashi supports beneficial soil organisms that enhance nutrient availability and plant health naturally.
Common Mistakes in Bokashi Composting
Even if you’re already familiar with bokashi composting basics, avoiding these common mistakes can really elevate your results.
Overloading the bin prevents microbes from processing waste effectively, creating fermentation pitfalls like incomplete breakdown or odors. Keep layers moderate (1-2 liters per batch) to avoid excess juice buildup that harms microbial activity.
Don’t rush opening the bin-early disruption kills anaerobic bacteria, causing mold or green spoilage. After fermentation, mix bokashi with soil rather than applying it directly to roots.
Common bokashi issues also arise from adding non-organic materials or fatty scraps, which attract pests and slow decomposition.
Pay attention to moisture levels: drain the juice regularly, as excess water creates damp environments that hinder fermentation.
Advanced Techniques for Maximizing Nutrient Output
While proper technique forms the foundation of effective bokashi composting, refining your approach can greatly boost nutrient output, especially when you understand how microbial interactions shape the final product.
Using specific starters like MA11 helps create the right conditions for diverse microbes to thrive. Maintaining a good carbon-to-nitrogen ratio guarantees they’ve the right food sources.
- Layering scraps tightly with bokashi bran creates an anaerobic environment perfect for microbial growth.
- Monitoring pH levels keeps the ecosystem balanced, preventing harmful bacteria from taking over.
- Adding rice water supports yeast populations that aid in fermentation.
- Letting the compost rest for 2-3 weeks allows microbes to fully break down organic matter.
Focusing on microbial diversity and achieving proper nutrient balance guarantees you’re getting the most out of your compost.
This method not only preserves nutrients but also creates a rich, soil-friendly material perfect for container gardens.
Frequently Asked Questions
Can Bokashi Be Used With Hydroponic Systems?
Yes, bokashi can be used with hydroponic systems.
It offers bokashi benefits like nutrient-rich microbial support and natural organic matter. Integrating bokashi involves mixing it into growing media or adding bokashi tea to nutrient solutions. This enhances microbial diversity and improves nutrient bioavailability.
Bokashi also reduces reliance on synthetic fertilizers, supporting a more circular nutrient cycle in hydroponics. For best results, dilute the tea properly and use it fresh for maximum microbial activity.
How Does Ph Change During Fermentation?
pH drops sharply during bokashi fermentation, usually settling around 4.0.
Fermentation process effects include acid production from microbes like LAB and PNSB, which lowers pH dramatically.
pH measurement techniques like test strips or digital meters track this change, showing the successful acidification.
This acidic environment supports beneficial microbes, suppresses pathogens, and enhances nutrient availability in the final product.
What Temperature Range Is Optimal for Bokashi?
You should aim for an ideal fermentation temperature between 15°C and 35°C (59°F to 95°F), with the best results at around 20°C to 24°C.
Temperatures below 5°C slow microbial activity, while above 35°C can kill beneficial microbes.
Stable temperatures are essential – avoid letting the bin get too cold or hot.
The right temperature range guarantees proper fermentation, developing that sweet-sour smell and low pH that makes bokashi so effective for container gardens.
Are There Any Limitations on Waste Volume?
Yes, there are limitations on waste volume in bokashi composting.
Containers have fixed capacities, so you can’t keep adding material indefinitely – it needs to ferment fully before burying.
The type of waste matters too; high-water-content foods like melons or citrus will produce more liquid, potentially limiting how much you can add at once.
Let me share some practical tips for managing volume while keeping your fermentation duration on track.
Can Pets Consume the Final Compost Safely?
It depends on how fully the bokashi was fermented and composted.
The final product offers compost benefits like rich nutrients for plants, but pet safety remains a concern if it contains pathogens from unprocessed waste.
To guarantee safe use, always let bokashi matter fully mature in soil until odorless and crumbly before applying around pets or in garden areas they frequent.
On a final note
As you explore bokashi composting, remember this fermentation process transforms kitchen waste into rich soil amendment. By following proper techniques, you can enhance container garden health naturally. Don’t be discouraged by initial mistakes – each trial refines your approach. With patience and attention to detail, you’ll create nutrient-dense compost that supports robust plant growth. Give it a try and watch your garden thrive!