Potting Mix Storage and Handling: Keeping Garden Soil Fresh and Pest-Free
Store potting mix in clean, airtight containers in cool, dark spaces to keep it fresh and pest-free. Use heavy-duty plastic with rubber seals or duct tape for a tight barrier against moisture and decomposition. Keep the pH between 6.0 and 7.0, and avoid direct sunlight to slow microbial activity. Regularly inspect the mix for mold, foul odors, or compaction-signs it’s time to refresh. If you’re reusing old soil, add compost or perlite to replenish nutrients and improve aeration. Don’t seal opened mixes too tightly; let some airflow help maintain balance. By following these steps, you’ll extend the mix’s shelf life and keep your plants thriving with healthy, oxygen-rich soil. As you’ll discover further, proper storage also helps prevent common garden pests and diseases from taking root in your growing space.
Notable Insights
- Store potting mix in airtight, UV-resistant containers in cool, dark spaces to prevent mold and pest infestation.
- Maintain optimal moisture levels by allowing airflow while avoiding direct sunlight for fresh soil conditions.
- Rehydrate stored soil with warm water and add perlite or compost before planting to restore texture and nutrients.
- Inspect soil regularly for signs of degradation, pests, or mold, and repot annually to ensure oxygen-rich growing conditions.
- Keep storage area away from heat sources and fumes, using gloves and masks when handling to practice safe gardening.
Clean and Airtight Storage for Potting Mix
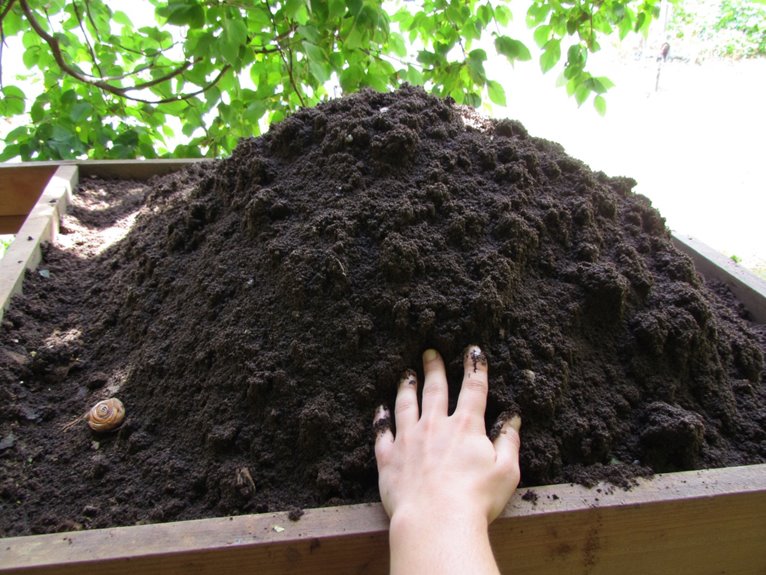
Once you’ve prepared your potting mix, the way you store it can make a big difference in how long it stays useful and healthy for plants.
Clean, airtight containers are essential for organic preservation, as moisture promotes mold and decomposition. Use heavy-duty plastic with rubber seals or retrofit lids with duct tape to create a water-tight barrier. Proper drying before storage prevents nutrient loss and contamination
Sterilize container materials before use to avoid carrying over pests or diseases from previous soil. This prevents cross-contamination and extends shelf life considerably.
Proper storage also stops nutrient loss and keeps the mix from becoming slimy or foul-smelling. Stackable containers offer organization while protecting soil from physical damage.
Avoid original bags with breather holes, which let in moisture and pests despite their convenience.
Optimal Environmental Conditions for Soil Preservation
Keeping your potting mix fresh starts with the right environment-think cool, dark spaces away from heat sources to slow decomposition and pest activity. Temperature control is critical for maintaining microbial balance without drying out the soil or encouraging harmful pathogens.
Pair that with breathable containers to manage moisture naturally, and you’re setting up for long-lasting, healthy growing conditions. Proper storage also helps maintain the pH levels between 6.0-7.0 that are essential for optimal nutrient absorption when you’re ready to use your potting mix for vegetables.
Storage Safety
When storing potting mix, keeping it away from direct sunlight helps preserve both the soil’s nutrients and the integrity of its packaging-think woven polypropylene bags that can degrade under UV light. UV protection is crucial to maintain the structural integrity of storage materials and nutrient availability in the soil.
Safety procedures for storage should include using airtight containers, maintaining cool temperatures, and protecting against contaminants.
Here are key guidelines:
- Use UV-resistant, opaque containers to block light exposure
- Store in cool, shaded locations with stable humidity
- Seal tightly to prevent pest access and microbial imbalance
- Avoid heated spaces that accelerate drying
- Inspect regularly for damage or signs of infestation
Following these storage guidelines guarantees your potting mix remains viable for plant growth. Premium organic soils containing earthworm castings and mycorrhizae require especially careful storage to preserve their beneficial microorganisms.
Moisture Control
After guaranteeing your potting mix is stored safely from sunlight and contaminants, the next step in preserving its quality is managing moisture levels properly.
Moisture balance keeps your plants thriving without risking root rot or fungal issues. Ideal drainage ensures excess water escapes while retaining enough hydration for growth. Components like sphagnum peat moss help achieve this by absorbing and slowly releasing water.
Store mixes away from direct sunlight to slow drying, but allow airflow through breather holes in bags. AquaCoir® formulas exemplify how moisture control can double plant size over time.
To maintain balance, avoid sealing opened mix-keep it loosely closed instead. This approach supports both root health and the long-term freshness of your potting soil. Look for potting mixes that contain moisture-retentive components like perlite or coconut coir to enhance your storage efforts and maintain optimal soil conditions.
Clean Containers
A clean container is your potting mix’s best friend in staying fresh and fungus-free.
Clean containers create the perfect environment for preserving soil quality and preventing pest issues.
- Choose durable plastic containers with locking lids for long-term storage accessibility
- Disinfect with bleach solution before reuse to eliminate pathogens
- Allow air exchange but avoid complete airtightness that traps moisture
- Store in cool, dry areas away from direct sunlight
- Clean tools and containers regularly to prevent contamination risks
Container durability guarantees your potting mix stays protected from humidity and pests.
Proper storage conditions extend soil lifespan while maintaining nutrient levels.
Always prioritize clean, accessible containers for superior preservation practices.
Extending the Shelf Life of Stored Potting Mix
Proper storage transforms potting mix from a simple soil substitute into a reliable garden ally. Keep it sealed in leak-proof containers or original bags to block air and moisture-key freshness tips.
Store in cool, dark places away from sunlight and humidity to slow decomposition. Check expiry indicators like mold growth, foul odors (like rotten eggs), or compacted texture regularly.
Don’t reuse mix after 2 years without replenishing nutrients. If unsure, it’s better to purchase fresh rather than risk root burn. Small steps like these keep your soil vibrant year-round.
Revitalizing Old Soil: Techniques for Reuse
After storing potting mix, old soil might need a boost-add compost or aged manure to replenish nutrients.
If the mix feels heavy or compacted, try planting cover crops like clover or rye to improve aeration naturally.
These steps help revive your soil so it’s ready for the next growing season.
Sterilization Methods
Even though sterilizing old potting mix might seem extreme, it’s a valuable tool in your gardening arsenal.
- Solarization uses sunlight to heat soil, killing pathogens but with solarization drawbacks like time and space needs.
- Microwave effectiveness makes it great for small batches and seed starting.
- Baking kills pests but may create odors and use energy.
- Layering plastic boosts solarization results.
- Repeated sterilization harms organic content.
Choose methods that match your space, energy use, and garden goals.
While complete sterilization kills both bad and good microbes, consider preserving soil life if you prioritize long-term health.
Nutrient Boosting
Although you might think old potting mix is done for, a little TLC can bring it back to life-and your plants will thank you.
Soil amendments like worm castings and compost boost microbial activity, while liquid seaweed and molasses feed the soil’s hidden ecosystem. Mixing in vermicast supports nutrient cycling, ensuring plants get what they need.
To refresh texture, add pre-soaked coir for hydration or vermiculite for aeration. Consider blending old mix with fresh potting soil at a 50:50 ratio to revive structure and nutrients.
These techniques not only conserve resources but also extend the life of your garden soil-providing plants with renewed energy without starting from scratch.
Soil Aeration
Soil aeration isn’t just about making the dirt “looser”-it’s about creating pathways for oxygen to reach roots, which keeps them healthy and vibrant. This process improves soil texture by breaking up compaction and enhancing air movement.
- Use blunt tools like chopsticks to gently loosen compacted soil without damaging roots
- Add perlite or organic matter to improve aeration benefits and maintain ideal soil texture
- Repot annually to replace degraded mix and guarantee fresh, oxygen-rich conditions
- Check soil texture regularly; if it feels dense, it’s time for another aeration session
- Proper aeration benefits include stronger root systems and better water drainage
Aeration benefits extend beyond just oxygen access-well-aerated soils retain moisture better and support beneficial microbes.
Preventing Mold and Pest Infestations in Stored Soil
Keeping stored soil free from mold and pests requires careful management of moisture levels-let it dry moderately but not completely bare before storage. Mold prevention starts with balancing dampness; overly wet soil creates perfect conditions for fungal growth.
Pest management also relies on this control, as excess moisture attracts insects and supports their lifecycle. Guarantee good drainage to avoid stagnant zones where these threats thrive. Regularly check the soil’s feel an inch down to adjust drying methods like covering or ventilation.
Avoid overwatering stored batches entirely; let it breathe slightly without becoming parched. This balance protects your mix from contamination while preserving its readiness for planting.
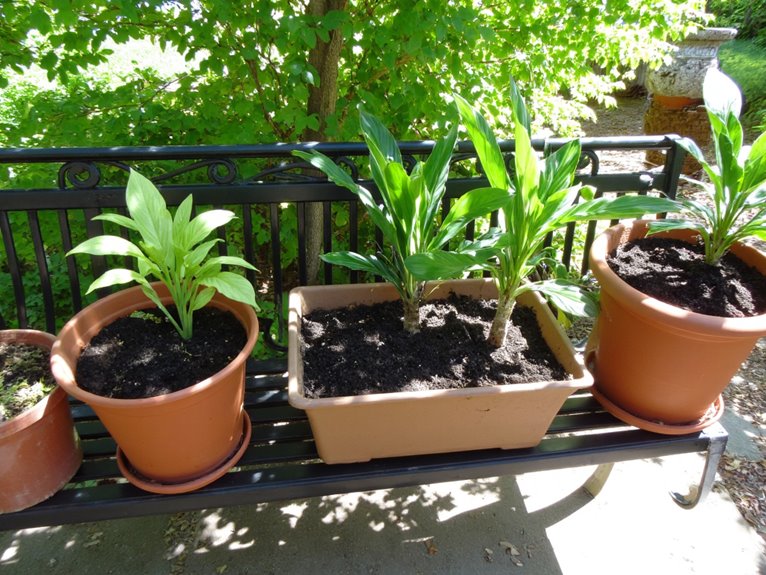
Preparing Stored Soil for Planting: Key Steps to Take
After ensuring your stored soil is free from mold and pests through proper drying techniques, it’s time to get it ready for planting.
Start by rehydrating with warm water, then adjust soil texture with perlite or sand for drainage. Use mixing ratios like 1:1:1 peat:sand:soil for consistency. Add compost or organic fertilizers to replenish nutrients.
- Test pH before planting and add lime if acidic
- Sieve compost for fine texture seedlings prefer
- Keep moisture moderate, avoid soggy mixes
- Use low-nutrient ratios for delicate seeds
- Store ready mix sealed until transplant day
Seasonal Storage Strategies for Gardeners
Whether you’re preparing for winter dormancy or planning spring plantings, proper storage keeps potting mix viable year-round-drying it thoroughly before sealing prevents mold while container selection and location guarantee freshness.
Seasonal weather changes demand adaptable strategies; for instance, heavy clay soils may require longer drying periods than sandy types. Choose durable plastic totes with tight-fitting lids or sealed bags to block air and pests.
Store in cool, dry areas away from fumes and temperature swings. If condensation forms, ventilate briefly before resealing. Regular inspections help catch issues early.
Handling Potting Mix Before Use: Best Practices
Before planting, give the potting mix a gentle riddle to loosen it up-it’s easier on your hands and the roots-then check for any signs of bugs or mold that might’ve sneaked in during storage.
If you spot anything off, toss the batch or treat it before use; contaminated mix can mess with plant health and your gardening routine.
Always keep those gloves on and that mask close until you’re ready to work soil-free with confidence.
Loosen Before Planting
Handle potting mix carefully to avoid compaction, which restricts air flow essential for healthy root development.
Proper soil texture and air circulation create perfect conditions for plant growth.
- Fill containers gently to maintain porosity; tapping reduces aeration.
- Store bags upright to prevent compression before planting.
- Keep mix slightly moist to preserve microbial activity.
- Avoid vigorous shaking when opening packaging.
- Loosen clumps with a fork or fingers before transplanting.
These steps guarantee ideal air circulation and soil texture for root health.
Check for Contamination
After gently filling containers to maintain porosity, it’s wise to give your potting mix a closer look before planting.
Run your hands through the soil-lumps or odd smells could signal issues. For herbicide testing, bioassay methods compare plant growth in suspect mix versus clean controls. If plants show stunted growth or curled leaves, contamination may be present.
Don’t forget pathogen assessment either; harmful bacteria like Legionella can linger in composted materials.
Handle mixes in well-ventilated areas and wash hands thoroughly. Testing for these risks guarantees safer gardening practices across different regions where contamination rates vary.
Avoiding Nutrient Build-Up in Long-Term Stored Soil
When storing potting mix for extended periods, balancing nutrients is key to keeping your plants healthy, so let’s explore how to prevent them from building up in the soil.
Nutrient accumulation happens when fertilizers sit without plant uptake, while poor drainage concentrates salts that harm roots. Microbial activity helps cycle nutrients naturally, but stagnant conditions can stall it entirely.
- Test EC levels before use to detect salt build-up
- Blend old mix with fresh soil at 20-50% ratios
- Aerate with perlite to improve distribution
- Use organic amendments instead of synthetic fertilizers
- Store in cool, dark places to preserve microbial life
Regularly check moisture balance and avoid over-fertilizing stored soil.
Signs of Degradation in Stored Potting Mix
Keeping your potting mix in good shape means watching for these telltale signs that it’s starting to lose its potency and freshness.
Visual indicators like compaction, clumping, or mold suggest structural degradation. Biological signs reveal deeper issues – diminished microbial activity harms nutrient cycling, while mold growth indicates damp storage conditions. A musty odor or lack of earthy scent signals microbial breakdown.
Check for heavy, dense textures that compact easily, which hinders drainage. Nutrient loss occurs as organic components decompose over time.
If you notice these changes, your plants may suffer from stunted growth or root rot. Regular inspection helps maintain healthy soil for thriving gardens.
Frequently Asked Questions
What Safety Measures Prevent Pests From Accessing Stored Soil?
To keep pests out of your stored soil, use pest barriers like sealed plastic bins as storage containers. Keep them in cool, dry areas away from damp surfaces and potential habitats. Regularly inspect these containers for damage and clean before refilling to remove debris that might attract insects or rodents. Elevate bins off the floor and avoid mixing old with new soil.
Can I Reuse Old Potting Mix Without Sterilizing It?
Yes, you can reuse old potting mix without sterilizing it, especially if previous plants stayed healthy. The reuse benefits include saving money and reducing waste by replenishing nutrients with compost or organic matter. To maintain soil health, mix in perlite or vermiculite for aeration and add balanced fertilizers before planting again.
How Should I Store Opened Bags of Potting Mix for Long-Term Use?
You should store opened bags of potting mix in storage containers to keep them pest-free and fresh. Start by folding the bag’s corners inward like a paper airplane, then roll it down tightly. Place it in a sealed container or wrap it with plastic and tape for moisture control. Keep everything cool and dry, away from direct sunlight and rain. This method preserves nutrients and prevents microbial growth, ensuring your mix stays ready for your plants’ next adventure.
Is It Possible to Revive Compacted Stored Garden Soil?
Yes, you can revive compacted stored garden soil with the right approach. Start with soil aeration techniques like manual breaking up or shallow tilling. Add perlite or compost to improve texture. For long-term storage, use raised beds or containers to prevent re-compaction. Combine these with compaction management practices like avoiding heavy foot traffic and regular organic amendments. With patience and proper technique, your stored soil can become fertile again for planting.
What’s the Best Way to Keep Stored Soil From Becoming Anaerobic?
The best way to keep stored soil from becoming anaerobic is through regular soil aeration techniques and careful moisture control methods. Store soil in thin layers rather than dense piles, and use breathable containers or tarps with ventilation holes. Keep moisture near field capacity – not saturated – to maintain oxygen flow. Every few weeks, aerate by turning the soil or adding compost. This prevents anaerobic pockets that cause foul smells and harmful microbial growth.
On a final note
By storing potting mix clean and airtight, you’ll keep your soil fresh longer and reduce pest risks. Proper conditions and regular checks help maintain its quality for plants. Don’t hesitate to revive old mix with simple techniques-it can still work for seed starting or container gardens. Stay proactive in your storage habits, and your garden will thank you with healthier plants and better results.