Homemade Pest Control Sprays: DIY Solutions Using Common Household Items for Garden Pest Management
You can create effective pest deterrents using common household items like neem oil, garlic, or essential oils. Mix garlic with water and cayenne pepper for a simple aphid repellent, or use neem oil diluted in water to target mites and caterpillars. Always test sprays on a small plant first, and store them in cool, dark places to maintain potency. These natural solutions protect your garden while being safe for beneficial insects-giving you control over pests without chemical concerns.
Natural Ingredients That Repel Insects
As you explore natural ways to keep pests at bay, consider how simple ingredients from your kitchen can become powerful allies in the garden.
Neem oil, extracted from the Neem tree, disrupts pest reproduction and feeding habits-ideal for aphids, mites, and caterpillars. Mix 1-2 teaspoons with water and a teaspoon of soap for easy application.
Neem oil from the Neem tree disrupts pests’ reproduction and feeding, offering natural protection against aphids, mites, and caterpillars.
Garlic spray offers another robust option; its pungent scent repels soft-bodied insects when crushed garlic is blended with water, mint, and cayenne pepper.
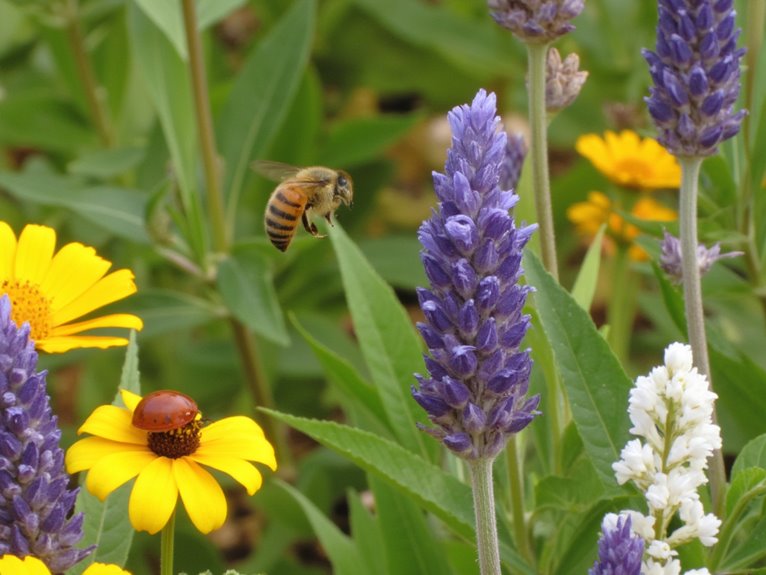
Both methods are safe for beneficial bugs and support integrated pest management.
Neem oil lasts up to three weeks before rain washes it away, while garlic sprays should be reapplied every few days. Store both in cool places to extend their potency.
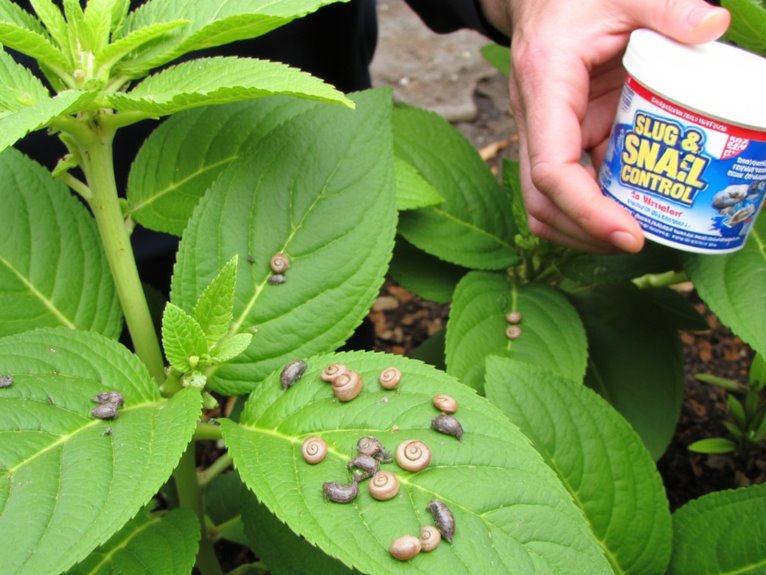
For enhanced effectiveness against aphids specifically, insecticidal soaps require direct contact with pests and thorough coverage of plant surfaces to achieve optimal results.
(Consider using mesh screens or netting to physically block pests from reaching your most vulnerable plants, especially fruit trees and berry bushes.)
Effective Spray Recipes for Different Pest Types
For caterpillars and leaf-eaters, hot pepper soaks or soap-chili blends work well on undersides of leaves. These target the pest identification phase by addressing larvae directly in their habitat.
Beetles and ants respond to cayenne-peppered soaps that weaken their exoskeletons. Apply around borders to prevent colonization. For enhanced ant control, consider combining these natural sprays with borax-based baits that workers will carry back to eliminate entire colonies at the source.
Methods for Preparing and Storing DIY Sprays
Let’s talk about mixing up those sprays-blending ingredients like garlic or peppermint really works best when you chop ’em fine and let ’em steep a while. Proper dilution is crucial to avoid burning plants with strong essential oils.
You’ll want to use soaps that’re gentle on plants, not the super-strong ones that could burn your garden.
And don’t forget to strain properly; clogging your sprayer is no fun at all. Consider weather resistance properties when formulating your sprays, as heavy rainfall can wash away homemade solutions and require more frequent reapplications.
Methods for Preparing and Storing DIY Sprays
Once you’ve mixed your ingredients, properly preparing and storing your DIY sprays is essential for safety and effectiveness.
Choose container types like glass or food-grade plastic that won’t react with your mixture-avoid metal or porous materials. Always label clearly with the content name, concentration, preparation date, and warnings about toxicity or skin irritation.
Store bottles in cool, dark places to preserve active ingredients like neem oil or garlic extracts. Keep sprays away from heat sources and out of reach of children and pets.
Make sure to clean reusable bottles thoroughly before refilling. When you’re done, dispose of leftover sprays responsibly-never pour them down drains or into soil. Follow local regulations for hazardous waste.
Check containers regularly for leaks or degradation. Fresh sprays work best within a few weeks, so prepare only what you’ll use soon.
Efficient Mixing Techniques
One well-mixed DIY spray can work wonders for your garden. Efficient mixing methods start with clean, opaque bottles and precise measurements to guarantee solution stability. Add emulsifiers like mild soap to oil-based mixtures before shaking vigorously for 15-20 seconds.
Store in cool, dark places to extend shelf life and prevent degradation of active ingredients.
For best results, mix at room temperature and avoid extreme heat or sunlight. Partially fill bottles first, then add liquids slowly to reduce foaming. Label clearly with contents and date, especially for suspensions like baking soda that may settle over time.
Remember: a poorly mixed spray can lose effectiveness or even harm plants. Take your time, follow the ratios carefully, and store smartly.
With these techniques, your homemade pest controls will stay potent, safe, and ready to use when nature needs them most.
Application Techniques for Best Results

Getting the timing right makes a big difference in how well your sprays work, so aim to apply them early morning or late evening when temperatures are cooler and pests are most active.
Covering plants thoroughly means spraying both sides of leaves, stems, and even the soil around their bases to really target those pesky invaders.
To keep your DIY solutions fresh and ready to go, store properly sealed containers in a cool, dark place until you need them again.
Timing for Optimal Application
A well-timed spray can make all the difference in your DIY pest control routine. The right application timing guarantees maximum effectiveness while minimizing plant damage. Let’s explore when to apply your homemade solutions.
| Time of Day | Plant Benefits | Pest Interaction |
|---|---|---|
| Early Morning | Avoids sun burn, allows absorption | Pests are less active |
| Late Evening | Plants absorb fully, minimal sunlight | Targeted pests more exposed |
| Midday | High evaporation risk, foliar damage | Pesky insects most active then |
Environmental factors like temperature and humidity greatly impact application success. Always check weather forecasts before spraying to avoid rain or high winds that could reduce your treatment’s effectiveness.
Choose your timing wisely, and watch your garden thrive with these natural pest control strategies.
Coverage Techniques for Plant Surfaces
Once you’ve settled on the perfect timing for your DIY pest sprays, the real work begins with how you apply them. Effective spray application requires thorough coverage improvement-don’t forget leaf undersides!
Use adjustable nozzles to switch between pin streams and wide cones for dense areas. Keep 12–18 inches away to avoid runoff while ensuring even wetting. Sweep the nozzle carefully to reach hidden pests without damaging foliage.
For small plants, light misting works better than coarse sprays. Always check for gaps around buds or stems where pests hide. Proper technique maximizes your homemade solution’s power and protects your garden naturally.
Storage Solutions for Extended Use
Though storage might seem simple, it plays an essential role in preserving your DIY pest control sprays’ potency and safety. A designated storage organization helps keep your solutions fresh longer by keeping them away from heat, light, and moisture.
Store bottles upright in a cool, dry place with good airflow to avoid corrosion or label damage. Use childproof containers with tight seals to prevent accidental access by kids or pets.
Add pest deterrents like peppermint oil on cotton balls inside storage bins to keep insects away from your supplies. Label each bottle clearly with contents and dates so you always use the oldest first.
Check regularly for leaks or signs of contamination. With proper care, your homemade sprays can stay effective for months, ready to protect your garden when needed.
Safety Considerations for Using Homemade Pest Control
Before you plunge into making your own pest control sprays, take a moment to think about how these mixtures might affect not just the pests but also the environment around them. Safety protocols are essential – always perform a spot test on a small area first.
Apply in cool morning/evening hours to avoid leaf damage. Cover all surfaces thoroughly, including hidden spots where pests hide. And remember: natural doesn’t mean harmless!
- Always spot test new mixtures on a small, hidden plant area before full application.
- Follow safety protocols by mixing only in well-ventilated spaces and avoiding food/drinking during preparation.
- Apply sprays early morning or late evening to prevent sun damage and evaporation.
- Store properly and use only what’s needed to avoid overexposure and environmental contamination.
Alternative Oil-Based Pest Solutions
Oil-based solutions offer a natural alternative to chemical pesticides, targeting pests without compromising your garden’s ecological balance. Essential oils like peppermint or eucalyptus can be extracted and diluted with water and soap for effective repellents.
Vegetable oil mixes suffocate insects by blocking their respiratory pores, making them ideal for aphids and mites. Neem oil, derived from the neem tree, disrupts pest hormone systems and prevents reproduction, helping combat pest resistance over time.
Combining oils with mild soaps improves adhesion to plant surfaces and enhances penetration of insect bodies. This creates longer-lasting protection without harming beneficial insects like ladybugs or bees.
Whether using essential or vegetable oils, proper dilution guarantees safety while maximizing efficacy in your garden.
Baking Soda Mixtures for Spider Deterrence
After exploring oil-based solutions for pest control, let’s turn our attention to a pantry staple that works wonders as a spider deterrent-baking soda.
- Disrupts spider behavior by altering pH levels in their environment, making it less appealing for habitation.
- Mix with water and peppermint oil to create a spray that targets both smell and texture preferences.
- Acts as a non-toxic barrier when dusted in entry points, leveraging baking soda benefits without chemical risks.
- Combines with salt or diatomaceous earth for added physical deterrents spiders avoid.
This natural approach discourages spider presence through environmental changes rather than direct elimination.
Controlling Soft-Bodied Pests With Soap Sprays
Soapy solutions work great on aphids, mites, and other soft-bodied pests by breaking down their waxy coatings and disrupting their cells.
To manage these tricky bugs effectively, aim for direct contact while the spray’s wet, then repeat every few days as new pests appear.
Let’s explore how to mix, apply, and keep your plants safe with these simple but powerful insect fighters.
Soapy Solutions for Aphids
Although soapy sprays might seem simple, they’re remarkably effective for controlling aphids – those tiny, soft-bodied pests that can wreak havoc on gardens.
- Soapy solutions disrupt aphid cell membranes and waxy coatings, causing dehydration and death.
- They break water’s surface tension to suffocate aphids by penetrating their spiracles.
- The soapy benefits include no aphid resistance development unlike chemical pesticides.
- Thorough coverage of both leaf sides is essential for maximum impact on these pests.
Remember to use pure, natural soaps and avoid harsh detergents.
Soapy sprays offer a safe, organic alternative with direct contact action that makes them resistant-proof for aphid control.
Mite Management Techniques
Moving from aphids to another common garden foe, let’s explore how soap sprays tackle mites-those tiny red or brown pests that spin webs and suck plant juices.
Soap disrupts their waxy cuticle with fatty acid salts, making it a key mitigation strategy for soft-bodied pests like spider mites. Apply thoroughly on both leaf surfaces, especially where mites hide, when populations reach pest thresholds.
Use commercial insecticidal soaps or safe homemade recipes (1-2% dilution), avoiding harsh detergents that damage plants.
Spray in cool conditions to maximize contact time. Reapply every 5-7 days as soap lacks residual power once dry.
This low-toxicity method supports beneficial insects while managing mite populations without chemical residues.
Plant Protection Protocols
As you might expect, soap sprays work by breaking down the waxy coatings that protect soft-bodied pests like aphids and mealybugs-think of it as giving them a “shower” they can’t escape.
- Mix 1 tbsp castile soap with 1 quart water for a safe, effective concentrate perfect for organic gardening.
- Add peppermint oil to repel thrips or rosemary for extra pest prevention power.
- Spray directly on pests at dawn or dusk to avoid scorching plants in direct sunlight.
- Test on a leaf first to verify no phytotoxicity before covering entire plants.
This non-toxic method targets cell membranes, causing dehydration and suffocation without harsh residues.
It’s ideal for edible gardens near harvest time.
However, it won’t help against hard-bodied pests or systemic issues-use it strategically as part of an integrated pest management plan.
Testing and Monitoring Your Plants After Treatment
After applying your homemade pest control, taking time to really observe your plants is just as important as the treatment itself. Testing involves careful monitoring for pest resurgence or new vulnerabilities.
Start with daily checks on treated plants for two weeks-look for damaged leaves, unusual spots, or signs of reinfestation like chewed stems or visible insects.
Inspect plants daily for two weeks – check for damaged leaves, unusual spots, and signs of reinfestation like chewed stems.
For a thorough treatment efficacy assessment, compare your plants to untreated controls and note any changes in growth or color. Use magnifiers to spot tiny pests you missed earlier. Document everything in a garden journal with photos to track progress over time.
Be alert for subtle population increases or new damage, especially in the evenings when many pests are active.
This proactive approach guarantees you catch issues early and refine your strategy for better results.
Creative Uses of Common Household Items Beyond Pest Control
Have you ever thought about how everyday household items might double as natural pest control solutions? They can be!
Let’s explore creative recycling ideas using multiuse materials.
- Vinegar water cleans surfaces and deters spiders with its acidic scent.
- Essential oils like peppermint create fresh air while repelling insects naturally.
- Soap solutions clean grease buildup and disrupt pest exoskeletons effortlessly.
- Cardboard traps provide safe, chemical-free capture spaces for crawling pests.
These approaches cut costs and environmental impact.
By rethinking what we discard, we transform waste into valuable garden tools. This mindset saves money while supporting sustainable practices.
Frequently Asked Questions
Can I Use Expired Baking Soda for Pest Mixtures?
You can use expired baking soda in pest mixtures-expired ingredients effectiveness remains strong.
Baking soda works via alkaline disruption, not volatile compounds, so age doesn’t matter.
Mix with water, dish soap, or sugar for ant/roach baits. It’s safe, non-toxic, and a great baking soda alternative.
Just avoid overuse on sensitive plants.
Professional help is best for major infestations though.
How Do I Prevent Clogging in Homemade Spray Nozzles?
To prevent clogging in your homemade spray nozzles, start by using large passage designs like FullJet® or SpiralJet® for better flow.
Always filter sprays with strainers before filling – this is called spray filtering.
Store bottles upside down to keep nozzles clear between uses.
Regular nozzle maintenance with solvents like WD40 will keep them clean and working smoothly.
Are Essential Oils Safe With Liquid Castile Soap?
Essential oils are safe with liquid Castile soap when properly diluted.
The castile soap uses as a mild surfactant help the essential oil benefits like peppermint or rosemary stick to plants, repelling pests without harming them.
Always test on a small leaf first and follow dilution guidelines to avoid damage.
What’s the Shelf Life of Oil-Based Pest Sprays?
It really depends on how you store ’em. Oil stability drops when exposed to heat, light, or air, which speeds up oxidation and weakens their power.
Concentrates like Bonide All Seasons Horticultural Spray can last 3 to 5 years if stored cool and dark. But diluted sprays with water lose potency faster, often within a year.
Keep ’em sealed tight, away from direct sunlight, and use ’em before they get too old-especially natural oils, which fade significantly after two years.
Oil stability also depends on the base: mineral oil tends to hold up better than volatile essential oils. So yeah, track that age and shake those emulsibles well before use.
On a final note
You’ve learned practical ways to protect your garden using what’s already in your kitchen cabinet. These natural solutions not only save money but also avoid harsh chemicals that could harm beneficial insects. By understanding which ingredients target specific pests, you can create customized defenses that work with nature rather than against it. Remember to test any new treatment on a small area first and observe how your plants respond. With these skills, you’re equipped to handle most garden threats confidently while nurturing a healthy ecosystem.