Plant Disease Sterilization: Cleaning Tools and Containers to Prevent Disease Spread
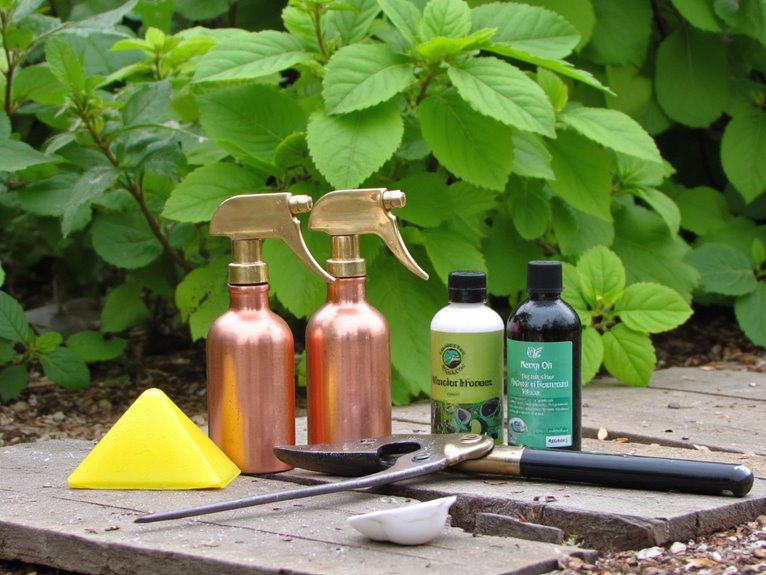
You’ll want to keep your tools and containers clean to stop plant diseases from spreading. Use a 3.5% sodium hypochlorite solution for at least a minute, or try boiling them for 40 seconds. For delicate plants, opt for lower concentrations or physical methods like heating the blades until they’re red hot. Make sure to rinse everything well after cleaning to avoid any harsh chemicals harming your plants. The right approach can make all the difference in keeping your garden healthy and happy!
Notable Insights
- Use 3.5% sodium hypochlorite for at least 1 minute to disinfect gardening tools effectively.
- Heat tools red-hot or boil for 40–60 seconds to kill pathogens completely.
- Clean tools regularly with water, soap, and brushes to prevent pathogen buildup.
- Thoroughly rinse after sterilization to avoid chemical residues harming plants.
- Test methods for containers to find optimal conditions without damaging plant materials.
Effective Sodium Hypochlorite Concentrations for Tool and Container Sterilization
When it comes to sterilizing gardening tools and containers, finding the right balance between effectiveness and safety is essential – especially when working with plant materials that can be particularly sensitive.
Sodium hypochlorite efficacy depends on concentration and contact time; a 3.5% solution run for at least a minute cuts pathogens without damaging tools. Optimal concentrations minimize harm while maximizing disinfection
Sodium hypochlorite’s power lies in balance-3.5% for a minute cuts pathogens without harming your tools or plants.
You should always clean surfaces first to boost tool contamination reduction, as organic matter can blunt the disinfectant’s power.
While higher concentrations offer stronger antimicrobial action, they risk harming both equipment and plants, so stick to recommended ranges.
After treatment, rinse thoroughly to avoid chemical residues that could harm your garden.
Fire and Physical Methods for Disinfecting Farm Equipment
For farmers seeking reliable disinfection without chemical inputs, fire-based methods offer practical solutions when properly applied.
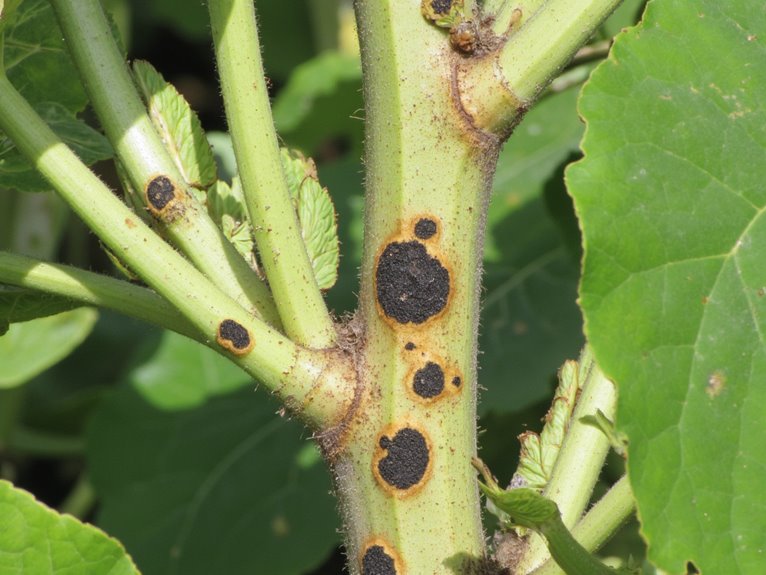
Fire tool sterilization involves heating blades until they glow red, which kills pathogens like *Xanthomonas vasicola pv. musacearum* in just 1 minute. However, prolonged exposure risks damaging metal, so time must be carefully balanced. High-temperature treatment demonstrates particular effectiveness against XW disease-causing bacteria when combined with proper tool preparation.
Boiling water disinfection provides an alternative-immersion for at least 40 seconds or up to a minute guarantees bacterial elimination without the same risk of tool damage. This method works especially well where chemicals are costly or unavailable.
Always remember to clean tools thoroughly before applying heat, as organic matter can shield pathogens from thermal treatment.
Combining these physical methods with careful technique maximizes their effectiveness while protecting your equipment investment.
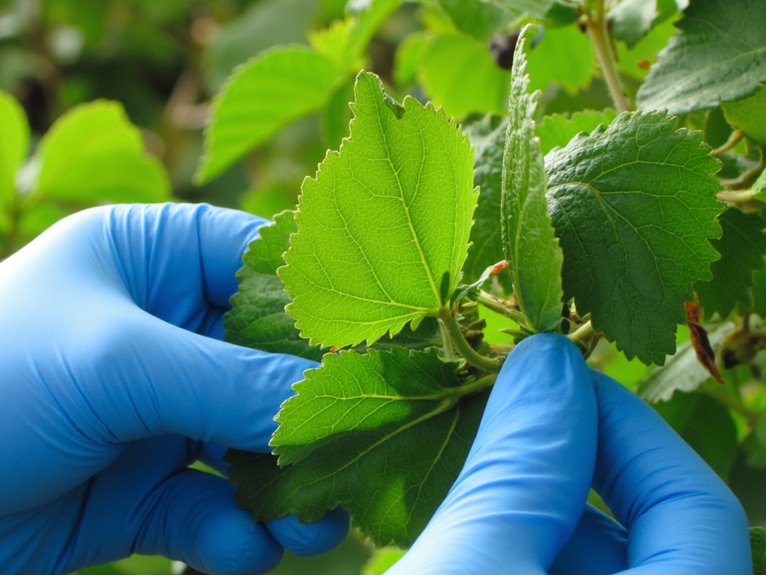
Optimizing Surface Sterilization for Plant Tissues: Leaves vs. Stems
You’ll need to test different concentrations and times when sterilizing leaves versus stems, since stems usually require stronger solutions or longer exposures due to their tougher structure.
Starting with lower sodium hypochlorite for leaves – maybe 0.5% for 8 minutes – helps avoid damage while still killing contaminants, but stems may need higher concentrations or extended exposure. Research indicates that 0.5% NaClO for 8 minutes is optimal for leaves, while stems may require higher concentrations or longer exposure times.
Keep adjusting based on what gives the cleanest cultures without harming your plants, and don’t forget to rinse thoroughly after!
Optimizing Surface Sterilization for Plant Tissues: Leaves vs. Stems
As we explore plant tissue culture, understanding how to properly sterilize different parts of plants is essential – especially when working with delicate leaves versus tougher stems.
Leaf sterilization benefits from lower concentrations of agents like sodium hypochlorite (0.5-1%) and shorter times (4-8 minutes), thanks to their thin cuticles.
Stem treatment often needs higher concentrations or longer exposures due to thicker layers that hide microbes. Ethanol alone isn’t enough for stems; it should be combined with other methods.
Be careful with mercuric chloride on stems, as it can cause more damage there. Fumigation offers a gentler alternative, especially for leaves.
Always test your approach – what works for one plant mightn’t for another. The goal is clean tissue without harming the plant, so start simple and adjust based on results.
Concentration Testing
When balancing sterilization needs with plant tissue sensitivity, testing different concentrations is essential for achieving clean cultures without damaging your plants.
Concentration optimization reveals that leaves, with their delicate cuticles, fare better with lower sodium hypochlorite (0.1-0.5%) than stems, which can tolerate higher concentrations but risk necrosis.
The concentration effects of mercuric chloride show similar patterns – lower doses protect sensitive tissues while still offering strong bactericidal action.
Always test multiple concentrations rather than relying solely on recipes, as the right balance prevents contamination without compromising your plants’ health.
Time Adjustments
While balancing sterilization needs with plant tissue health, timing becomes especially critical when working with leaves versus stems-each requiring tailored approaches to guarantee clean cultures without causing damage.
Leaves’ thin cuticles mean shorter immersion times prevent burn-like injuries, while stems’ rigid structures tolerate longer exposure strategies.
Exposure effects vary dramatically: excessive chlorine gas on chrysanthemum leaves harmed viability, but similar times on stems yielded sterile cultures.
Timing strategies must pair with sterilant concentrations carefully-5 minutes of hydrogen peroxide protects delicate leaf tissues better than prolonged soaking.
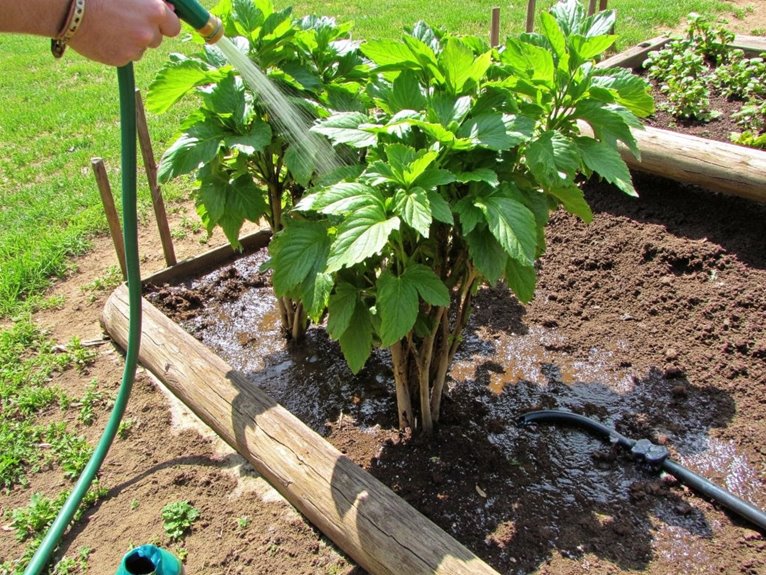
Reducing Contamination Risks With Proper Tool Cleaning Practices
Alright, let’s get your gardening tools clean and safe! Thorough tool maintenance builds contamination resilience by eliminating hiding spots for pathogens.
Start with water to loosen dirt, then soap to break down organic material-especially around joints and cutting edges. Use brushes for tough grime before disinfecting. A clean tool isn’t just about looking nice; it’s about preventing disease spread between plants.
Let the disinfectant work without interference from soap residues. Afterward, rinse well to avoid harmful chemical transfers to your garden. This approach not only protects your crops but extends tool life by avoiding corrosion from harsh cleaners.
Make cleaning a routine part of your gardening schedule for consistent results and fewer plant losses. Pay special attention to cutting blades on pruners, shears, and trimmers, as these surfaces make direct contact with plant tissue and can harbor pathogens in microscopic crevices.
Impact of Sterilization on Herbal Extracts and Bioactive Compounds
Sterilization methods can really mess with the chemistry of herbal extracts, knocking down key bioactive compounds like phenols and flavonoids.
Autoclaving seems to be kinder to these valuable phytochemicals than syringe filtering, which knocks them way down.
Choosing the right sterilization approach is essential for keeping your plant-based remedies potent and effective.
Impact of Sterilization on Herbal Extracts and Bioactive Compounds
- Autoclaving better preserves antibacterial activity than filter methods.
- Phenolic losses are smaller with autoclaving.
- Bioactive compound retention affects both disease control and growth promotion.
For herbal extract stability, choosing gentle sterilization helps maintain bioactivity needed for antimicrobial and biostimulant effects.
When these compounds stay intact, extracts perform better against pathogens and support plant growth more effectively.
Chemical Composition Changes
Even when we aim to protect plants from disease, the methods we use can subtly reshape their world in surprising ways, much like how our choices affect us indirectly through our environment.
Chemical sterilization alters not just pathogens but also microbial interactions that support plant health.
Studies show that soil sterilization changes microbial communities and chemical forms of heavy metals, potentially increasing bioavailability or reducing toxicity.
These shifts may impact nutrient uptake and plant resilience.
Similarly, chemical modifications in plastics from disinfectants like chlorine can affect tool durability and safety.
These changes highlight the need to carefully balance sterility with ecological harmony for healthy plants.
Managing Seed Quality: Sterilization Outcomes by Source and Genotype
When it comes to seed quality management, the source and genotype of your seeds matter more than you might think.
The sterilization efficacy varies notably between plant genotypes – like maize Sugar Bun seeds achieving up to 100% fungal removal versus B73 seeds at 65.3%.
Field-sourced seeds often show persistent contamination despite treatments. This means different genotypes may require tailored protocols rather than a one-size-fits-all approach.
- Seed genotype directly influences how well sterilization works
- Source environment affects initial contamination levels
- Customized methods improve outcomes without harming viability
You’ll need to balance thorough cleaning with maintaining healthy germination rates, which differ by both seed origin and genetic makeup.
Taking these factors into account guarantees better results when starting new plants from seeds. Regular maintenance of your pruning tools through proper sterilization prevents cross-contamination between plants and maintains the effectiveness of your disease prevention protocols.
Testing and Validating Sterilization Protocols for Micropropagation
As we explore testing and validating sterilization protocols for micropropagation, it’s important to remember that thoroughness in this process can make or break the success of your plant propagation efforts.
Protocol assessment begins with development, ensuring biological indicators and standard operating procedures are precise. Verification uses techniques like survivor curve analysis and D-value determination to measure effectiveness against microbial populations on explants.
A factorial design approach enables extensive evaluation by varying factors such as sterilant concentration and exposure time across different explant types. This helps identify ideal conditions that balance contamination reduction with tissue viability, supporting robust regeneration capacity in culture media.
Integrated Disease Control Through Multi-Barrier Sterilization Strategies
Whether you’re starting from seed or cutting, integrating multiple disease control barriers into your propagation process can greatly improve plant health outcomes.
Building on our previous discussion about protocol validation, let’s explore how combining methods creates stronger defenses.
- Soil fumigation alone may not be enough; adding biological agents like Bacillus firmus enhances pathogen suppression.
- Chemical alternatives such as peracetic acid offer lower environmental impact while remaining effective.
- Barrier methods should be staged – solarization first, then chemical treatments when plants are established.
This multi-layer approach doesn’t just clean surfaces – it creates an environment where pathogens can’t thrive.
Remember to validate each step’s contact time and concentration for maximum efficacy.
These strategies don’t replace good hygiene practices either – cleaning tools remains critical.
Maintaining proper humidity levels between 40-60% also supports plant health while reducing conditions that favor pathogenic growth.
Let’s keep building that thorough defense system together.
Frequently Asked Questions
Can Natural Alternatives Replace Sodium Hypochlorite for Tool Sterilization?
Natural alternatives can complement but not fully replace sodium hypochlorite for tool sterilization.
Essential oils show promise, especially thyme, which fights bacteria quickly. Vinegar solutions also offer antimicrobial benefits. However, they often lack the consistent strength and approval of sodium hypochlorite.
For best results, mix methods: start with a vinegar rinse, then use essential oils, and finish with heat or physical cleaning to stay safe and effective without harsh chemicals.
How Does Tissue Maturity Affect Sterilization Protocol Selection?
Tissue maturity directly shapes your sterilization protocols-young embryos need gentle methods like 70% ethanol followed by mild disinfectants, while mature tissues tolerate stronger treatments.
Adjust based on age: older plants can handle sodium hypochlorite rinses, but younger ones require careful washing to avoid damage.
Always balance cleanliness with care to preserve your plants’ health.
Does Sterilization Impact Plant Growth Hormone Levels?
Not directly-it doesn’t alter endogenous hormone concentrations.
But it greatly affects growth effects indirectly. By preventing pathogens that disrupt hormone pathways like SA, JA, and ET, sterilization maintains hormonal balance needed for healthy development.
This reduces disease-triggered dysregulation causing defects like dwarfism, letting plants reach their full potential through stable plant hormones.
Are Plastic Tools More Resistant to Chemical Sterilization Than Metal?
Yes, plastic tools generally show greater chemical resistance than metal ones during sterilization.
Plastic’s broad compatibility with disinfectants like hydrogen peroxide makes it durable for repeated use.
Metal tools, while strong, are more susceptible to corrosion from these same chemicals over time.
Both materials have their place-plastics offer flexibility and lighter weight, while metals provide reliable durability for heavy-duty applications.
What Causes Variability in Contamination Rates Among Seed Sources?
You’re probably wondering what causes variability in seed contamination rates. It’s largely due to seed genetics-different genotypes have varying self-fertilization rates and stress responses- and contamination pathways depend on orchard location, weather, and handling.
Understanding these factors helps you manage better!
On a final note
You’ve got the tools to create a sterile garden environment! By testing sodium hypochlorite concentrations, you can disinfect equipment without damaging plants. Fire methods offer an alternative for tough cases. When sterilizing plant surfaces, leaves require different approaches than stems. Regular cleaning prevents cross-contamination. Remember that some compounds may be affected by sterilization processes. Careful protocol validation guarantees seed quality across genotypes. Combine multiple barriers like physical cleaning and chemical treatments for best disease control. Keep learning – your garden will thank you!