Broken Root Ball Emergency Repair: Fixing Damaged Root Systems During Transplanting
Fix your broken root ball right away-research shows most transplant failures start here. Gently wrap the damaged roots in untreated burlap and secure with natural twine, making sure not to compact the soil too much. Water slowly using soaker hoses until the ground feels moist but not soggy, checking daily for dryness just below the surface. Be careful not to trim more than needed; focus on removing circling roots instead. The sooner you act, the better chance your tree has at surviving this stressful event. If you’re wondering how to tailor care for different species or what soil tests can reveal about your garden bed, there’s more help coming up.
Notable Insights
- Stabilize the root ball by firmly tamping soil around it to prevent movement.
- Keep the soil consistently moist but not waterlogged during recovery.
- Securely wrap roots with untreated burlap to protect and support the system.
- Trim only damaged or circling roots using clean, precise cuts.
- Test soil pH and drainage before transplanting to create optimal growing conditions.
Immediate Stabilization of a Broken Root Ball
After securing the structure, tamp the soil firmly around the base to enhance root ball stabilization. Keep the soil consistently moist but not waterlogged, and add organic matter like compost to promote healthy growth. Avoid moving the tree excessively; let it settle while monitoring the braces regularly to verify they remain tight. With proper care, your tree can recover and thrive despite the initial damage.
Secure Wrapping and Handling Techniques
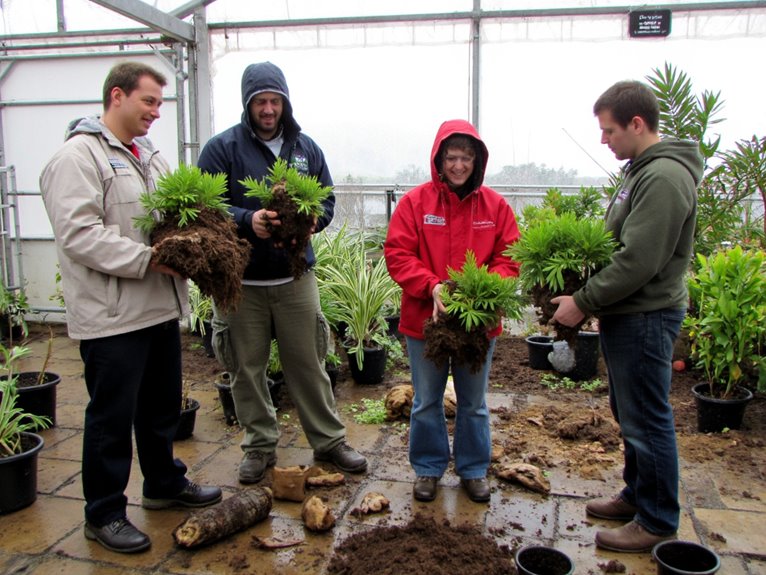
After stabilizing a broken root ball, the next step is securing it with proper wrapping techniques. Choose untreated burlap that decomposes naturally and use sisal twine or 3-ply natural twine to bind everything tightly. This not only protects the roots during transport but also sets the stage for a smoother transplant process. The root-to-shoot ratio must be carefully maintained throughout this procedure to ensure the tree’s survival, as improper wrapping can disrupt this critical balance.
Secure Wrapping Techniques
Before you wrap that precious root ball, consider the material-natural burlap wins every time, letting roots breathe and grow through rather than getting tangled in plastic. The burlap benefits include biodegradability, airflow promotion, and nutrient access. For wrapping methods, keep soil moist and stitch tightly with natural twine. Larger root balls may need wooden braces for stability. Wrap during dormancy to minimize stress. Handle carefully with carts or slings to preserve the integrity of this essential transplant foundation. Similar to how solar panels require proper positioning for optimal efficiency, your wrapped root ball needs strategic placement in well-draining soil with adequate sunlight exposure for successful establishment.
Handling Without Damage
Although transplanting might look simple, handling that root ball without damage requires attention to both technique and tools, just as carefully placing a fragile heirloom would. Gentle handling prevents root damage during lifting and transport. Keep the root ball close to your body and bend at your knees for safe lifting. Use padded carts or slings to further protect roots. Avoid twisting motions and always handle with two people if needed. Soak the root ball beforehand to keep soil intact, and wrap it in natural burlap for added root protection. Transport slowly and place plants immediately at the correct depth to minimize stress. With proper technique, you’ll preserve your plant’s health and guarantee a successful transplant. Once transplanted, select moisture-retentive potting mixes with perlite or coconut coir to balance drainage and prevent root rot in the new container.
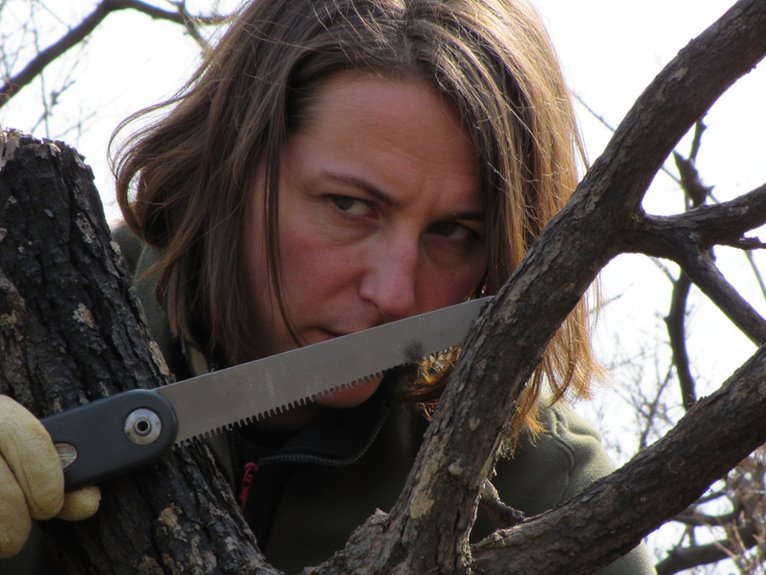
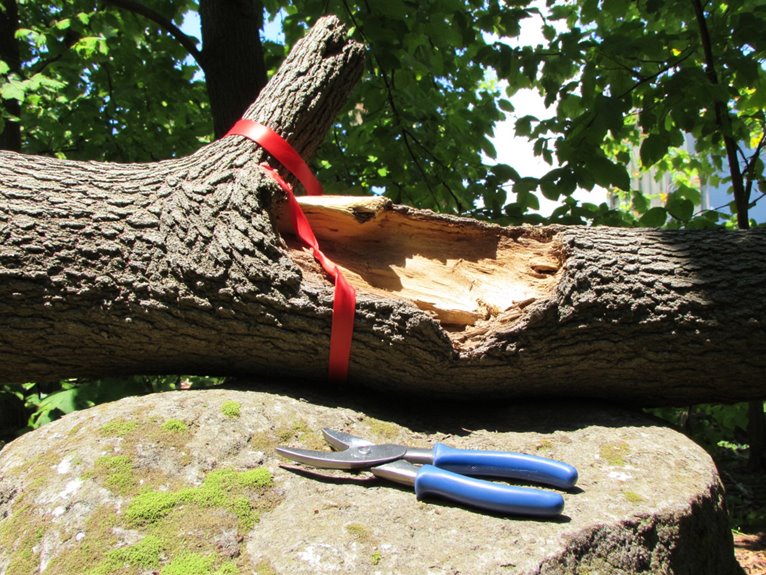
Proper Root Trimming for Damaged Systems
When preparing a tree for transplant, timing is key to ensuring a successful rebirth in its new home. Follow root pruning techniques like trenching or undercutting to shape the root system without causing damage. Use sharp tools to make clean cuts that support rapid healing and apply root stimulation methods such as hormone treatments to boost regrowth. Trim only what’s necessary-avoid excessive cutting that could weaken the tree’s foundation. For damaged systems, focus on removing circling roots and shaping the ball carefully to preserve crucial fibrous connections. Patience pays off; let the tree recover before replanting to give it the best chance at thriving in its new environment. Consider applying organic fertilizers with beneficial microbes to enhance nutrient uptake and support the healing process in transplanted root systems.
Soil Replacement and Compaction Methods
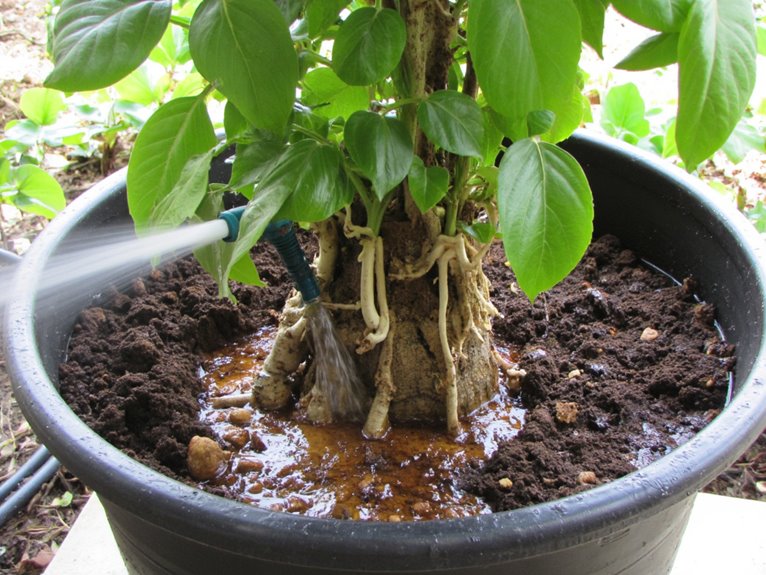
After shaping those roots, you’re ready to wrap things up with something just as important-the soil. Maintain consistency by using site soil for backfill, separating topsoil from subsoil and placing the heavier subsoil first around roots. Choose soil with drainage characteristics matching your tree species to avoid waterlogging or desiccation extremes. Gently tamp rather than compact, letting water settle layers instead of applying mechanical pressure. Avoid synthetic additives that could restrict growth; instead, enrich naturally over time. Ascertain root ball sits at original depth and leave burlap intact but remove restrictive materials. The right soil mix and handling will set your transplant up for recovery without suffocating its underground network.
Water Management After Emergency Repair
After your emergency root ball repair, keeping the soil consistently moist is key to helping the tree recover-think of it like giving your plant a steady drink without drowning its roots. You’ll want to water deeply but carefully, avoiding puddles that can suffocate the root system rather than hydrating it. Finding that balance between hydration and airflow will set the stage for strong regrowth.
Water Requirements After Repair
Once the root ball has been repaired, maintaining consistent moisture levels becomes essential for promoting regeneration and preventing further stress. Focus on watering methods that guarantee moisture retention around the root zone-soaker hoses or trickle systems work best by delivering water slowly to the soil. Water until the soil is moist 6–8 inches deep, concentrating on the root ball initially as roots haven’t expanded beyond it yet. Check regularly at 1–2 inches deep; water when dry to the touch but stop before saturation. This balance supports oxygen availability for root respiration while keeping the plant stable during its recovery.
Avoiding Overwatering Risks
You’ve got the watering basics down after repairing that root ball, but there’s more to learn about keeping things just right-especially avoiding the pitfalls of too much water. Overwatering symptoms like wilting or yellow leaves signal root suffocation rather than drought stress. Keep soil moist but not soggy; let it dry slightly before your next round. Avoid frequent shallow watering that keeps the surface wet. Instead, go deep and less often to encourage strong roots. Check daily for signs of trouble-rot, fungal growth, or leaf discoloration. Water wisely, and your plant will recover stronger than ever.
Monitoring Recovery Indicators
Five years later, many trees show remarkable resilience as their root systems rebuild – but tracking progress requires careful observation of multiple indicators. A thorough recovery evaluation begins with leaf color returning to green, signaling improved water uptake, while new shoots hint at restored root function. Monitoring root health involves checking for fine feeder roots and avoiding dark, slimy signs of rot. Don’t overlook branch flexibility or reduced wilting – these reflect stabilized hydration. Regularly evaluating these indicators gives you confidence in your tree’s path toward full recovery.
Species-Specific Care Guidelines
Whether you’re working with trees or shrubs, the care you provide should be as unique as the species you’re nurturing. Thorough rootball assessments reveal specific needs-deciduous trees require 8–10 times trunk diameter for transplant success, while conifers demand breathable burlap wraps to prevent desiccation. Species sensitivities shape every step: tropical plants need shaded sites and high humidity, whereas conifers face risks from overwatering. Shrub transplants benefit from light mulching and surface root focus, while acid-loving azaleas require pH-adjusted backfill. Tailoring watering schedules, pruning approaches, and fertilization practices to each species’ biology builds resilience. Take time to research your particular plants-patience pays off when repairing broken root balls.
Preventive Transplanting Practices
Before you dig, take time to evaluate the site’s conditions and prepare thoroughly for a successful transplant. A proper root inspection reveals hidden damage, while soil testing guarantees ideal pH and drainage. These steps build confidence in your plan.
- Imagine losing years of growth if roots remain bound underground
- Picture brittle soil crusting over your carefully placed tree
- Worry about water pooling where roots can’t breathe
- Fear compacted ground suffocating your new planting
- Doubt your skills if no margin for error exists
Soil testing guides amendments, while root inspection informs pruning decisions. Both create a welcoming environment for transplants to thrive rather than struggle.
Frequently Asked Questions
What Tools Are Best for Securing Burlap Around a Fragile Root Ball?
Use jute twine for burlap securing techniques to protect fragile root balls. Loop it around the top and bottom with a drum lacing pattern, then tie from the perimeter band to the stem. This creates a tight, natural collar that prevents soil displacement and damage during transport.
How Deep Should the Planting Hole Be for Trees With Broken Roots?
For trees with broken roots, dig a planting hole equal to the root ball height minus 1-2 inches for tree planting depth. Focus on root ball preparation by keeping the flare above ground and avoiding deep planting to help damaged roots recover.
Can Chemical Soil Amendments Help Stabilize Damaged Root Systems?
Yes, chemical soil amendments can help stabilize damaged root systems. They improve nutrient absorption and provide chemical stability through compounds like gypsum and organic matter, supporting root recovery after transplant stress.
On a final note
Fixing a broken root ball can be stressful but is manageable with care. Focus on stabilizing the plant first, then handle it gently to avoid further damage. Proper trimming, re-soiling, and watering will support recovery. Be patient-recovery takes time. With the right approach, your plant can thrive after this emergency repair. Stay positive and committed to its care moving forward.