Dying Plant Revival: Emergency Steps to Save Severely Damaged Garden Plants
Your dying plants need immediate attention-start by pruning damaged foliage with clean tools, focusing on severe damage to let healthy parts photosynthesize. Adjust watering habits: water in the morning and only when the soil feels dry below the surface. Improve soil by adding compost to restore nutrients and drainage. If fungal issues persist, consider localized humidity control with trays or misting. Monitor daily for new growth or worsening symptoms-patience will help your garden reclaim its importance.
Notable Insights
- Assess plant symptoms to identify specific causes like fungal infections or overwatering.
- Prune damaged foliage cleanly to promote healing and redirect energy to healthy parts.
- Adjust watering habits to ensure proper drainage and avoid waterlogged soil.
- Improve soil quality with compost and beneficial microbes for better nutrient uptake.
- Monitor environmental conditions closely and make gradual care adjustments.
Identifying the Root Causes of Plant Decline
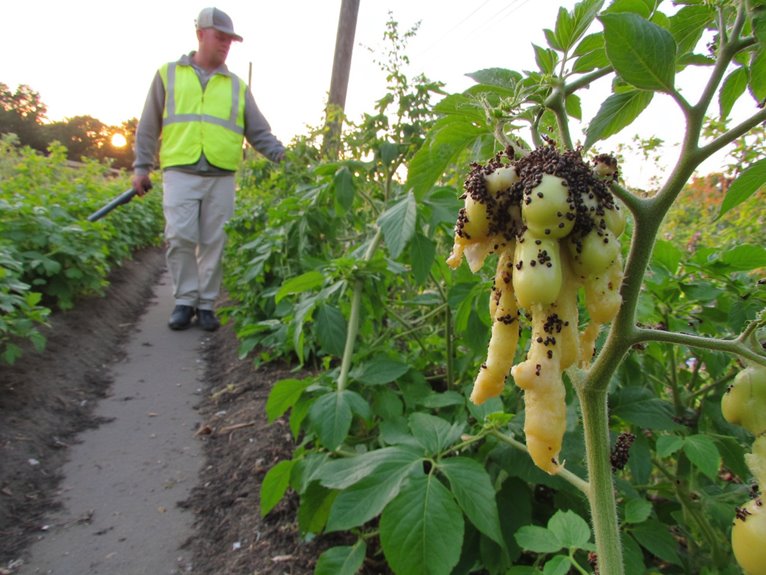
Even though your plant looks lifeless, identifying the root causes of its decline can often bring it back from the brink-especially if you take a methodical approach to diagnosing what’s wrong. Start with symptom identification: note wilting patterns, discolored leaves, or stunted growth. These clues point to potential pathogens like *Botrytis cinerea* causing blight or *Plasmopara viticola* triggering downy mildew. Pathogen recognition requires examining affected tissues for lesions, spots, or decay indicative of fungal infections. Environmental conditions play a crucial role in disease development, as pathogens like Fusarium thrive in hot summers and poor drainage. Consider environmental stressors too-overwatering, poor drainage, or high humidity create prime conditions for pathogens to thrive. Once you’ve stabilized your plant’s health, proper garden lighting can help you monitor recovery progress during evening inspections, with solar panels providing energy-efficient illumination without adding electrical complexity to your outdoor space. With patience and attention to these details, you can pinpoint the cause and take targeted action to revive your plant’s health.
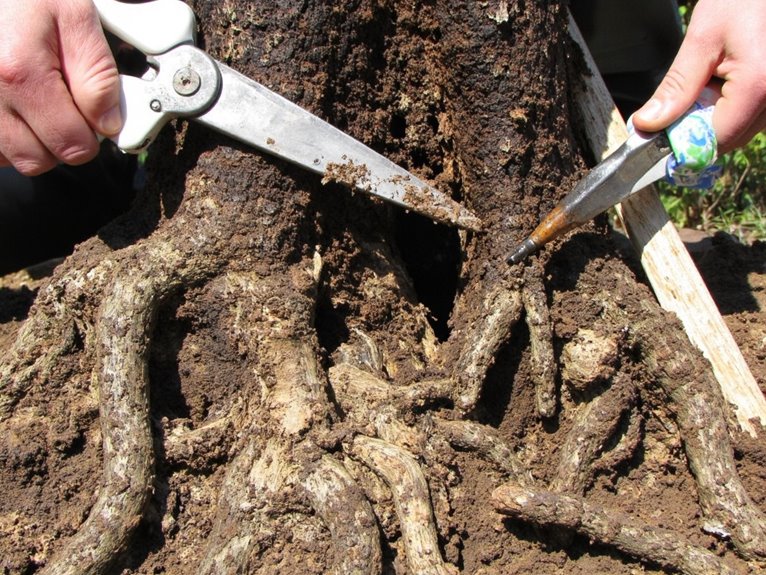
Pruning Techniques for Reviving Damaged Plants
When a plant shows signs of distress, pruning becomes one of your most valuable tools for bringing it back to life. Mastering pruning techniques and implementing smart recovery strategies can transform damaged plants into thriving specimens.
During heatwave recovery, focus on removing only the most severely damaged foliage while leaving healthy sections intact to support photosynthesis, preserving plant vitality becomes crucial in the days following extreme temperature stress.
| Cut Type | Location | Purpose |
|---|---|---|
| Clean cut | Near stem base | Encourages healing |
| Flush cut | At branch collar | Prevents infection |
| Undercut | Below bud eye | Facilitates growth |
| Tool | Technique | Result |
| Shears | Sharp, precise cuts | Minimizes stress |
| Loppers | Controlled removal | Maintains shape |
| Saw | Three-cut method | Avoids tearing |
| Timing | Amount | Impact |
| Winter/early spring | 1/3 annual growth | Stimulates new shoots |
| Post-bloom | Selective cuts | Preserves flowers |
| Anytime | Dead/diseased wood | Improves health |
Use pruning to remove crossing branches and dead foliage, always prioritizing clean cuts for ideal recovery. After pruning, ensure your plants have proper drainage and aeration in their growing medium to prevent root rot and promote healthy new growth.
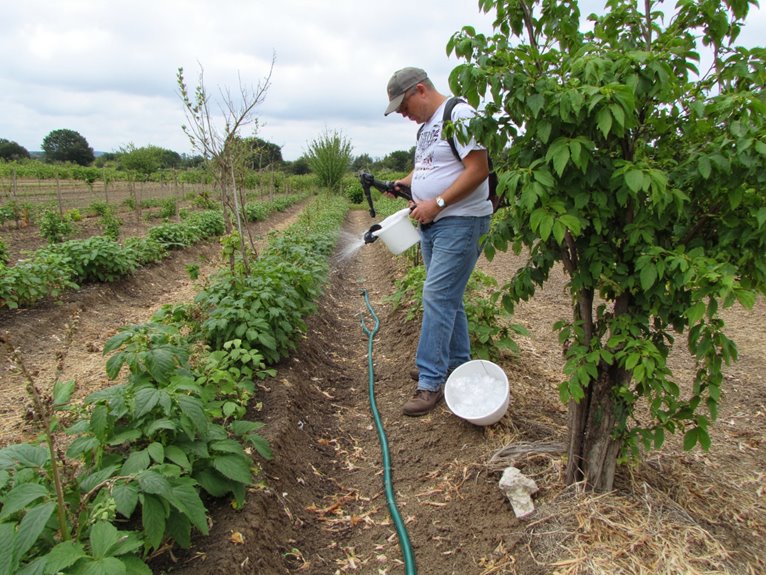
Correcting Watering Practices for Stressed Plants
Whether you’re dealing with a wilting garden or simply looking to improve your watering routine, getting the technique right can work wonders for plant health. Water in the morning to reduce evaporation and avoid wet foliage, which prevents diseases. Deep watering encourages strong roots rather than frequent shallow sessions. Establish consistent watering schedules based on plant type and weather conditions. Regular moisture monitoring through touch or sensors helps prevent both underwatering and overwatering. Avoid watering when soil is already moist to prevent root rot. With the right approach, your plants can recover and thrive. Thick mulch layers further enhance water retention by insulating the soil and minimizing evaporation.
Soil Remediation: Fresh Starts for Dying Plants
If your plants feel stuck in a toxic cycle, fixing the soil might be just what they need-think amendments that boost nutrients or plants that clean contaminants from the earth. Choosing the right method depends on what’s wrong with your ground, whether it’s heavy metals, salts, or something else holding your garden back. Let’s get your soil sorted so those tired leaves can finally breathe fresh again.
Soil Solutions for Revival
Although nature often provides its own solutions, sometimes dying plants need our help to reclaim their soil home, just as we’d fix a broken appliance. Phytoremediation techniques use resilient plants like willow or Hyparrhenia hirta to absorb heavy metals, while microbial bioaugmentation introduces beneficial bacteria to break down toxins. These methods work together – imagine microbes helping plants extract pollutants more efficiently. If soil is too contaminated, physical amendments like compost can create fresh starting conditions. For severely compromised soil situations, premium organic soil mixes enriched with mycorrhizae and earthworm castings can provide the essential nutrients and beneficial microorganisms needed to restart healthy plant growth. Don’t lose hope; with the right approach, your garden’s foundation can rebuild itself.
Nutrient Boost Techniques
Once you’ve given your plants a clean slate with fresh soil, it’s time to boost their nutrition with techniques that work like a healthy diet for your garden. Liquid nutrients from vegetable water or rice water provide carbohydrates for root health, while diluted fish tank water adds nitrogen for growth. Organic fertilizers like composted manure create nutrient reservoirs that feed plants over time. For quick fixes, try foliar feeding with seaweed sprays that speed nutrient absorption through leaves. Cinnamon soaks disinfect roots, helping plants take up nutrients more efficiently. Always start with half-strength feeds to avoid shocking weakened systems. Combine these methods for a balanced approach-your plants will thank you!
Nutrient Restoration Through Strategic Fertilizing
One in five plants show signs of nutrient imbalance after environmental stress. Fertilizer timing is key-avoid immediate re-fertilizing until your plant shows clear recovery. Nutrient ratios matter too; go low-nitrogen, high-potassium to strengthen roots without burning them. Use organic options like compost tea or seaweed extract for gentle nourishment. Deep root techniques deliver nutrients directly where they’re needed most. Flush soil thoroughly before and after feeding to prevent salt buildup. Monitor closely and let your plant rebuild its strength naturally before adding more food.
Optimizing Light Conditions for Recovery
After addressing nutrient imbalances, the next step in a plant’s recovery often centers around light conditions-this fundamental energy source for photosynthesis and overall health. Light intensity directly affects how quickly plants can rebuild themselves, while the right light spectrum supports different growth stages.
| Light Type | Intensity Level | Best For |
|---|---|---|
| Sunlight | High | Full sun species |
| Indirect | Medium | Shade-tolerant plants |
| Fluorescent | Low-Medium | Foliage recovery |
| LED Grow Lights | Adjustable | Indoor revivals |
| Incandescent | Medium-High | Flowering support |
Adjust intensity gradually and match the light spectrum to your plant’s needs.
Creating Ideal Environmental Conditions
You’re going to need to find that perfect spot where light shines bright but doesn’t burn your plant’s leaves, often a north-facing window or under grow lights. Keeping humidity just right means avoiding both soggy situations that cause rot and dry air that cracks your plant’s skin. Try placing trays of water nearby or misting carefully-just don’t overdo it or you’ll create more problems than solutions.
Optimal Light Placement
While positioning grow lights correctly might seem straightforward, the distance, direction, and spectral quality all play critical roles in helping your plant recover from stress. Focus on light placement that matches your plant’s needs-low-light species require greater distance adjustment to avoid burning, while sun-loving plants thrive closer for intense photosynthesis support. Consider window orientations too; south-facing spots offer high intensity, perfect for succulents, while north-facing areas suit shade-tolerant varieties. Always monitor and tweak as your plant grows or seasons change.
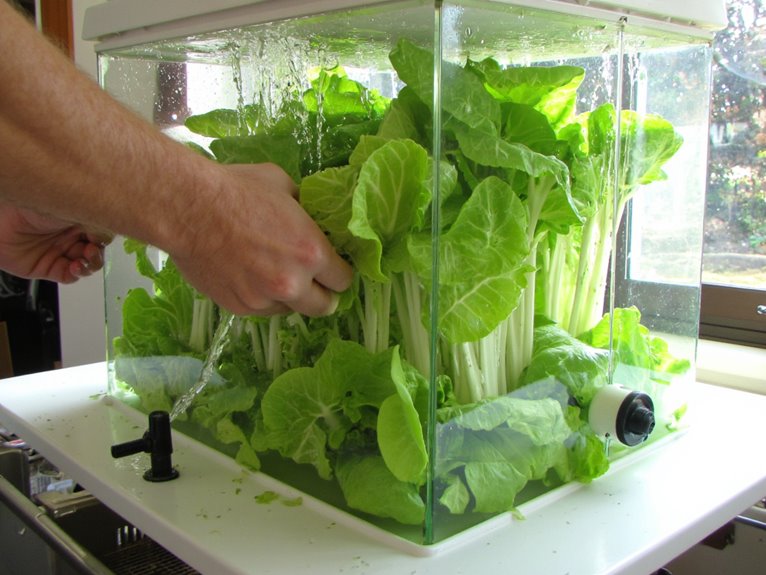
Humidity Management Techniques
When plants show signs of stress, adjusting their environment often feels overwhelming – but mastering humidity can work wonders for their recovery. Use humidity trays or the two-pot method with sphagnum moss to create localized moisture, while grouping plants with similar needs builds a humid microclimate through transpiration. For extreme cases, terrarium creation traps moisture around sensitive species. However, balance is key: guarantee air circulation by placing fans away from leaves, use dehumidifiers if humidity becomes excessive, and avoid over-misting succulents. Proper plant placement in naturally steamy areas like bathrooms helps retain moisture, but always monitor temperature control to prevent water stress. Misting techniques should focus on leaves rather than soil, and only when needed based on leaf condition.
Monitoring Progress and Providing Additional Care
As your plant begins its recovery journey, consistent monitoring becomes essential to track progress and adjust care strategies-daily inspections of leaf color, stem firmness, and new growth reveal critical insights about its health status, while checking for pests and evaluating soil moisture guarantee you provide the ideal conditions for revival. Progress monitoring means noting improvements like brighter greens or stronger stems, which inform necessary care adjustments. If yellow leaves persist despite proper care, consider light exposure or nutrient needs. Regularly removing dead material keeps your plant focused on healing without extra stress.
Preventive Measures for Future Plant Health
Once your plant begins its recovery journey, it’s wise to shift focus from saving one plant to protecting your entire collection for years to come. Preventive measures create resilient gardens that thrive with minimal disease pressure. Implement crop rotation by moving plants families yearly-this disrupts pathogen cycles and reduces soil-borne diseases dramatically. Add organic matter through compost and mulches as part of your soil amendments strategy, improving structure and microbial balance. Keep garden spaces clean, spacing plants properly to enhance airflow and reduce splash transmission. Finally, start with healthy plant material from trusted sources to avoid introducing new pathogens.
- Rotate families every 3 years to break disease patterns
- Use cover crops like mustard to naturally suppress pathogens
- Test soil regularly to guide amendment decisions
- Keep garden surfaces clear of debris that hosts pests
These practices build a robust foundation where plants can flourish independently of constant intervention.
Frequently Asked Questions
Can I Use Tap Water for Reviving Stressed Plants?
Yes, you can use tap water for reviving stressed plants, but water quality matters. Chlorine and minerals may harm sensitive ones, causing leaf browning or soil crusts. Let it sit 24 hours to reduce chlorine, or filter it for hard water areas.
How Often Should I Fertilize a Recovering Plant?
Fertilize your recovering plant every two weeks with diluted, balanced Fertilizer types to maintain Nutrient balance. Avoid over-fertilizing by watching for yellowing or slow growth. Adjust based on the plant’s response and guarantee well-watered soil before applying.
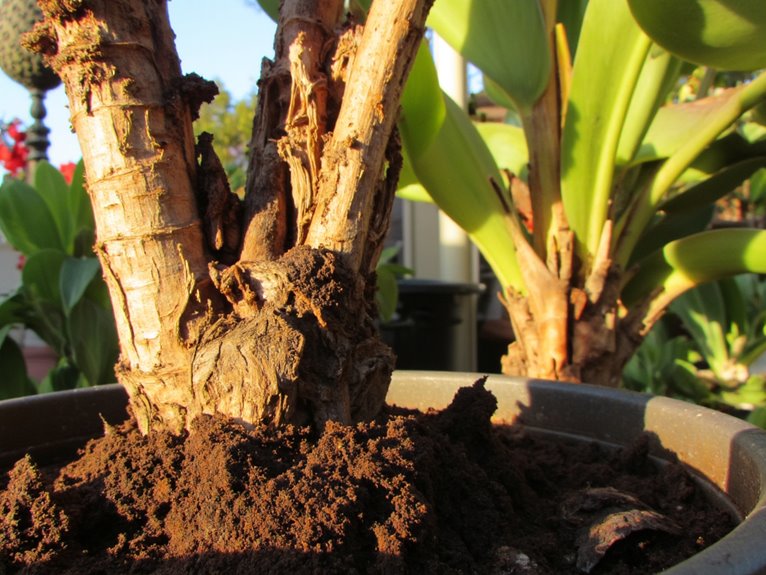
Is Coffee Grounds Good for Dying Soil?
Yes, coffee grounds can help dying soil with their coffee benefits, adding nutrients like nitrogen and improving soil health when used properly.
What Temperature Is Safe for Plant Recovery?
Ideal temperature for plant recovery is between 68°F to 86°F, helping break dormancy and promote growth. Keep daytime around 70-80°F and nighttime between 65-70°F. Avoid extremes; they stress plants and slow recovery.
Do I Need to Repot Immediately After Pruning?
No, you don’t need to repot right away after pruning. Let the plant rest for a week or two first, especially if you did heavy trimming. Wait until active growing season-spring or summer-for ideal pruning techniques and soil health.
On a final note
As you commence this revival journey, remember that patience and consistent care will gradually restore your plants’ vigor. By addressing the underlying causes of decline and providing tailored solutions, you’re not just saving plants-you’re nurturing resilience. Keep learning from each experience, and don’t hesitate to seek expert advice when needed. With dedication, even the most struggling gardens can flourish once again.