A Comprehensive Guide to Seasonal Vegetable Planting
When planting seasonal vegetables, it’s important to prepare soil for best growth by testing and adjusting nutrients like lime, nitrogen, phosphorus, and potassium. Consider your local climate to select the right veggies for each season, ensuring cool-season crops go in early while shifting to warm-season plants later. Check USDA planting times, start seeds indoors for a head start, then harden and transplant seedlings outdoors when the weather’s mild. Mastering these steps sets the stage for a successful harvest, leading to satisfying results in your garden.
Soil Preparation and Testing
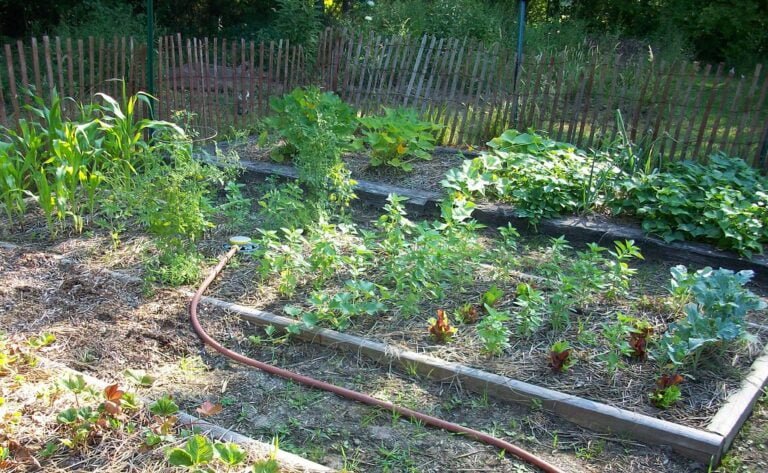
Before planting seasonal vegetables, it is important to prepare and test the soil to guarantee ideal plant growth and yield. Soil testing plays a significant role in determining the nutrient needs of the plants, such as lime, nitrogen, phosphorus, and potassium, essential for best growth. By analyzing the soil composition and fertility through testing, adjustments can be made to fertilizer or manure applications to make sure that plants receive the necessary nutrients they require for healthy development.
Understanding the pH level, nutrient content, and organic matter present in the soil is essential for effective gardening practices. Soil testing provides valuable insights into the current state of the soil, allowing for informed decisions on how to enhance soil fertility levels. Proper soil fertility supports robust plant growth and ultimately leads to high yields in your vegetable garden.
Choosing the Right Vegetables
What factors should I consider when choosing the right vegetables to plant for best growth and yield in my seasonal garden? When selecting vegetables, it’s critical to assess your local climate and growing conditions to guarantee excellent results. Tailoring your choices to the specific season you’re planting in can greatly impact your harvest.
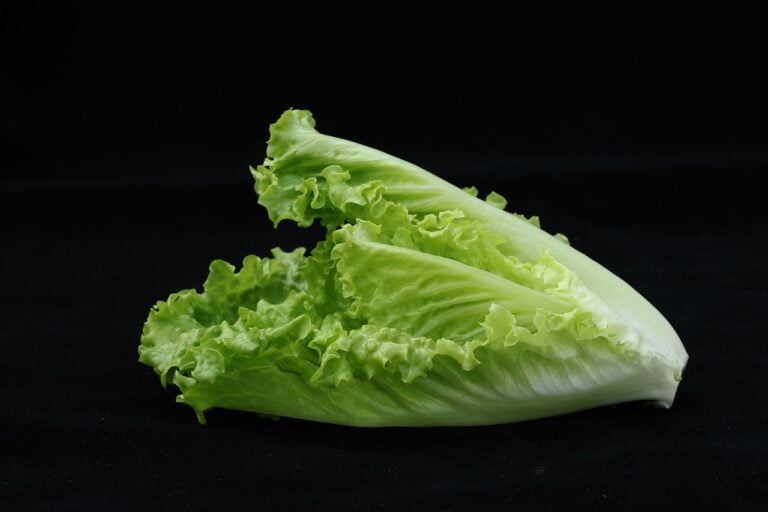
For beginners, starting with cool-season vegetables like lettuce and kale for early spring planting is ideal. These crops thrive in cooler temperatures and can withstand light frosts. As the season shifts to warmer weather, moving to warm-season vegetables such as tomatoes and cucumbers is recommended. These plants require higher temperatures to flourish and produce abundant yields.
Understanding the frost dates in your area is essential for determining the appropriate planting time for different vegetables. Planting too early or late can result in stunted growth or crop loss. Consider the length of your growing season and the temperature requirements of each vegetable to plan a successful harvest. By aligning your vegetable selection with the local climate, seasonal planting, and temperature needs, you can set yourself up for a productive and rewarding gardening experience.
Timing and Planting Seasons
Considering the specific planting times for different vegetables is key to maximizing their growth and yield potential in your seasonal garden. Before starting your vegetable planting, check your USDA Plant Hardiness Zone to determine the best times for planting in your specific region. Cool-season crops, such as lettuce and spinach, thrive in cooler temperatures and should be planted early in the season. For these crops, you can either start seeds indoors or opt for transplants from garden centers to get a head start.
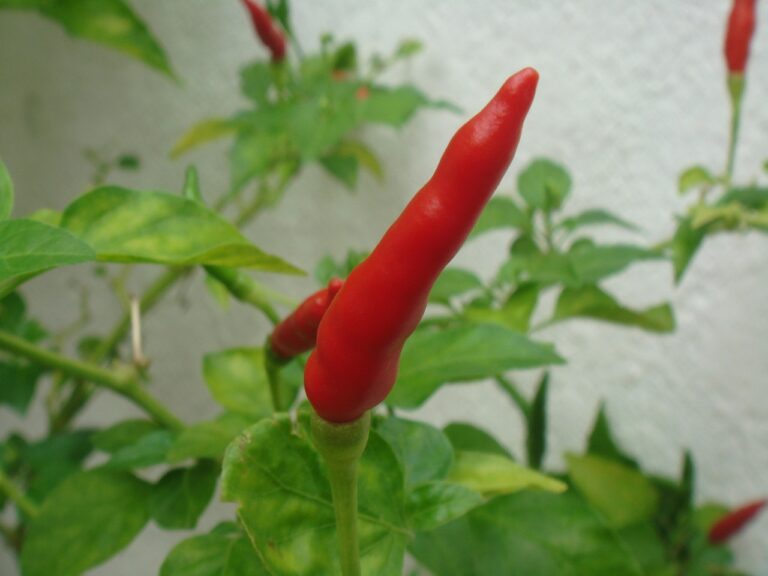
On the other hand, warm-season crops like tomatoes and peppers should be planted after the last frost date to guarantee a long and productive growing season. Understanding the best planting times for each type of vegetable is essential for a successful harvest. Create a planting schedule based on the recommended timing for each crop to make the most of your seasonal planting.
Prepare your soil before planting by ensuring it is well-draining and rich in nutrients to support healthy plant growth. By following a detailed planting guide and adhering to the specific planting times for each vegetable, you can set yourself up for a bountiful harvest in your garden.
Starting Seeds Indoors
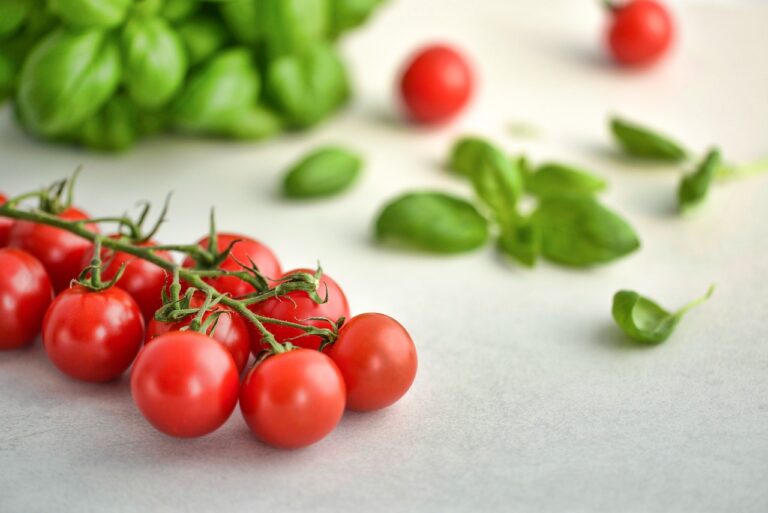
To give your warm-season crops like tomatoes and peppers a head start on the growing season, consider starting seeds indoors. When starting seeds indoors, I recommend using plastic trays or peat pots filled with a soil mixture of loam, sand, and organic matter. Make sure to sow the seeds at the important depth and maintain consistent moisture levels by gently watering them to prevent displacement. Cover the seeds lightly with soil to provide the necessary environment for germination.
For successful germination, it’s important to provide warm conditions. You can achieve this by placing clear plastic covers over the trays or pots until the seeds sprout. Once the seedlings have emerged, it’s crucial to gradually harden them off before transplanting them outdoors. This process helps reduce transplant shock and guarantees the seedlings will thrive in your garden.
Starting seeds indoors is a rewarding way to kickstart your garden and enjoy an earlier harvest. By following these steps and providing the right conditions for your seeds, you can set your warm-season crops up for success when it’s time to transplant them outdoors.
Hardening and Transplanting Seedlings
After starting your seeds indoors, the next important step is to harden and transplant the seedlings to prepare them for outdoor conditions. Hardening off seedlings is pivotal as it involves gradually exposing them to outdoor elements. This process helps the seedlings adjust to sunlight, wind, and temperature changes, ultimately reducing transplant shock. Typically, hardening off takes about 7-10 days, commencing with a few hours outdoors and then increasing exposure daily.
During this period, it’s imperative to shield the seedlings from harsh elements such as strong winds, direct sunlight, and extreme temperatures. By properly hardening off your seedlings, you increase their chances of successful transplanting and subsequent thriving in the garden. Remember, the goal is to gradually acclimate the seedlings to their new environment without subjecting them to sudden stressors that could hinder their growth.
After the hardening off process is complete, it’s time to transplant the seedlings outside. Choose a day with mild weather conditions for transplanting to further reduce stress on the plants. Make sure the soil is well-prepared and water the seedlings before carefully removing them from their containers. Plant them at the appropriate depth, water gently, and provide some shade initially to help them settle into their new outdoor home.