Understanding the Different Stages of Growing Brussels Sprouts
Are you interested in growing your own Brussels sprouts? Understanding the different stages of growth is key to a successful harvest. In this article, we'll guide you through each step of the process, from selecting the right seeds to caring for your plants during winter. With practical tips and detailed explanations, you'll gain the knowledge you need to serve yourself and enjoy the satisfaction of homegrown Brussels sprouts. So let's dive in and start growing!
Seed Selection
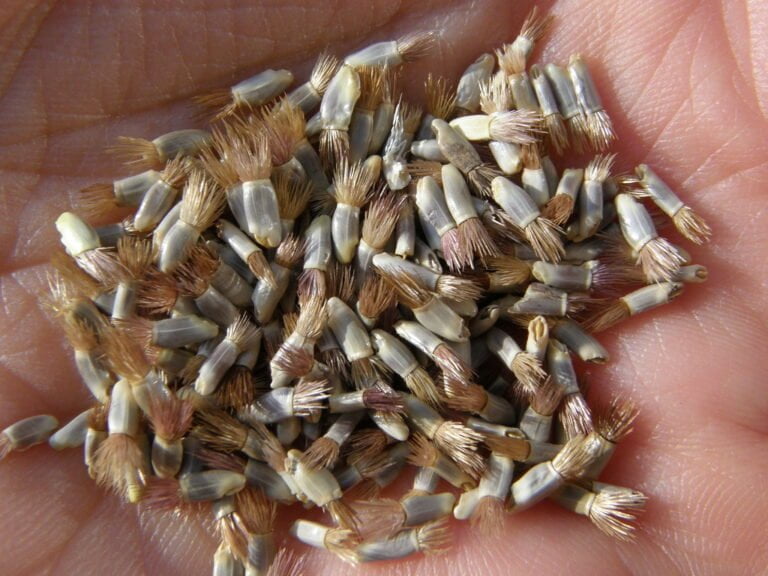
Choose the right seeds for your Brussels sprouts by considering factors such as variety, quality, and germination rate. When it comes to variety, there are many options available, each with its own unique characteristics. Some popular varieties include Long Island Improved, Diablo, and Jade Cross. It is crucial to choose a variety that suits your climate and growing conditions. When it comes to quality, look for seeds that are certified and come from reputable sources. High-quality seeds are more likely to produce healthy and robust plants. Additionally, pay attention to the germination rate of the seeds. This rate indicates the percentage of seeds that will successfully sprout. Opt for seeds with a high germination rate to ensure a successful and productive Brussels sprout harvest.
Germination Process
To start the germination process for your Brussels sprouts, begin by planting the seeds in a suitable growing medium. Choose a well-draining soil mix that is rich in organic matter. Fill a seed tray or small pots with the soil mix, leaving about half an inch of space at the top. Gently press one or two seeds into each pot, about a quarter inch deep. Water the soil thoroughly, making sure it is evenly moist but not waterlogged. Place the tray or pots in a warm and well-lit area, preferably with temperatures between 65-75°F. Keep the soil consistently moist by misting it with water whenever it starts to dry out. Within 7-14 days, you should see the seeds sprout and the first set of leaves emerge.
Transplanting Seedlings
Now that your Brussels sprout seedlings have emerged, it's time to transplant them into their permanent growing location. Transplanting seedlings is a crucial step in the growth process, as it allows the plants to establish strong root systems and thrive in their new environment. Here's a step-by-step guide to help you successfully transplant your Brussels sprout seedlings.
- Choose the right location: Find a spot in your garden that receives full sun and has well-draining soil.
- Prepare the soil: Before transplanting, amend the soil with compost or organic matter to improve its fertility and drainage.
- Dig the holes: Dig holes that are slightly larger than the root ball of each seedling, spacing them about 18-24 inches apart.
- Gently remove the seedlings: Carefully loosen the soil around the seedlings and lift them out, holding them by the leaves to avoid damaging the delicate stems.
- Place the seedlings in the holes: Set each seedling into its respective hole, making sure that the top of the root ball is level with the soil surface.
- Fill in the holes: Backfill the holes with soil, gently firming it around the seedlings to eliminate air pockets.
- Water thoroughly: Give the transplanted seedlings a good watering to help settle the soil and provide moisture to the roots.
Remember to keep an eye on your transplanted Brussels sprout seedlings, providing them with regular water and protection from pests. With proper care, they will grow into healthy and productive plants.
Establishing Roots
After transplanting the seedlings, it is important to focus on establishing strong roots for your Brussels sprouts. Strong roots are crucial for the plant's overall health and development. To help your Brussels sprouts establish strong roots, you need to provide them with the right conditions and care. Make sure the soil is well-drained and rich in organic matter. Water the plants regularly, keeping the soil moist but not waterlogged. Mulching around the plants can help retain moisture and regulate soil temperature. Additionally, avoid over-fertilizing, as excessive nitrogen can lead to weak root development. As your Brussels sprouts grow, gently loosen the soil around the base of the plants to encourage root growth. By establishing strong roots, you are setting the foundation for healthy and productive Brussels sprouts.
Vegetative Growth Stage
Once the roots are well-established, you can now focus on promoting the vegetative growth stage of your Brussels sprouts. This is an important stage where the plant will primarily focus on growing its leaves and stems. To ensure optimal growth during this stage, it is crucial to provide your Brussels sprouts with the right conditions. Start by making sure they receive adequate sunlight, at least 6 to 8 hours a day. Additionally, maintain a consistent watering schedule, keeping the soil moist but not waterlogged. Fertilize regularly with a balanced, nitrogen-rich fertilizer to promote leafy growth. Pruning the lower leaves can also help redirect the plant's energy towards upward growth. By providing the necessary care and attention during the vegetative growth stage, you can ensure healthy and robust Brussels sprouts plants.
Flowering and Pollination
To continue promoting the growth of your Brussels sprouts, it is important to focus on the next stage: flowering and pollination. Flowering usually occurs in the late spring or early summer, when the plants are fully grown and have enough energy to produce flowers. The flowers are small and yellow, and they grow in clusters on the top of the plant. Bees and other pollinators are essential for the pollination process. They transfer pollen from the male part of the flower to the female part, which results in the formation of sprouts. To attract pollinators, you can plant flowers nearby or use bee-friendly practices in your garden. Ensure that the plants are well-watered during this stage to support healthy flower development and successful pollination.
Formation of Sprouts
During the formation of sprouts, you will witness the growth of small, cabbage-like buds on the stems of your Brussels sprout plants. These buds, known as sprouts, start to develop after the flowering and pollination process. As the plants continue to grow, the sprouts appear in the leaf axils, which are the spaces between the leaves and the main stem. They begin as tiny, tight clusters of leaves that gradually enlarge over time. The sprouts look like miniature cabbages, tightly packed together in a spiral pattern. It is important to regularly inspect your plants during this stage to ensure proper growth and development. Keep in mind that the sprouts will continue to increase in size until they reach their mature state, ready for harvesting.
Harvesting Time
When the sprouts have reached their mature state, you can begin harvesting them from your Brussels sprout plants. Harvesting Brussels sprouts is a rewarding and satisfying experience. To ensure the best flavor and texture, it is important to harvest them at the right time. The ideal harvesting time for Brussels sprouts is when the sprouts are firm, green, and about 1-2 inches in diameter. To harvest, simply snap or cut off the sprouts from the bottom of the stalk. Start from the bottom and work your way up, as the lower sprouts mature earlier. Remember to leave the top leaves intact, as they continue to provide nutrients to the remaining sprouts. Harvesting can be done over several weeks, allowing you to enjoy a continuous supply of fresh Brussels sprouts.
Pest and Disease Management
As you continue growing Brussels sprouts, it is important to effectively manage pests and diseases that may impact the health of your plants. Pests like aphids, cabbage worms, and slugs can wreak havoc on your Brussels sprouts if left unchecked. To control these pests, you can use natural methods such as introducing beneficial insects like ladybugs and lacewings, or using organic sprays made from ingredients like neem oil or garlic. It's also crucial to monitor your plants regularly for any signs of disease, such as black spots or wilting leaves. If you spot any issues, promptly remove and destroy the affected plants to prevent the spread of disease. Additionally, practicing good hygiene, such as cleaning garden tools and rotating crops, can help prevent the buildup of diseases in your growing area. By taking these preventative measures, you can ensure the health and productivity of your Brussels sprouts.
Winter Care and Storage
To effectively care for your Brussels sprouts during the winter months, it is important to take certain steps to ensure their survival and proper storage. As the temperature drops, you need to protect your plants from frost by covering them with a frost blanket or row cover. This will shield them from extreme cold and prevent damage. Additionally, it's crucial to continue watering your Brussels sprouts regularly, especially during dry spells. Adequate moisture is essential for their health and growth. When it comes to storage, harvest the sprouts before the first hard freeze and remove any damaged or yellowing leaves. Place them in a cool, dark place, such as a root cellar or refrigerator, where they can be stored for up to a month. Following these steps will help you enjoy fresh Brussels sprouts throughout the winter season.
Conclusion
In conclusion, understanding the different stages of growing Brussels sprouts is essential for a successful harvest. From seed selection and germination to transplanting seedlings and establishing roots, each stage requires careful attention and care. The vegetative growth stage and the formation of sprouts are crucial milestones in the process. Proper harvesting time, pest and disease management, as well as winter care and storage, are also important considerations. By following these steps, you can enjoy a bountiful crop of delicious Brussels sprouts.