Understanding the Life Cycle of Tomatoes
Do you love growing tomatoes in your garden? Understanding the life cycle of tomatoes is essential for successful cultivation. From seed germination to ripening and harvesting, each stage requires proper care and attention. In this article, we will guide you through the process, providing practical tips and information. Learn how to transplant seedlings, ensure proper pollination, and promote healthy growth. Discover the joy of harvesting your own delicious tomatoes and even saving seeds for future planting. Let’s dive into the fascinating world of tomato cultivation!
Seed Germination
To begin your journey in understanding the life cycle of tomatoes, let’s explore the fascinating process of seed germination. When you plant tomato seeds, they require specific conditions to sprout and grow. The first step is to choose a good quality seed and ensure it is free from disease. Then, you need to provide the seeds with a moist environment, preferably using seed-starting trays or pots filled with a well-draining soil mix. It’s important to keep the soil consistently moist but not waterlogged. Place the containers in a warm area with plenty of sunlight. Within a week or two, you will notice tiny green shoots emerging from the soil. As the seedlings grow, make sure to provide adequate water and light, and soon you will have healthy tomato plants ready for transplanting into your garden.
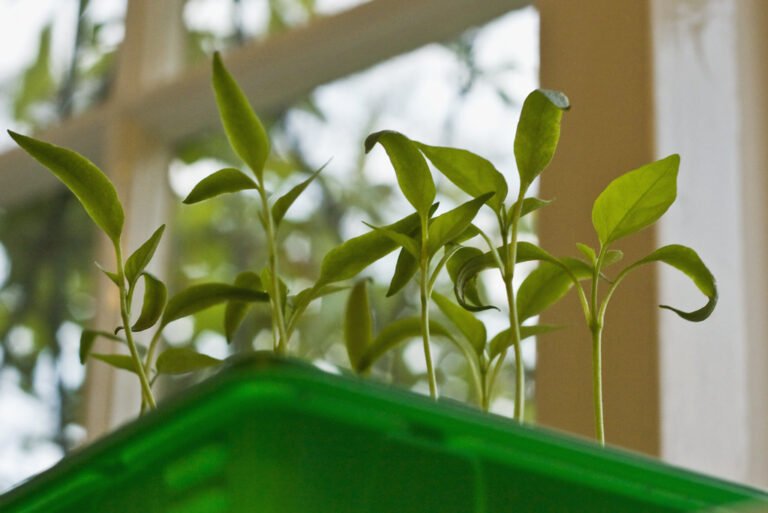
Seedling Development
Once the tomato seeds have germinated, you can focus on the next stage of their life cycle: the development of seedlings. At this point, the tiny green shoots start emerging from the soil, reaching towards the sunlight. It is crucial to provide them with proper care to ensure healthy growth. Place the seedlings in a warm and well-lit area, such as a sunny windowsill or under grow lights. Water them regularly, ensuring that the soil remains moist but not waterlogged. As the seedlings grow, they will develop their first set of true leaves. At this stage, you can start fertilizing them with a balanced liquid fertilizer to provide essential nutrients. Remember to transplant the seedlings into larger containers once they outgrow their initial pots. By following these steps, you will help the tomato seedlings thrive and prepare them for the next stage of their life cycle.
Transplanting to Garden
When you are ready to transfer your tomato seedlings to your garden, make sure to choose a sunny spot with well-drained soil. Tomatoes thrive in full sunlight, so it’s important to select a location that receives at least six to eight hours of direct sunlight daily. Additionally, ensure that the soil drains well to prevent waterlogged roots, which can lead to disease and stunted growth. Before transplanting, prepare the soil by removing any weeds and loosening it with a garden fork or tiller. Dig a hole slightly larger than the root ball of each seedling and gently place them in, ensuring that the top of the root ball is level with the soil surface. Finally, water the plants thoroughly to help them establish in their new home. With proper care, your tomato plants will flourish and reward you with delicious homegrown tomatoes.
Vegetative Growth Stage
During the vegetative growth stage, your tomato plants will focus on developing strong stems and leaves to support future fruit production. This stage typically occurs after transplanting your seedlings into the garden, and it is crucial for the overall health and productivity of your plants. Observing your tomato plants during this stage, you will notice rapid growth in the form of taller stems and an increase in the number of leaves. It is essential to provide adequate support, such as stakes or cages, to prevent your plants from falling over due to their vigorous growth. Additionally, ensuring proper watering, nutrition, and sunlight will promote healthy leaf development, which is vital for photosynthesis and the production of energy needed for future fruiting. Remember, taking care of your tomato plants during the vegetative growth stage is essential for a bountiful harvest.
Flowering and Pollination
As your tomato plants enter the flowering and pollination stage, they will begin to produce blossoms and attract pollinators. This is an exciting time for your plants, as it marks the transition from vegetative growth to reproductive growth. The blossoms, often yellow in color, will appear on the branches of your tomato plants. These flowers serve an important purpose in the life cycle of the tomato plant, as they are the site of pollination. Pollinators, such as bees and butterflies, are attracted to the flowers by their vibrant colors and sweet scent. They play a crucial role in transferring pollen from the male reproductive parts of the flower to the female reproductive parts, leading to the formation of fruits. Ensuring a healthy population of pollinators in your garden can greatly enhance the success of pollination and ultimately result in a bountiful tomato harvest.
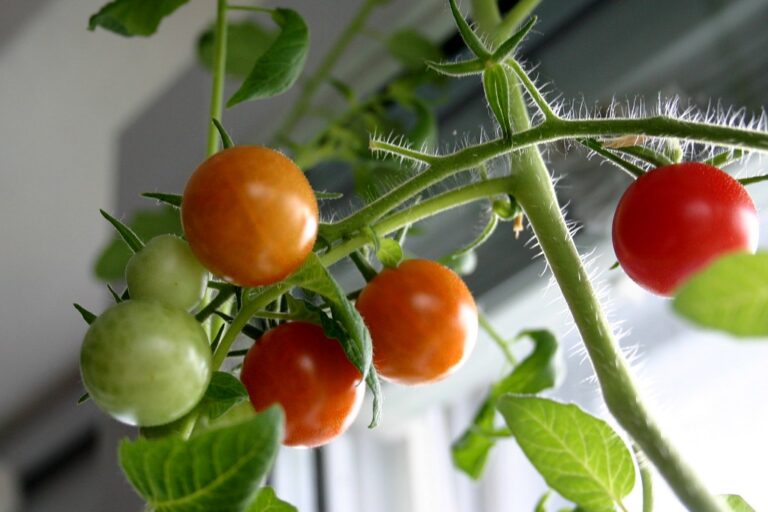
Fruit Development
Have you ever wondered how tomatoes develop from blossoms to fully ripe fruits? Well, let’s dive into the fascinating process of fruit development in tomatoes. After successful pollination, the ovary at the base of the flower begins to swell and grow into a green fruit. As the fruit matures, it gradually changes color, from green to yellow, orange, or red, depending on the variety. This transformation is due to the accumulation of pigments such as lycopene and carotene. During this stage, the fruit also increases in size and develops a firm yet juicy texture. It is important to provide the developing fruits with proper care, including regular watering and providing support to prevent the branches from breaking under the weight of the growing tomatoes. By understanding the fruit development process, you can ensure that your tomatoes reach their full potential and delight your taste buds.
Ripening Process
First, keep an eye on the color of your tomatoes. As they ripen, they will change from green to a vibrant red, yellow, or orange, depending on the variety. Touch is also important. Gently squeeze the tomato to check for firmness. The fruit should yield slightly to pressure, but not be too soft. Another indicator is the smell. Ripe tomatoes emit a sweet, earthy aroma. Lastly, pay attention to the stem. If it easily detaches from the fruit with a gentle twist, your tomato is ready to be picked. Following these steps will ensure that you serve the most delicious, ripe tomatoes.
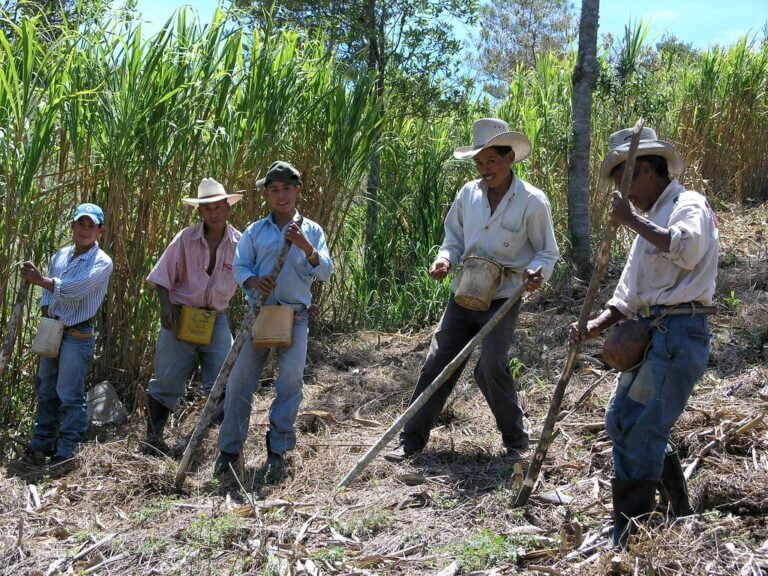
Harvesting Tomatoes
To ensure a successful tomato harvest, you should carefully choose which plants to pick from based on the quantity and quality of ripe tomatoes that are ready for harvest. Look for tomatoes that have reached their full color, whether it’s red, orange, yellow, or any other variety-specific hue. Gently squeeze the tomatoes to check for ripeness - they should be firm but not too hard. Avoid picking tomatoes that are still green or have soft spots. When harvesting, use sharp pruning shears or scissors to cut the stem about half an inch above the fruit. Be careful not to handle the tomatoes roughly as they are delicate fruits. After harvesting, store the tomatoes in a cool, dry place to extend their shelf life. Enjoy the fruits of your labor and share the bounty with others!
Seed Saving and Storage
Now, let’s delve into the process of saving and storing tomato seeds to ensure future plant growth. After harvesting your tomatoes, it’s important to select the healthiest and ripest fruits to save seeds from. Begin by cutting the tomatoes in half and scooping out the seeds along with the surrounding gel. Place the seeds and gel mixture in a jar and add water. Let it ferment for three to four days, stirring occasionally. The fermentation process helps remove the gel coating, which can inhibit germination. After fermentation, rinse the seeds thoroughly and spread them out to dry on a paper towel or screen. Once completely dry, store the seeds in an airtight container, such as a glass jar or envelope, in a cool, dark, and dry place. Remember to label the container with the tomato variety and the date of collection. By following these steps, you can save and store tomato seeds successfully for future planting seasons.
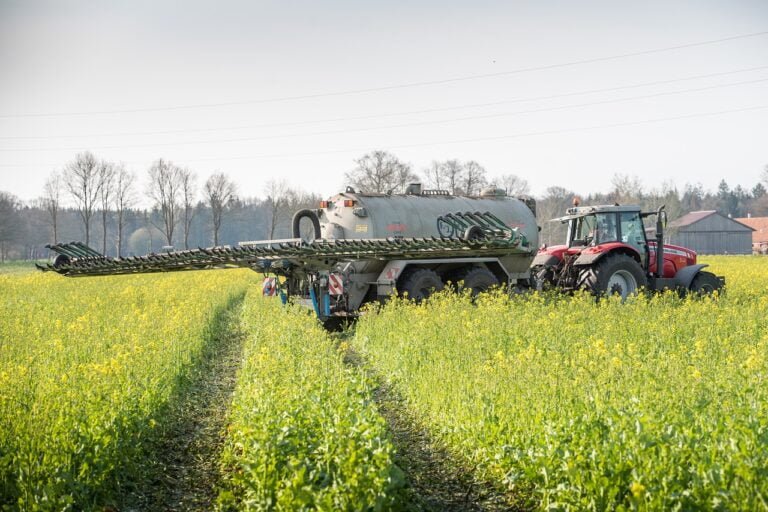
Crop Rotation and Soil Preparation
How can you effectively rotate your crops and prepare the soil for optimal tomato growth? Crop rotation is essential for maintaining soil health and reducing the risk of diseases and pests. To begin, choose a different area in your garden each year for planting tomatoes. This rotation ensures that the soil doesn’t become depleted of nutrients specific to tomatoes. Before planting, it is crucial to prepare the soil properly. Start by removing any weeds and debris, then amend the soil with organic matter such as compost or well-rotted manure. This will improve soil structure, drainage, and nutrient content. Additionally, consider conducting a soil test to determine if any specific nutrients are lacking. By following these practices, you can provide your tomatoes with the best possible growing conditions and increase your chances of a successful harvest.
Conclusion
In conclusion, understanding the life cycle of tomatoes is essential for successful cultivation. From seed germination to transplanting, vegetative growth to flowering, and finally ripening and harvesting, each stage requires proper care and attention. Additionally, saving and storing seeds, as well as practicing crop rotation and soil preparation, can contribute to healthier plants and higher yields. By following these practical steps, gardeners can enjoy a bountiful harvest of delicious tomatoes.