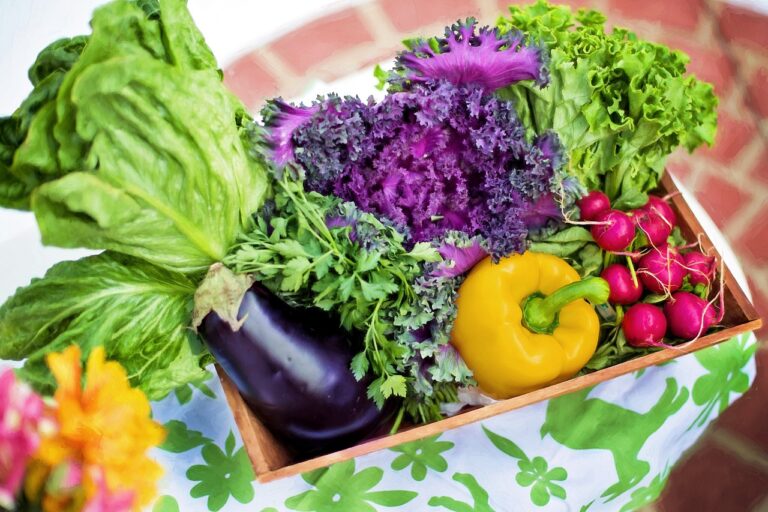
Understanding the Process of Harvesting Kale
Are you ready to learn the ins and outs of harvesting kale? Look no further! This article will guide you through the process step by step, ensuring you have all the knowledge and tools needed to successfully harvest your own kale. From choosing the right time to identifying signs of readiness, we've got you covered. Get ready to enjoy the freshest and most delicious kale straight from your own garden!
Choosing the Right Time for Harvesting
You need to know when to harvest kale to ensure its optimal taste and nutrition. The best time to harvest kale is when the leaves are young and tender, usually around 50-60 days after planting. Look for leaves that are firm, vibrant in color, and have a smooth texture. Avoid harvesting when the leaves are yellowing or wilting, as this indicates that the kale is past its prime. To harvest, simply grasp the stem near the base of the plant and pull gently, removing the outer leaves first. Leave the center leaves intact so that the plant can continue to grow. Remember to wash the kale thoroughly before using it in your recipes to remove any dirt or debris. Harvesting at the right time will ensure that your kale is packed with flavor and nutrients, ready to be enjoyed in salads, smoothies, or cooked dishes.
Understanding Kale Plant Growth Stages
To understand the process of harvesting kale, it is important to familiarize yourself with the various stages of kale plant growth. Knowing these stages will help you determine the right time to harvest your kale leaves for optimal taste and nutrition.
The first stage is the seedling stage, where the kale plant emerges from the soil as a tiny sprout. At this stage, the plant is vulnerable and requires careful watering and protection from pests.
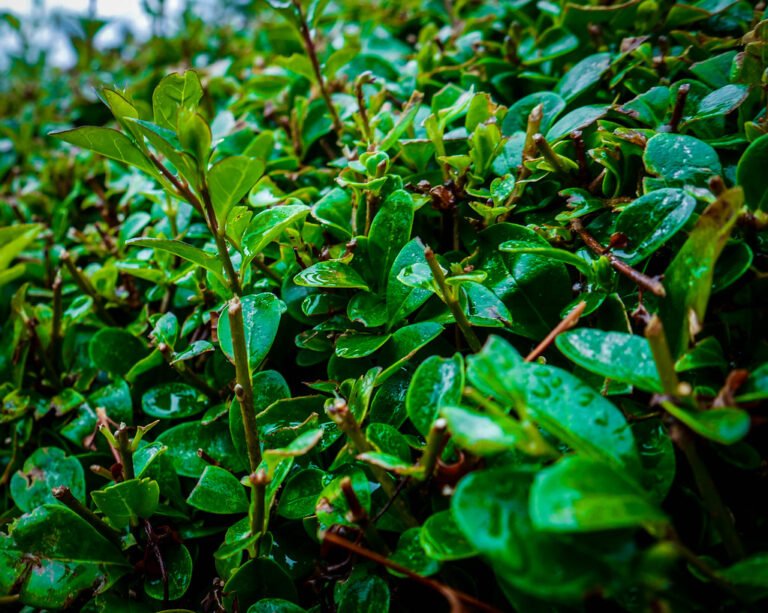
Next comes the vegetative stage, where the kale plant grows larger and develops its signature leaves. This is the stage where the plant focuses on leaf growth and requires regular watering and fertilization.
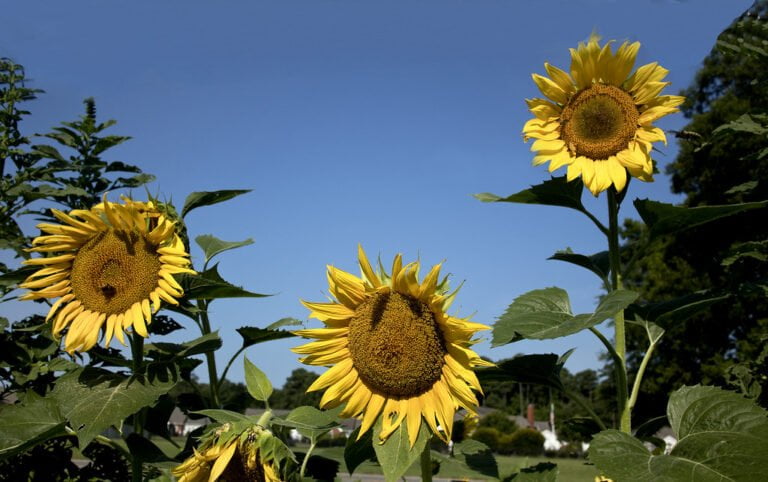
Finally, the plant enters the flowering stage, where it produces small yellow flowers. This is a signal that the kale is nearing the end of its life cycle and the leaves may become bitter.
Signs That Kale Is Ready to Be Harvested
Once the kale plant reaches the flowering stage, it exhibits specific signs that indicate it is ready for harvest. One of the key signs to look for is the size of the leaves. Mature kale leaves should be around 6 to 8 inches in length and have a vibrant, deep green color. Another sign is the firmness of the leaves. Gently touch the leaves, and if they feel crisp and sturdy, it means they are ready for harvest. Additionally, check the lower leaves of the plant. If they start to turn yellow or wilt, it is a clear indication that the kale is nearing the end of its growth cycle and should be harvested soon. Harvesting at the right time ensures that you enjoy the best flavor and nutritional value from your kale.
Tools Needed for Harvesting Kale
To harvest kale, you will need a few essential tools. The first tool you will need is a sharp pair of garden shears or scissors. These will allow you to cut the kale leaves cleanly without damaging the plant. Look for shears with a comfortable grip to make the task easier on your hands. The next tool you will need is a bucket or a large container to collect the harvested kale. Make sure it is clean and large enough to hold all the leaves. Lastly, you will need a pair of gloves to protect your hands from any sharp edges or prickly stems. Choose gloves that are durable and flexible for easy movement. With these tools in hand, you will be well-prepared to harvest kale efficiently and effectively.
Proper Techniques for Harvesting Kale Leaves
To ensure a successful harvest of kale leaves, it is important for you to carefully employ the proper techniques. Start by selecting the outer leaves of the plant, leaving the inner leaves to continue growing. Hold the stem firmly and use a sharp knife or scissors to cut the leaves close to the base. Avoid tearing the leaves, as this can damage the plant. It is best to harvest kale leaves in the morning when they are crisp and full of nutrients. After harvesting, gently wash the leaves in cold water to remove any dirt or debris. Pat them dry with a clean towel before storing them in a plastic bag in the refrigerator. Remember, harvesting kale leaves properly will ensure their freshness and flavor when serving others.
Harvesting Kale for Continuous Production
By regularly harvesting the outer leaves of your kale plants, you can promote continuous production and ensure a steady supply of fresh greens. To maintain a constant harvest, start by cutting the oldest leaves from the bottom of the plant, leaving the younger ones to continue growing. Use a sharp knife or scissors to make clean cuts, avoiding any damage to the remaining leaves. Harvesting in this way stimulates new growth and encourages the plant to produce more leaves. Remember to harvest only what you need, as overharvesting can weaken the plant. By following these simple steps, you can enjoy a consistent supply of fresh kale throughout the growing season, providing nutritious and delicious greens for yourself and others.
Storing Harvested Kale Leaves
After harvesting the kale leaves, it's important to properly store them to maintain their freshness and quality. To begin, remove any damaged or wilted leaves and discard them. Next, gently rinse the remaining leaves under cold water to remove any dirt or debris. Pat them dry with a clean towel or use a salad spinner to remove excess moisture. To store, place the kale leaves in a plastic bag or airtight container lined with a damp paper towel. Seal the bag or container and store it in the refrigerator. Kale leaves can typically be stored for up to a week, but it's best to use them as soon as possible for maximum freshness. Remember to check the leaves periodically and discard any that show signs of spoilage. By following these simple steps, you can enjoy crisp and flavorful kale in your meals.
How to Prevent Pests and Diseases During Harvesting
During the process of harvesting kale, you can prevent pests and diseases by regularly inspecting the plants for signs of infestation or damage. Pests and diseases can significantly reduce the quality and yield of your kale crop, so it's important to take preventive measures. Start by checking the leaves for any holes, discoloration, or unusual growths. These could be signs of pest activity, such as aphids, caterpillars, or fungal diseases. If you spot any pests or diseases, remove the affected leaves immediately to prevent further spread. Additionally, make sure to keep the area around your kale plants clean and free of debris, as this can attract pests. Regularly watering and fertilizing your plants will also help to strengthen their resistance against pests and diseases. By being vigilant and proactive, you can ensure a healthy harvest of kale.
Harvesting Kale Seeds for Future Planting
To ensure a continuous supply of kale in your garden, you can harvest kale seeds for future planting by following these simple steps. Firstly, allow some of your kale plants to bolt and produce flowers. The flowers will eventually turn into seed pods. Once the pods turn brown and begin to dry out, it's time to harvest the seeds. Cut the seed pods from the plant and place them in a paper bag. Allow the pods to dry out completely in a cool, dry place for a couple of weeks. Then, gently crush the pods to release the seeds. Remove any plant debris and store the seeds in a cool, dry container. Label the container with the date and variety of kale seeds. Now you have a ready supply of kale seeds for future planting.
Harvesting Kale Flowers and Stems for Culinary Use
To utilize the full potential of your kale plants, you can also harvest the flowers and stems for culinary use. Kale flowers, also known as kale blooms, are edible and can add a pop of color and flavor to your dishes. When harvesting the flowers, look for ones that are tightly closed and vibrant in color. Gently cut the stem just below the flower head, ensuring not to damage the plant. Kale stems, on the other hand, are often overlooked but can be delicious and nutritious. Look for young, tender stems that are not too fibrous. Cut the stems close to the ground, removing any tough or woody sections. Use the flowers and stems in salads, stir-fries, or as a garnish to elevate your dishes with their unique taste and texture.
Conclusion
In conclusion, harvesting kale is a straightforward process that requires attention to key factors such as timing, plant growth stages, and signs of readiness. By using the proper tools and techniques, you can ensure a successful harvest of fresh and healthy kale leaves. Remember to store them properly to maintain their freshness and prevent pests and diseases. Additionally, consider harvesting kale seeds and flowers for future planting or culinary use. Enjoy the bountiful benefits of this nutritious and versatile vegetable!